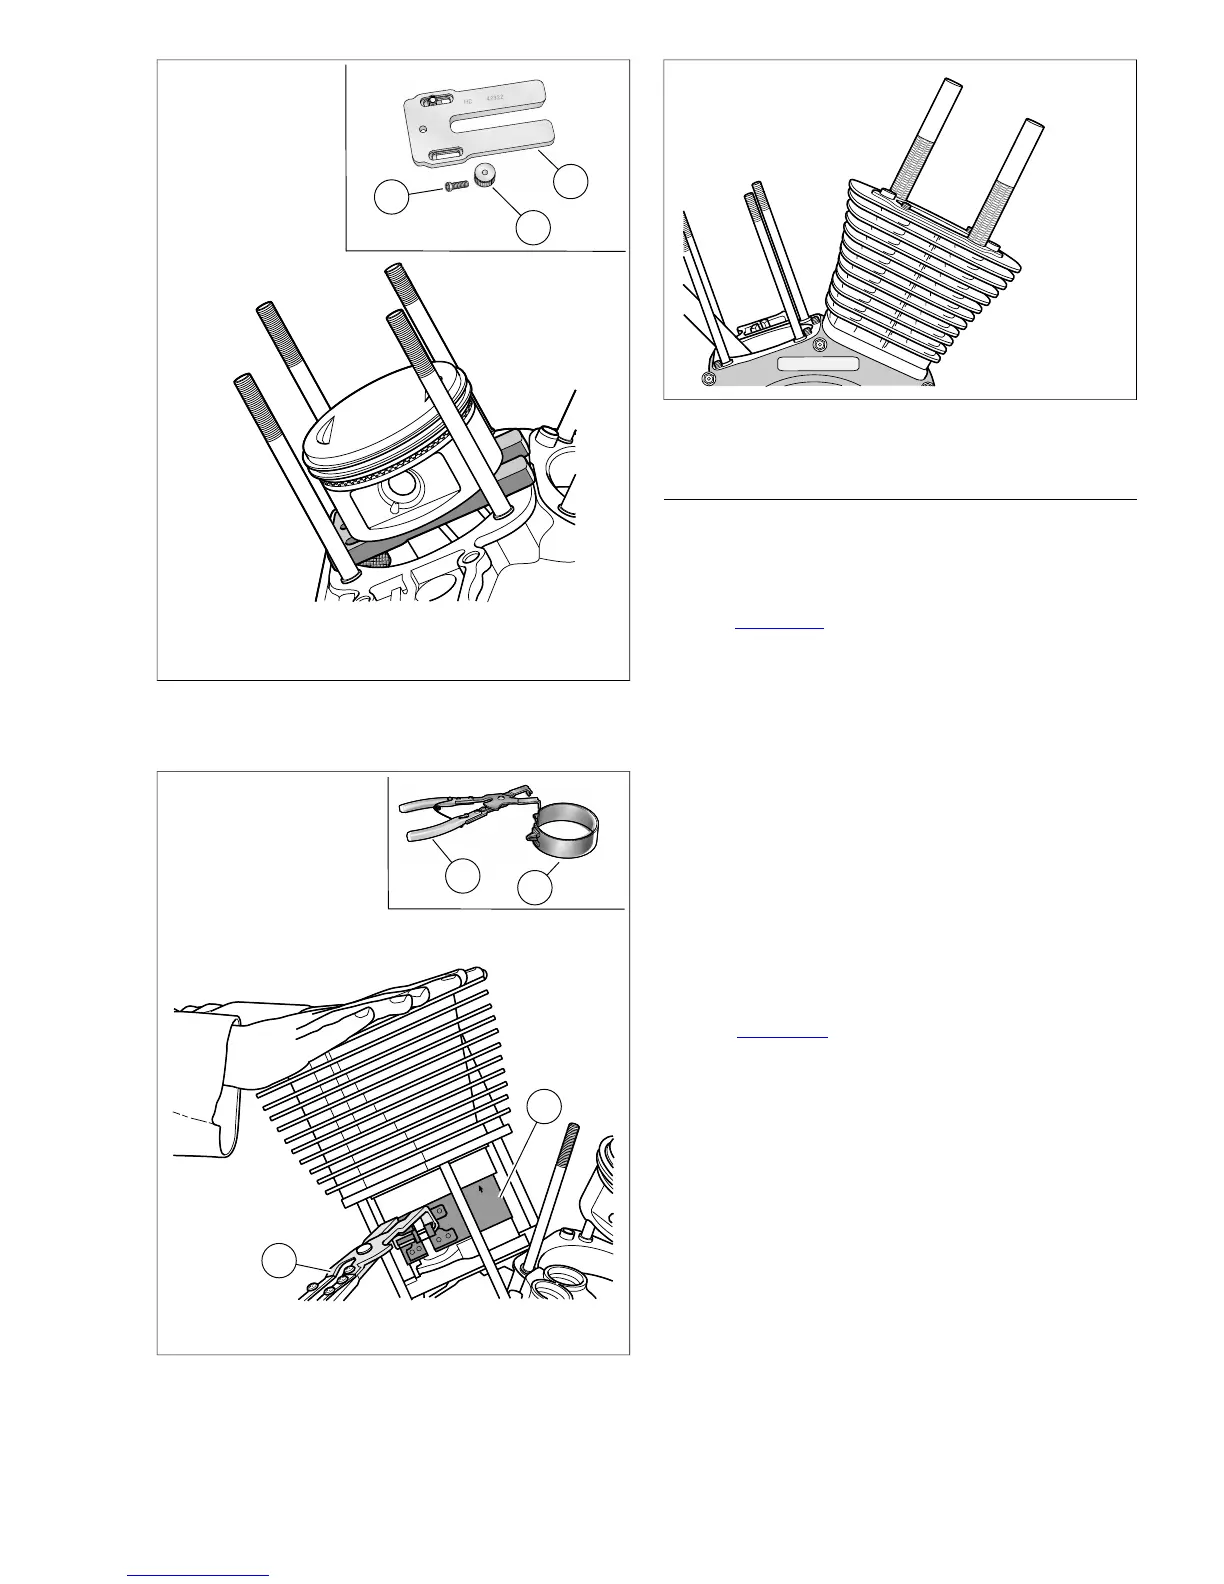
Figure 3-38. Install Threaded Cylinders to Studs
CYLINDER HEAD
NOTE
To ensure proper head gasket alignment, install new o-rings
over cylinder ring dowels before installing the head gasket.
Improper head gasket alignment will cause leaks.
1. See Figure 3-39.With the part number topside, place the
head gasket over the two dowel pins in the upper flange
of the cylinder.
2. Note that the word "Front" or "Rear" is cast into the top of
the cylinder head to ensure proper installation. With the
indent in the cooling fins facing the right side of the engine,
gently slide cylinder head over the two cylinder flange
dowel pins. Lower the cylinder head at an angle that
closely approximates the angle of the crankcase to avoid
damage to machined surfaces or the dowel pins.
NOTE
Thoroughly clean and lubricate the threads of the cylinder head
bolts before installation. Friction caused by dirt and grime will
result in a false torque indication.
3. Lightly coat the threads and bottom face of the cylinder
head bolts in clean H-D 20W50 engine oil. Wipe off any
excess oil.
4. See Figure 3-40. Loosely install the cylinder head bolts
onto the cylinder studs. Place two short bolts on the left
side of the engine and two long bolts on the right.
2008 Dyna Service: Engine 3-35



 To Next Page