5
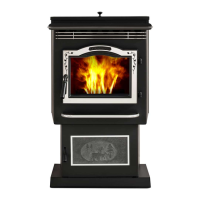
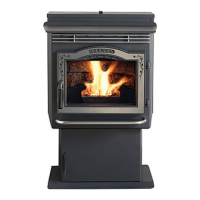
P 6 1 A P ellet S tove
3 -9 0 -0 5 8 2 2 R 2 8 _ 0 8 /1 3
Assembly and Installation
Unpacking
The P1A is bolted (1 x 1 hex head bolts) to the skid to
prevent movement during shipping.
To free the stove from the skid you must remove the hold-
down bolts in the rear of the pedestal base.
R emoving rear cover panels
The rear cover panels are secured to the stove with three
bolts each. Two of the bolts need only be loosened, not
removed, to remove the panels. It is recommended that the
rear covers are installed after the unit is in place and the vent
pipe is installed, to prevent contact with hot or moving parts.
F irebrick
Install the three rebricks vertically on the angle bracket
above the burnpot.
F lame G uide
Install the cast iron ame guide on top of the burn pot. ake
sure that the ame guide is fully seated on the vertical sides
of the burn pot and that the back of the guide rests against
the body of the stove.
INSTALL EHAUST ENT AT CLEARANCES SPECIIE
BY THE ANUACTURER. ost pellet vent pipe requires a
minimum of of clearance to combustible materials although
some can be installed at 1 clearance.
ollow these instructions along with all local codes regarding
installation of this appliance.
o NOT use makeshift compromises when installing this
appliance, serious consequences may result.
With any hearth appliance, installation of smoke detectors
is recommended on every level of the home.
Possible causes of smoke detector activation:
Paint curing process - Open a window near the appliance
for the rst few hours of burning.
Exhaust being drawn back inside the dwelling - Outside air
connection to the appliance is necessary.
ent leakage - All interior seams and oints should be sealed
with silicone where appliacable. ollow vent manufacturers
instructions for proper sealing.
The room sensor is a small temperature sensor on the end
of a 0 wire. This sensor is installed much like a standard
wall thermostat. There is a remote room sensor port on the
rear of the unit for easy external connection. Use standard
18-2 thermostat wire to extend the distance to the desired
location (50 maximum). The room sensor should be installed
in the location where you want to control the temperature.
NOTE: istances of more than 25 feet from the unit or in
another room are not recommended. The room sensor is
essential for the P1As excellent efciency.
NOTE: It is recommended that the room sensor be
installed, even if only installed on the rear of the unit as a
return air sensor.
Rear Cover
Panels
Shipping Bolts
Note: These same holes
are used for securing the
stove in mobile home
installation.
F ig. 1
R oom Sensor Installation