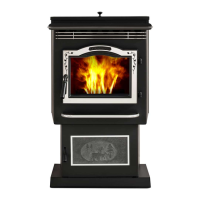
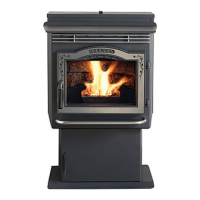
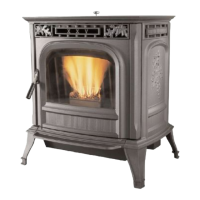
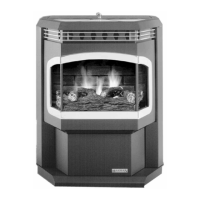
6P 6 1 A P ellet S tove
3 -9 0 -0 5 8 2 2 R 2 8 _ 0 8 /1 3
Installing
Place the stove on a noncombustible oor or on a oor protector
that extends a minimum of inches to the front, (measured from
the glass) inches to the sides and 1 inch to the rear of the
hopper. It is also recommended that oor protection be installed
under any horizontal venting and extending 2 inches beyond the
vent measurement.
NOTE for Canadian installation only: Per ULC-S27-00,
If installed on a combustible floor, the need to provide a
noncombustible oor protector covering the area beneath the
space heater and extending at least 17.72 (50mm) on the ring
side and at least 7.87 (200mm) on the other sides.
n anaa yu may maer S r prtectn
req uirements ONLY if the user agrees to completely shut-
n te appance an a t t c t ere a re
ex tinguished and the combustion blower and its indicator
t ut prr t penn te re r r a r
Place the stove away from combustible walls at least as far
as shown in igures and . Note the difference in side wall
clearance with and without side shields.
Note that the clearances shown are minimum for safety but do
not leave much room for access when cleaning or servicing.
Connect the power cord to a 120 .A.C. 0Hz grounded
receptacle. (A surge protector is recommended to protect the
circuit board.) Also be sure that the polarity of the outlet that the
stove is plugged into is correct.
Prior to installing the ue pipe, connect a draft meter. (The
draft meter must have a minimum range of 0-.5.) Record the
rst reading. Connect ue pipe to stove and be sure all doors
and windows in the home are closed. Record the second draft
reading. If the second reading is more than .05 lower
than the rst reading, check for possible restrictions or the need
for outside air (see page ). or more information on the draft
test procedure, refer to Page 20.
Mobile Home Installation
When installing this unit in a mobile home, several requirements
must be followed:
1. The unit must be bolted to the oor. This can be done with
1 lag screws through the 2 holes in the base plate.
2. The unit must also be connected to outside air. See page .
. loor protection and clearances must be followed as shown.
. Unit must be grounded to the metal frame of the mobile home.
CAUTION: This appliance must be vented to the outside.
Installation
inimum size rectangular oor protection (USA) is
28
51
eep By 2
Wide.
loor protection dimensions for the front and sides
are measured from the appliance door opening in
The United States. In Canada, the side dimension is
measured from the widest part of the appliance.
L
J
F loor Protection
R eq uirements
US
Canada
Sides
Rear
200mm
200mm
K
ront
50mm
F ig. 3
9"(228mm)With Side Shields
13"(330mm) Without Side Shields
F ig. 4
2"(51mm)
36"(914mm)
14" (355mm) with
side shields
20" (508mm)
without side shields
14" (355mm)
20" (508mm)
9"(228mm)-
13"(330mm)
9"(228mm)-
13"(330mm)
Alternate floor protector
dimension may be used
as long as they satisfy the
measurement requirements
shown below.
Minumum size oor protection
for a corner installation hearth
pad is 36" x 36". Clearance
shown as 9" with optional side
shields installed.
J
USA
K
L
J
CANADA
NOTE:
easurement L
is measured from
the pedestal base
in the US ONLY
NOTE:
easurement
is measured from
the glass in the
US ONLY
Floor protector
W AR NING
THE STR UCTUR AL INTEG R ITY OF THE MANUF ACTUR ED
HOME F LOOR , W ALL, AND CEILING / R OOF MUST BE
MAINTAINED.
DO NOT INSTALL IN SLEEPING R OOM.