KIPW HEATER INSTALLATION MANUAL
|
PAGE 3
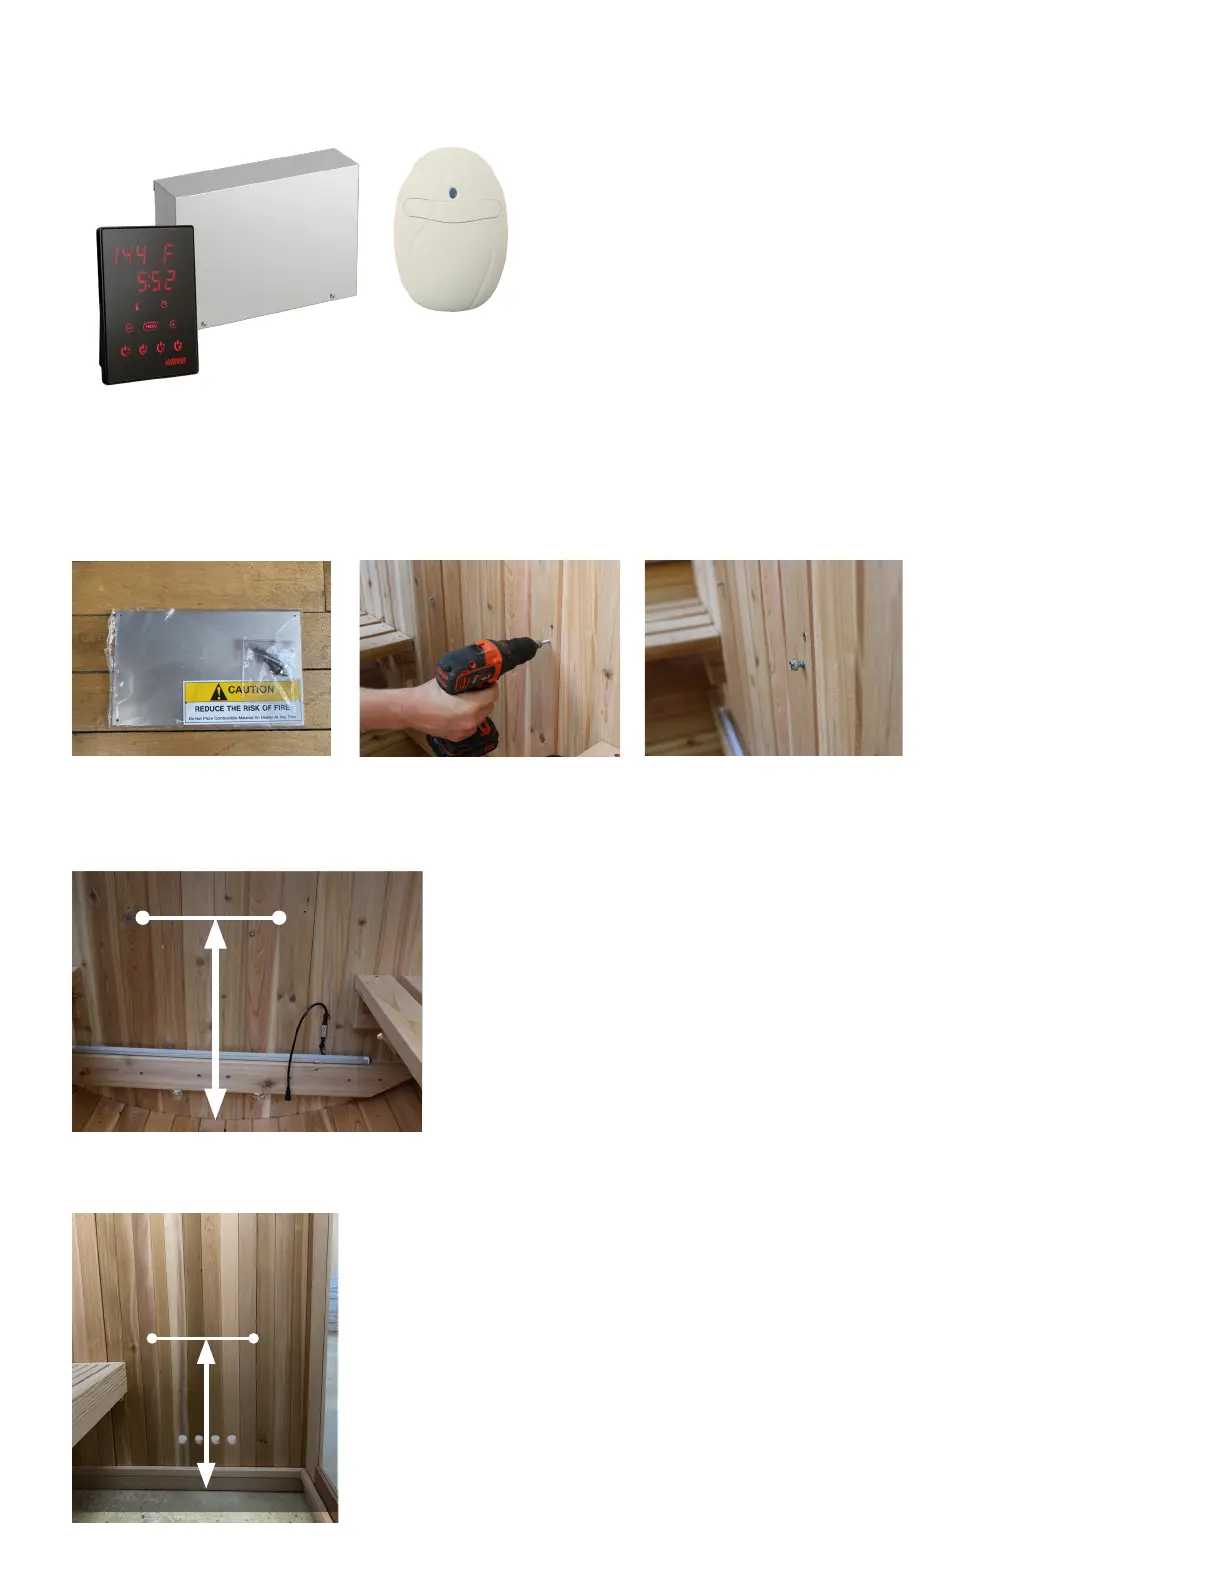
Note: It is possible you will receive two temperature sensors - one in the heater box and one in the Xenio control box. They are the same
sensor - set one aside as a spare for possible later use.
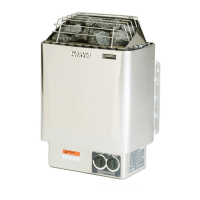
The KIP heater is a wall mounted unit. Position the heater in the designated heater location in your sauna according to the
instructions below.
Removethehardwarebagfromthebaggiewiththesafetyplacards(2),selectingthetwolongerlagscrews(1.5”).Youwillsecure
theseintothesaunawallsothat¼”ofthescrewprotrudesfromthewall
a. For barrel saunas,the11/2”lagscrewsshouldbemountedapproximately20”othelowestpointofthebarrelandspaced15
1/4”apartandcenteredabovetheventholes.Note:TheheaterwillconcealaportionoftheLEDlight.Thisisnormal.
b. For indoor saunas,thescrewsshouldbemounted20”otheoor,andspaced151/4”apartapproximatelycenteredabovethe
ventholes(ifpresent).Itisnethattheheateriscoveringtheholesasventilationstilloccurs.
20”
15 ¼ ”
20”
15 ¼ ”
Touchpad
Temperature sensor
PowerUnit
 Loading...