KIPW HEATER INSTALLATION MANUAL
|
PAGE 4
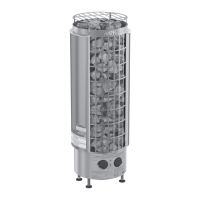
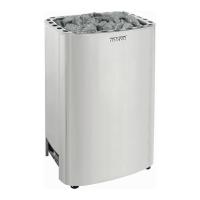
Hangtheheateronthemountingscrewstoensureitislevelandthatitsbasesits5-7”otheoorofthesauna.
If these criteria are met, make a mark on the wall of the sauna directly behind one of the rubber gaskets on the lower back of the
heater; this will be where the power enters the sauna. Take the heater o the wall and remove the rubber gasket, exposing the
cutout. It does not matter which gasket is removed.
NOTE: While this location is the most common, the power can enter the sauna at any location. It is not recommended you use the pre-
drilled vent holes as an entrance for the conduit.
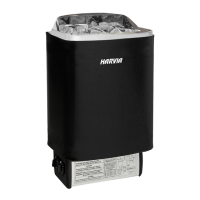
Removethetwoscrewsholdingthestoneguardinplace.Prytheguardbackandliftuptoremoveit.Cliptheziptieholdingthe
heating elements in place being sure the tie doesn’t fall into the heater.
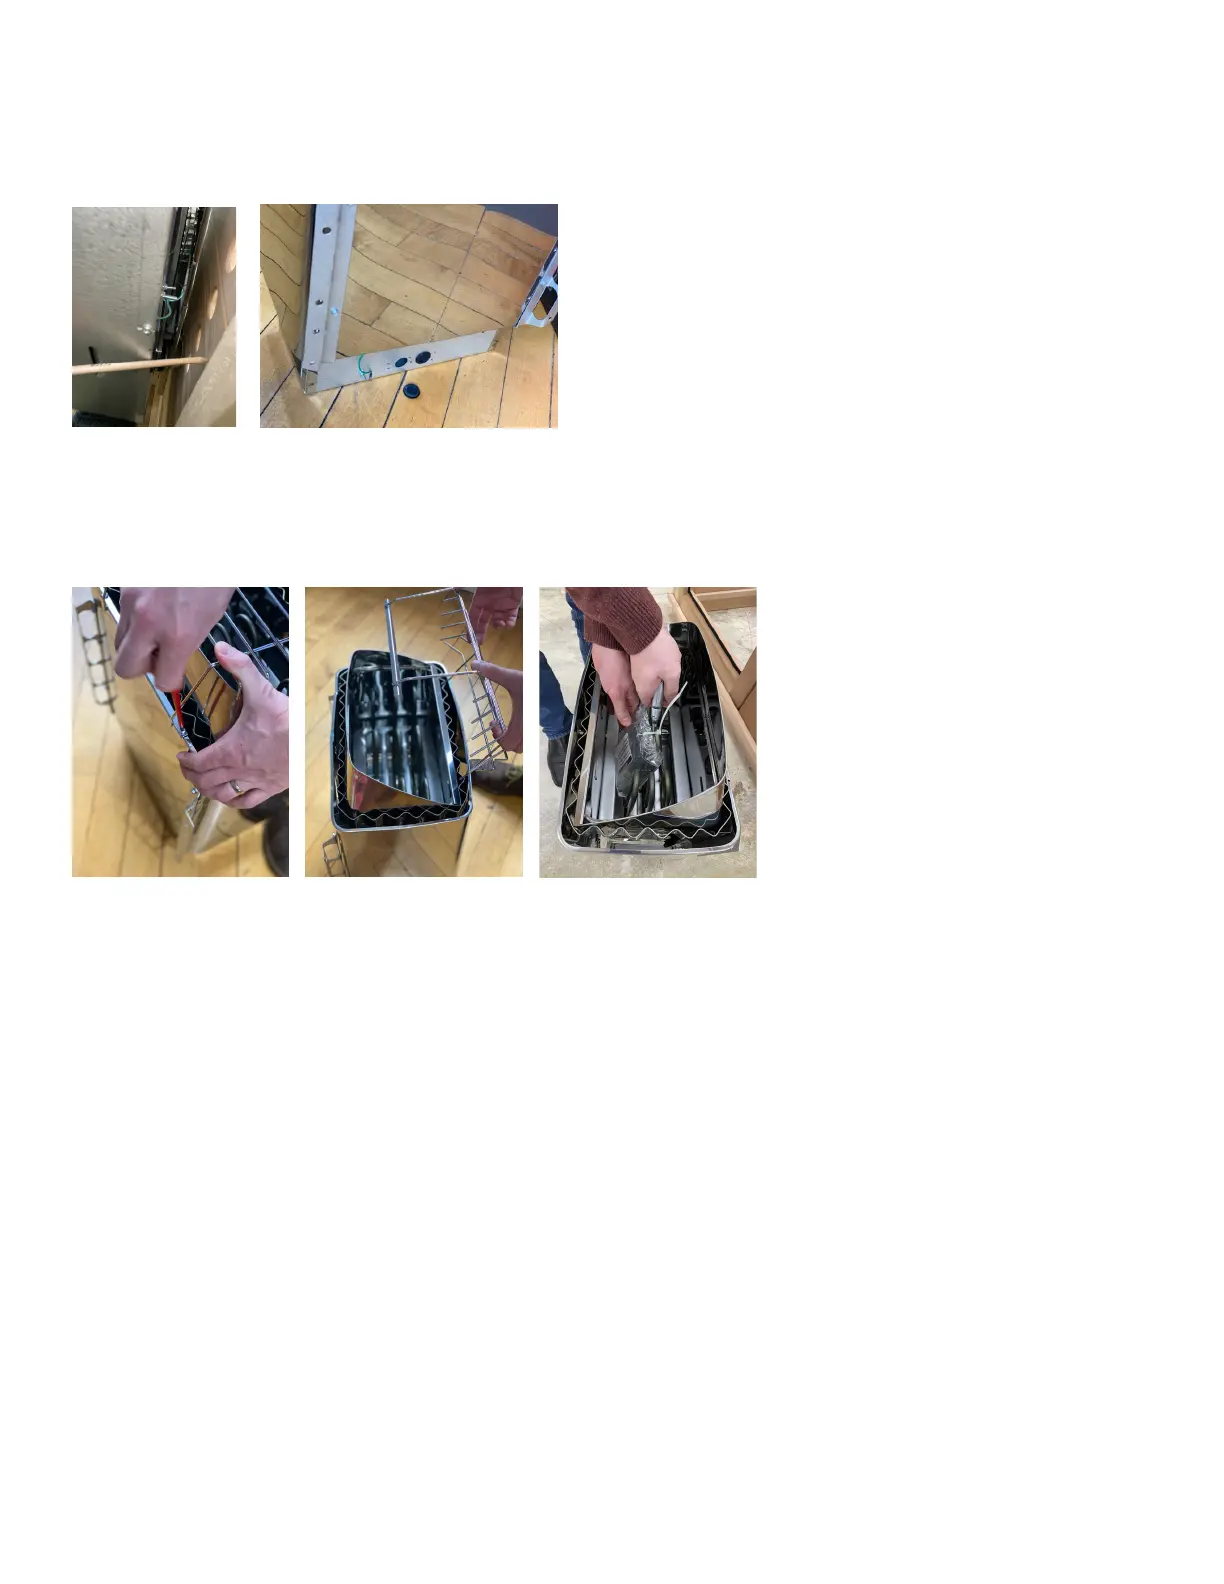
Flip the heater on its back and remove the bottom cover so your electrician can gain access to the terminal block.
 Loading...