XB-P / XB-A 7
ASSEMBLY INSTRUCTIONS
PART
NAME
Flat Washer
(M8)
2
2
2
6
7
1
M8 Lock Nut
(M8)
Carriage Bolts
(M8 x 50)
PART
DIAGRAM
NO. QT Y.
5
1
6
10
7
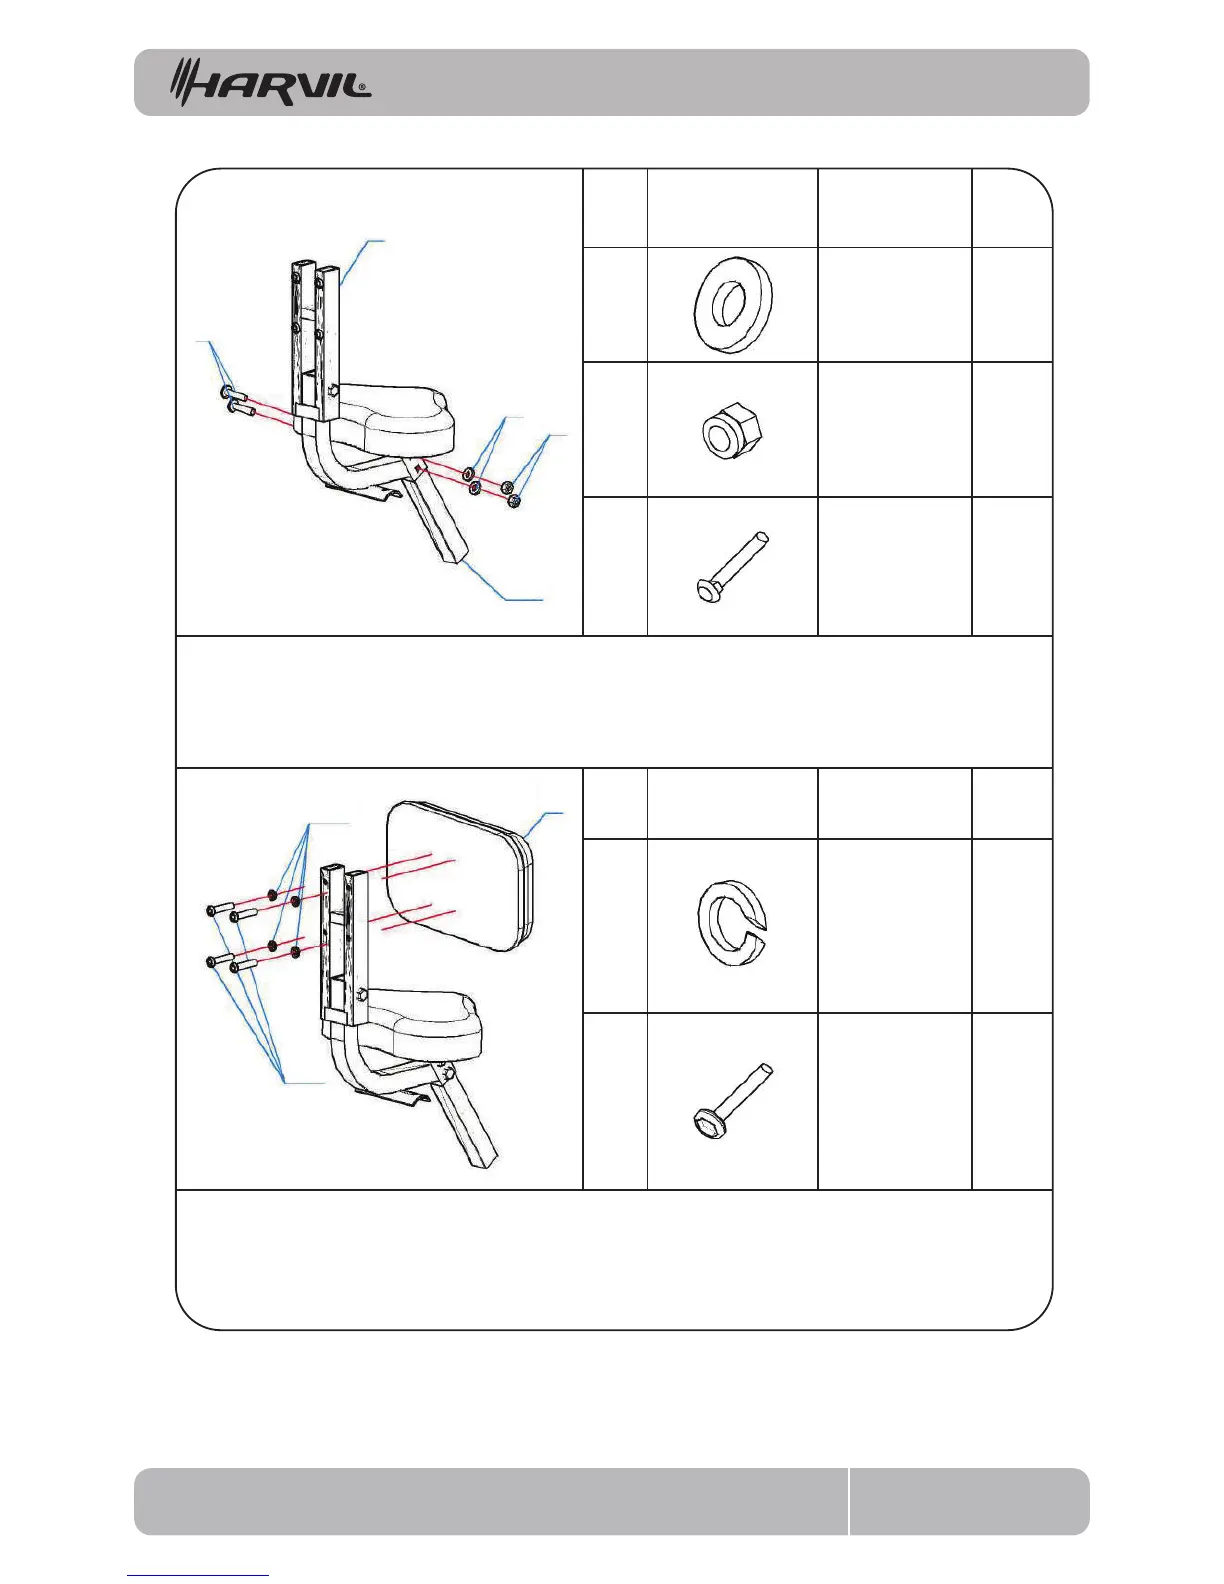
To align hole site of Back (5) & Seat Holder (10), use M8*45 Carriage Screw (1), Ø 8.5 Flat Washer
(6), M8 Lock Nut (7) to connect, then tighten M8 Lock Nut (7).
Step 3
PART
NAME
Spring Washer
(M8)
4
4
24
25
Semi-Round
Head Screw
(M8 x 45)
PART
DIAGRAM
NO. QT Y.
Use (25) and align with the back of a chair of 5 holes, Bolt with (24) connect Ø 8.5 Spring
Washer, tighten M8 x 50 Ball Stud (25)
Step 4
24
5
25