Press
unit
down
to power
on & off
When
pressed
down,
bottom
collapses
into unit
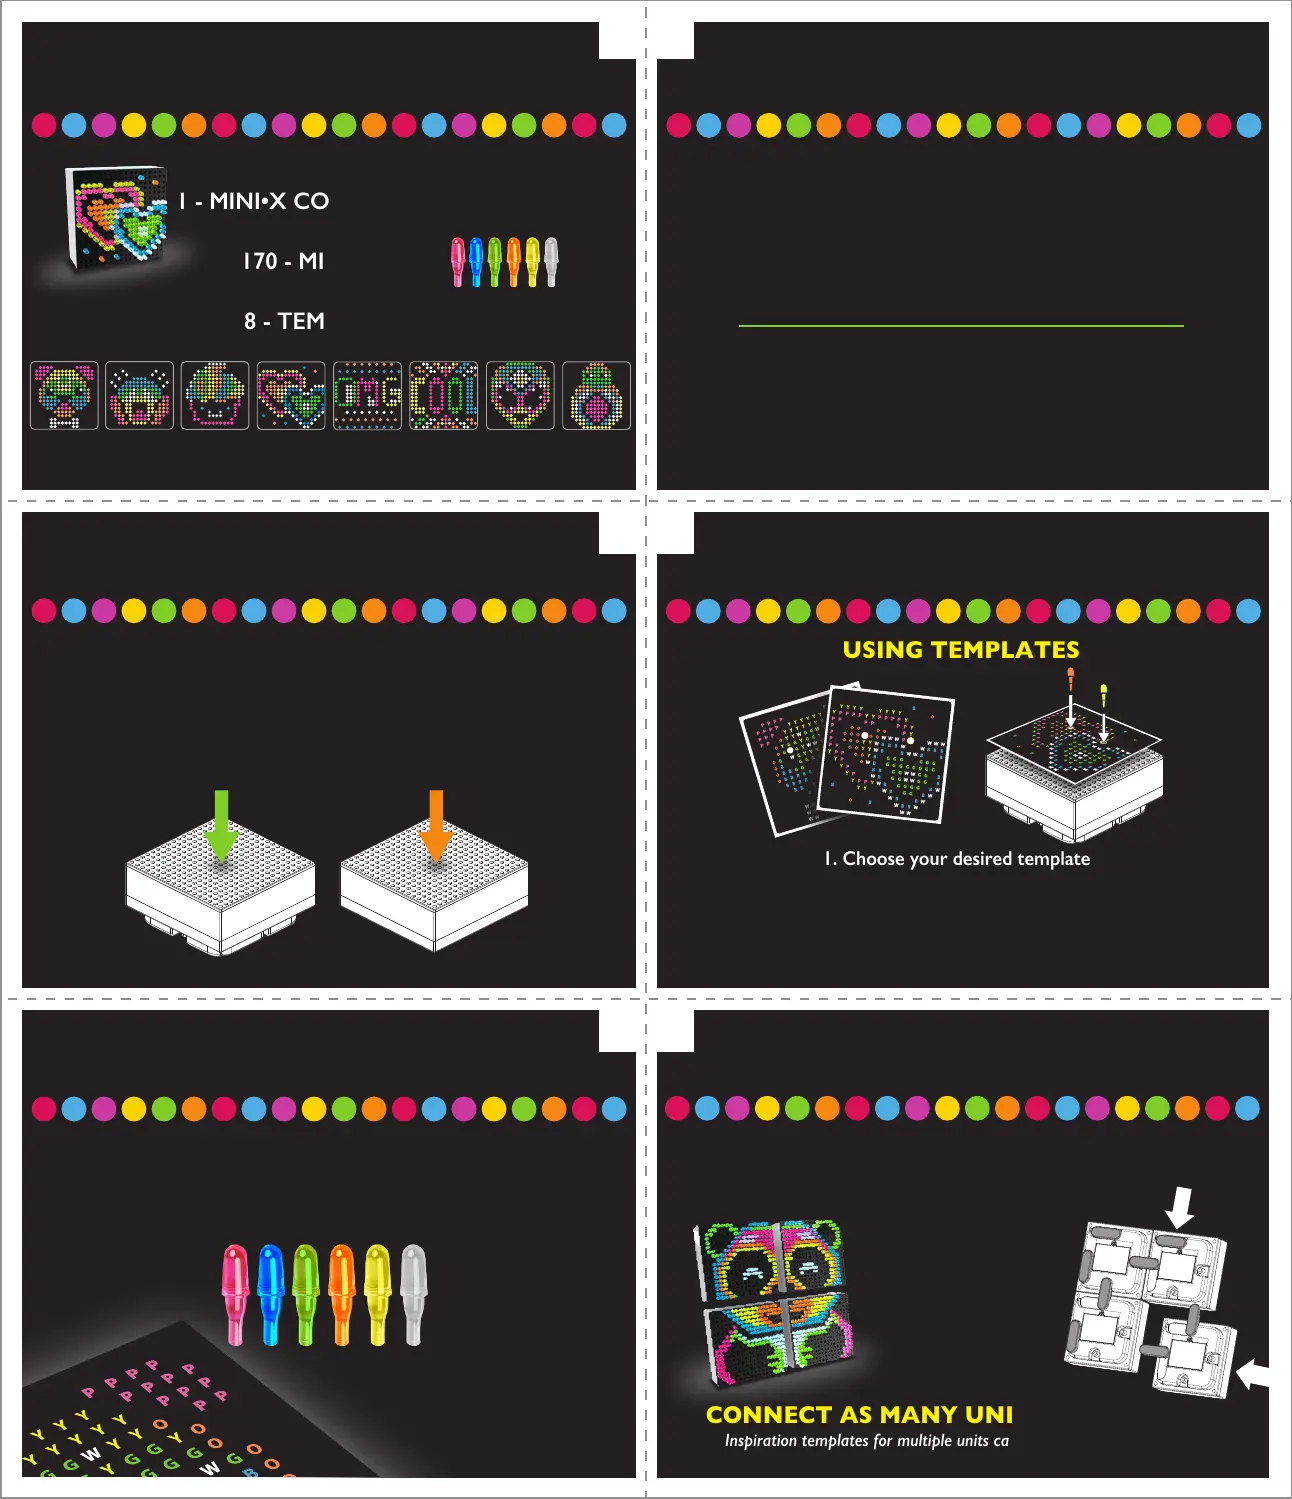
CONTENTS
1 - MINI•X CONNECT UNIT
170 - MINI PEGS
8 - TEMPLATES
POWERING UNIT
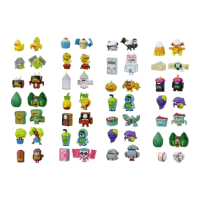
Frosty Cupcake
Extra Alien
Avocado Pit
Oh My Goodness
Cool Beams
Puppy Bones
2 of Hearts
OMG Face
The Lite-Brite Mini-X Connect unit is powered by 2 “AAA” batteries (not included).
Using a Phillips/cross head screwdriver (not included),
loosen the screws on the battery compartment cover
(screws stay attached to cover).
Remove the cover. Insert 2 “AAA” Batteries (not included).
Alkaline batteries recommended.
Replace cover and tighten the screws.
TIP: Build unit while power is off to preserve battery life.
Installing Batteries
After installing your batteries,
the Mini-X Connect is ready to light up.
The front grid functions as a push button,
and can be pressed down to power on.
To turn off the unit, simply press down on the grid again.
2.1.
4.3.
6.5.
TURN ON/OFF UNIT
INSERTING PEGS
CONNECTING UNITS
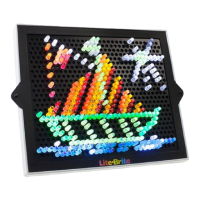
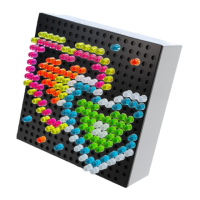
BUILDING YOUR ART
1. Choose your desired template
USING TEMPLATES
When building your art, insert the pegs on the matching
color mark on the template. For example,
Blue pegs go on areas marked with a blue “B”.
IF YOU HAVE MORE THAN ONE MINI•X CONNECT
UNITS, YOU CAN CONNECT THEM TOGETHER
TO EXPAND YOUR ARTWORK!
Inspiration templates for multiple units can be found at basicfun.com!
CONNECT AS MANY UNITS AS YOU LIKE!
To connect units,
use the fixed
connector pieces
in the back of the
unit to connect to
open slots on
2nd Mini
•
x Connect.
2. Place the template on top of the grid
3. Put a peg into each of the precut
holes to help stabilize your template.
 Loading...