EasyManuals Logo

Hasselblad 503CW Instruction Manual

Hasselblad 503CW
39 pages
To Next Page IconTo Next Page
To Previous Page IconTo Previous Page
Page #7 background imageLoading...
Page #7 background image
LI
'CI
Attaching
the Lens
Make sure
that both
camera and lens
are fully
wound. The adjacent
illustration
shows the correct
relationship
between
the drive shaft,
the lens drive
coupling
and their indexes.
If
the lens is not
wound,
you
can
insert
a coin in
the coupling
slot
and
rotate
it clockwise
until it
locks
(about
4/5
of a turn)
When
you
have aligned
the red index
on the lens
with the one
on the camera
as shown in the illus-
tration, the lens
will drop
easily into the
bayonet
fitting. You
can then rotate
it
clockwise until it
stops with a faint
click as the lens
catch locks it
in
place.
Remouing
lhe Lens
Depress the lens
release
button and rotate
the lens
counter-clockwise
until it stops
and lift it out
of
the mount.
I
a,

Other manuals for Hasselblad 503CW

Questions and Answers:

Question and Answer IconNeed help?

Do you have a question about the Hasselblad 503CW and is the answer not in the manual?
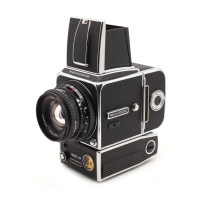
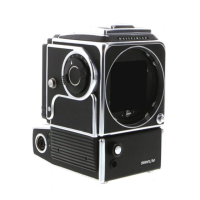
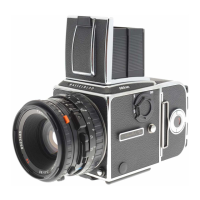
Hasselblad 503CW Specifications

General IconGeneral
Camera TypeMedium format SLR
Exposure ModesManual
FocusManual focus
Lens MountHasselblad V mount
Shutter TypeFocal-plane shutter
Flash Sync1/90 sec
MeteringExternal metering required
ViewfinderInterchangeable viewfinders (waist-level, prism)
Shutter Speed1 sec to 1/500 sec, Bulb
Flash Sync Speed1/90 sec

Related product manuals