– Release clips „1“ and take off the cover of air
cleaner housing „2“ (Figure 46).
– Remove dirt adhering in the air cleaner area.
– Slacken off screws „3“ only sufficiently to
enable cover „4“ with the filter element to be
lifted off.
– Blank off the intake pipe opening with cloths
so that dirt or other foreign bodies cannot
enter.
– Clean filter housing and cover.
Spacer „5“ is attached to screw „3“ by flexible
bushing „6“, so that it cannot drop into the in-
take pipe during dismantling and assembly work.
– If the spacer is loose, renew bushing „6“.
The filter cartridge is either renewed or, depend-
ing on the degree of contamination, checked and
cleaned as follows:
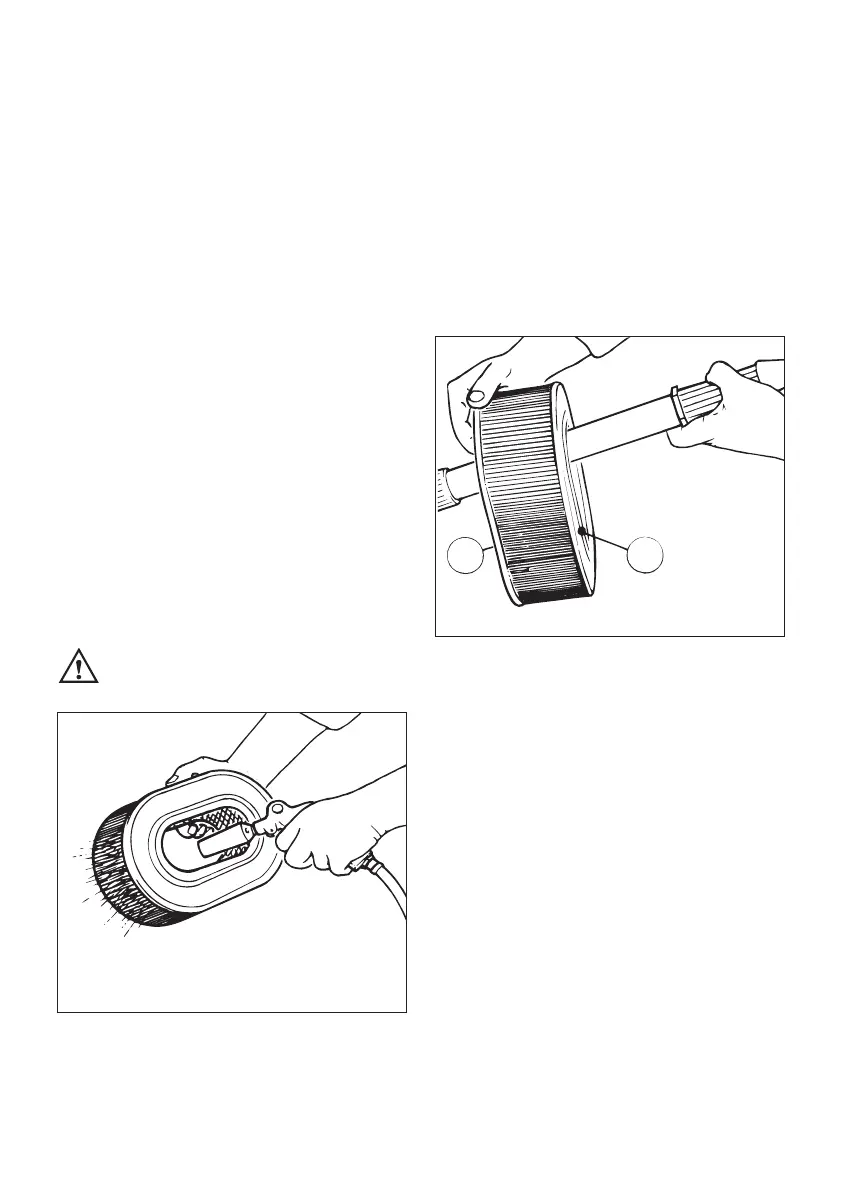
Cleaning the air filter cartridge
Dry contamination
Persons handling compressed air must
wear protective goggles.
47
– Blow through the filter cartridge from the in-
side outwards with dry compressed air until
no more dust emerges.
Important
Air pressure must not exceed 5 bar, and the
compressed air jet must be held approx.
150 mm (6 in) away from the filter cartridge.
Damp or oily contamination
– Renew the filter cartridge
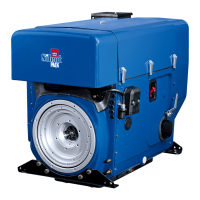
Checking the air filter cartridge
48
– Examine sealing faces „1“ on the filter car-
tridge for damage.
– Hold the air filter cartridge at an angle against
the light or shine a lamp through it to detect
any cracks or other damage to the paper ele-
ment.
Important:
If there is the slightest damage in these areas,
the filter cartridge should not be re-used.
Installing the air filter cartridge
– Assemble all parts in succession, making sure
that they seat firmly and make a reliable seal.

 Loading...