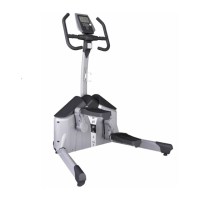
STEP 12:
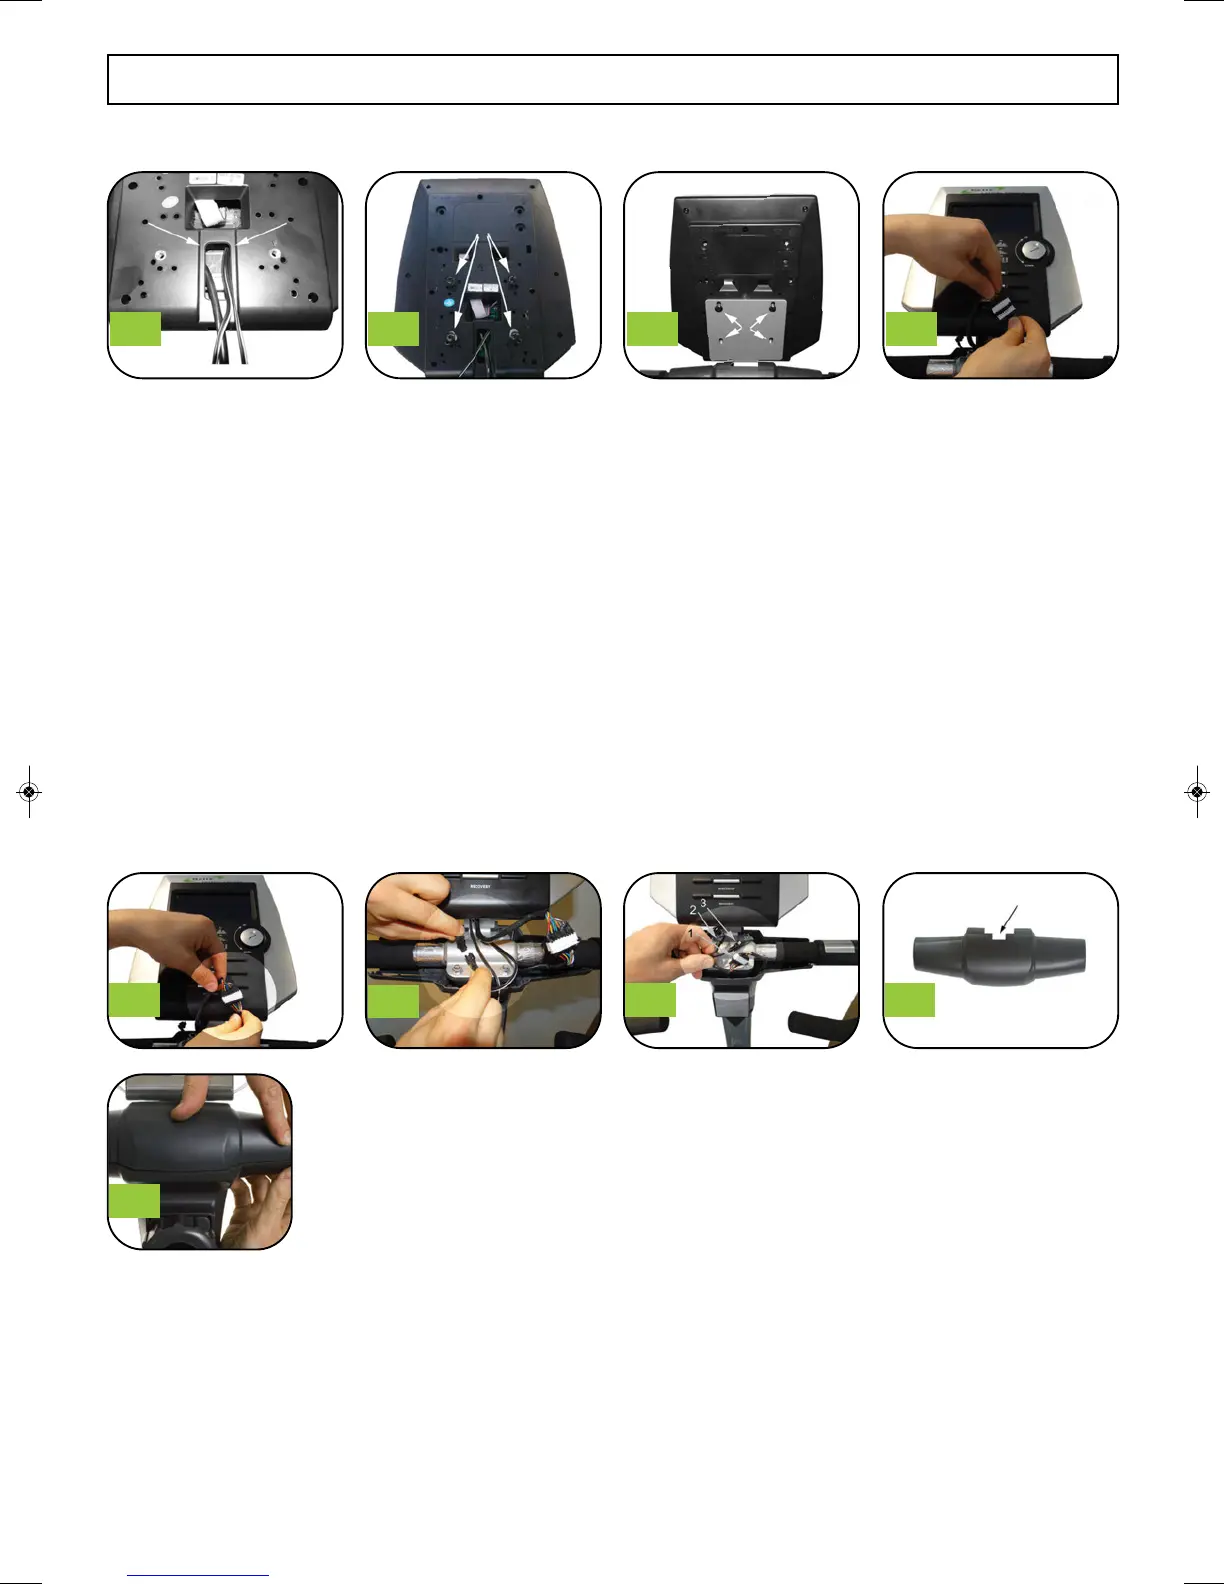
a. There should now be 3 wires. two coming from the handle bars and one that you held from the upright
when installing the handle bars. Hold all three wires together as shown in Figure #1 above.
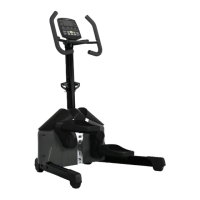
b. Take Top Cover (part #9) and position with the notch in the rear to allow wires to come out.
See arrow in Figure #2.
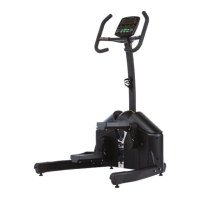
c. Place plastic cover top onto the matching lower cover while making sure the wires are held through the
notch. (See Figure #3)
d. Gently snap the top cover onto the lower cover until all edges are flush. Gentle but firm pressure is required
to snap the two covers together. (See Figure #4) for method to press parts together.
See Figure #5 for final fit with wires in hand
1
2
3
4
3/ ASSEMBLY - COVER AND HANDLE BARS
- 12 -
1 2 3 4
5
 Loading...