5
NL
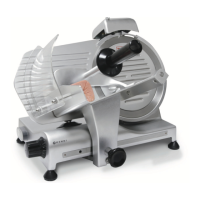
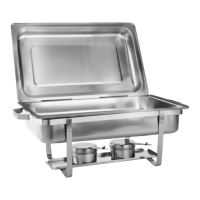
1. Top view of the appliance 2. Attach the sharpening module
in such a way that the blade
does not move between the
wheels.
3. Secure the sharpening device
to the machine by tightening
the holder. Check to make
sure that the sharpening de-
vice is well secured before us-
ing the machine.
NOTE! The sharpening device is equipped with a safety switch. If the sharpening device is not properly at-
tached, you will not be able to use the appliance.
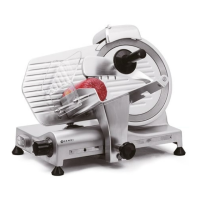
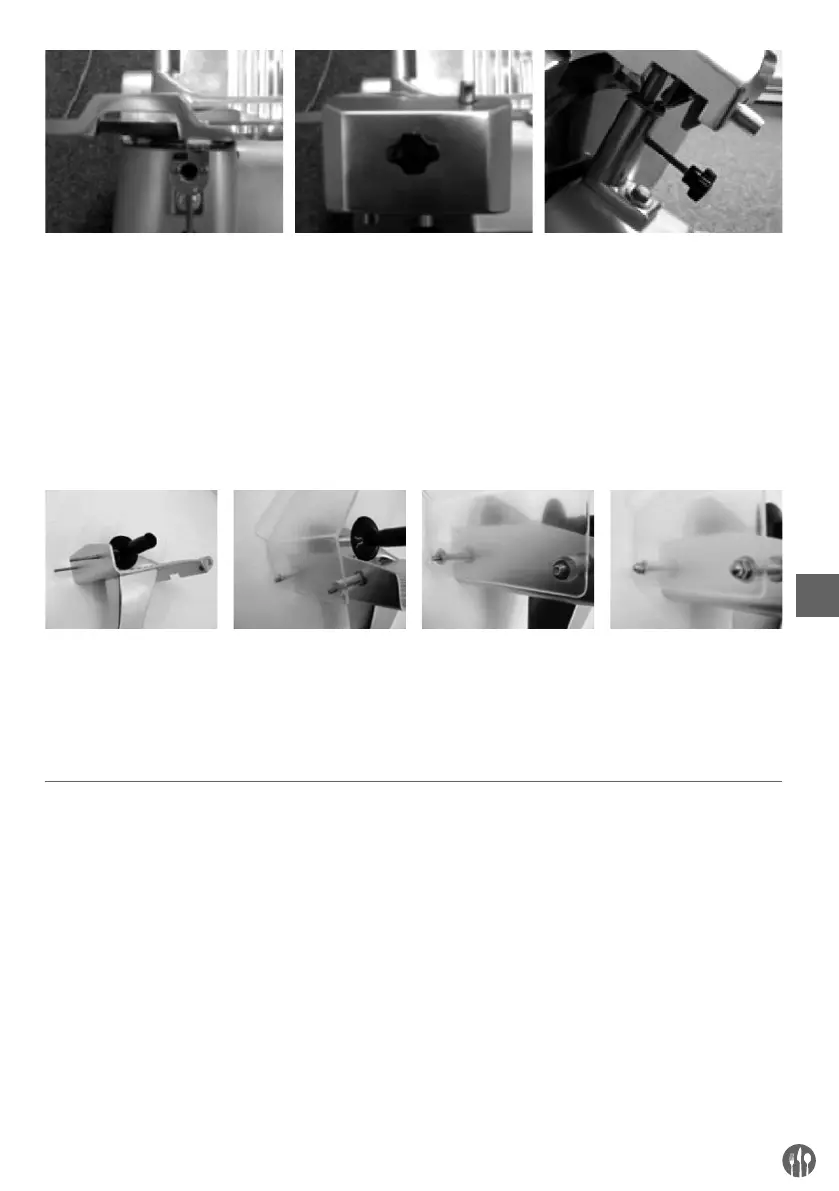
• Attach the hand guard.
1. Place both screws in
the carriage.
2. Attach the hand
guard.
3. Place the two wash-
ers over the bolts.
4. Screw on the two
dome nuts.
NOTE! You are advised not to use the appliance if the hand guard is not attached as instructed! These are
safety features that will prevent possible injury. If you do not attach these features, there will be a risk of
injury.
Instructions for use
• Position the appliance so that the on/off switch is
facing the user.
• If the blade sharpener has not been installed,
proceed as follows:
- Position the blade sharpener in its support so
that the blade does not extend between the
gears.
- Tighten the safety screw on the blade sharpen-
er.
• Turn the appliance off (the appliance is equipped
with a safety switch and will turn off automatical-
ly if the sharpening device is removed)
• Push the plug in the wall socket.
• Turn the dial with the graduated scale to the de-
sired slice thickness.
• Switch on the appliance using the on/off switch.
The blade will start to turn.
• Put the food product on the carriage and adjust
the clamp to hold the product firmly in place.
Make sure the product is positioned against the
stop plate.
• Once the product has been sliced, switch off the
appliance with the on/off switch. The blade will
stop turning.
• Turn the thickness dial back to “0”.
EN