3 - USING THE STOVE
Once your stove has been installed and connected
to the chimney, you are ready to light the re.
Although your stove is easy to use, the combuson
process of solid fuels is complicated, as it involves
several factors and it takes me and experience to
understand the process.
Before lighng your stove for the rst me, please
take me to become familiar with the dierent
control systems and parts of the unit, how to
choose the wood, how to light it and use it on a
daily basis.
ALWAYS KEEP IN MIND that the stove generates
heat and, therefore, keep children, clothing,
furniture... at a distance to prevent burns from
direct contact with the appliance.
Below, we have included some advice on your
stove and on its use. Please read with care.
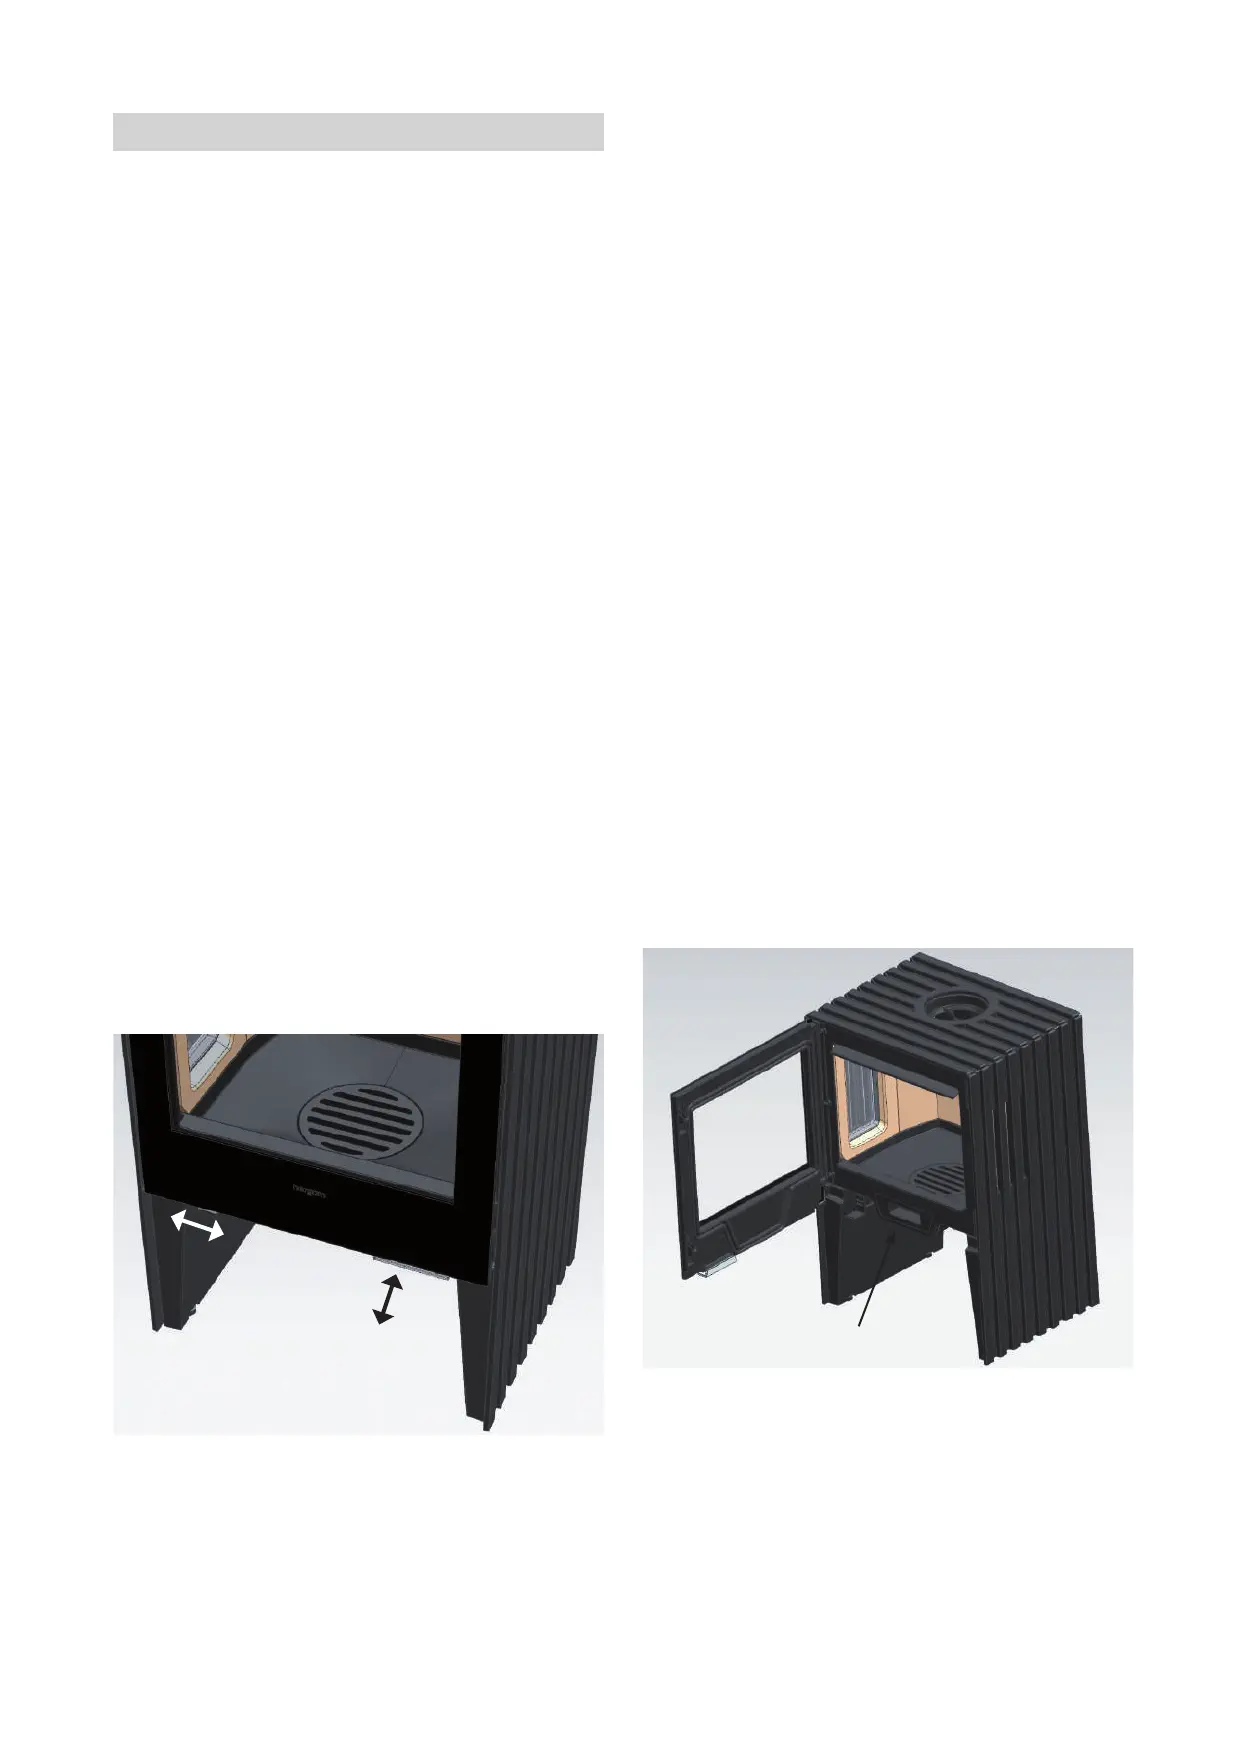
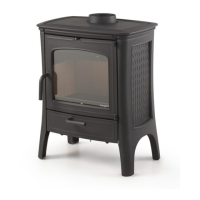
Door mechanism
To open the door, hold the handle and pull gently
towards you. You must use the supplied glove
The door can open up to 95º
To close the door, grasp the handle and gently push
the door to the stove. You must use the supplied
glove. (Fig. 3).
Adjustment - Glass Cleaning Valve
Fully open the glass pane cleaning air valve when
lighng the stove.
Once an ideal combuson rate has been achieved,
adjust the vale to prevent excessive air intake,
which will cause excessive combuson levels and
temperatures.
The intermediate posion is usually the ideal
adjustment, depending on the quality of the draw
of the chimney installed and on the type of fuel
being used (hard or so wood) (Fig. 3).
Ash pan
Very important!
Only handle the ash pan when the stove is cold.
To clean the ash, li the blind grill located at the
boom of the stove.
Use a tool (brush) to sweep the ash into the ash-
pan.
The ash-pan is located in the front of the stove
(Fig. 4).
To remove the ash-pan from its posion, pull the
handle rmly (Fig. 5). Once you have emped the
ash, replace the ash-pan and push it into his place
again.
FIG. 3
Open valve
Close valve
Close door
Open door
FIG. 4
Ash Pan