Preparing
the
machine
for use
.
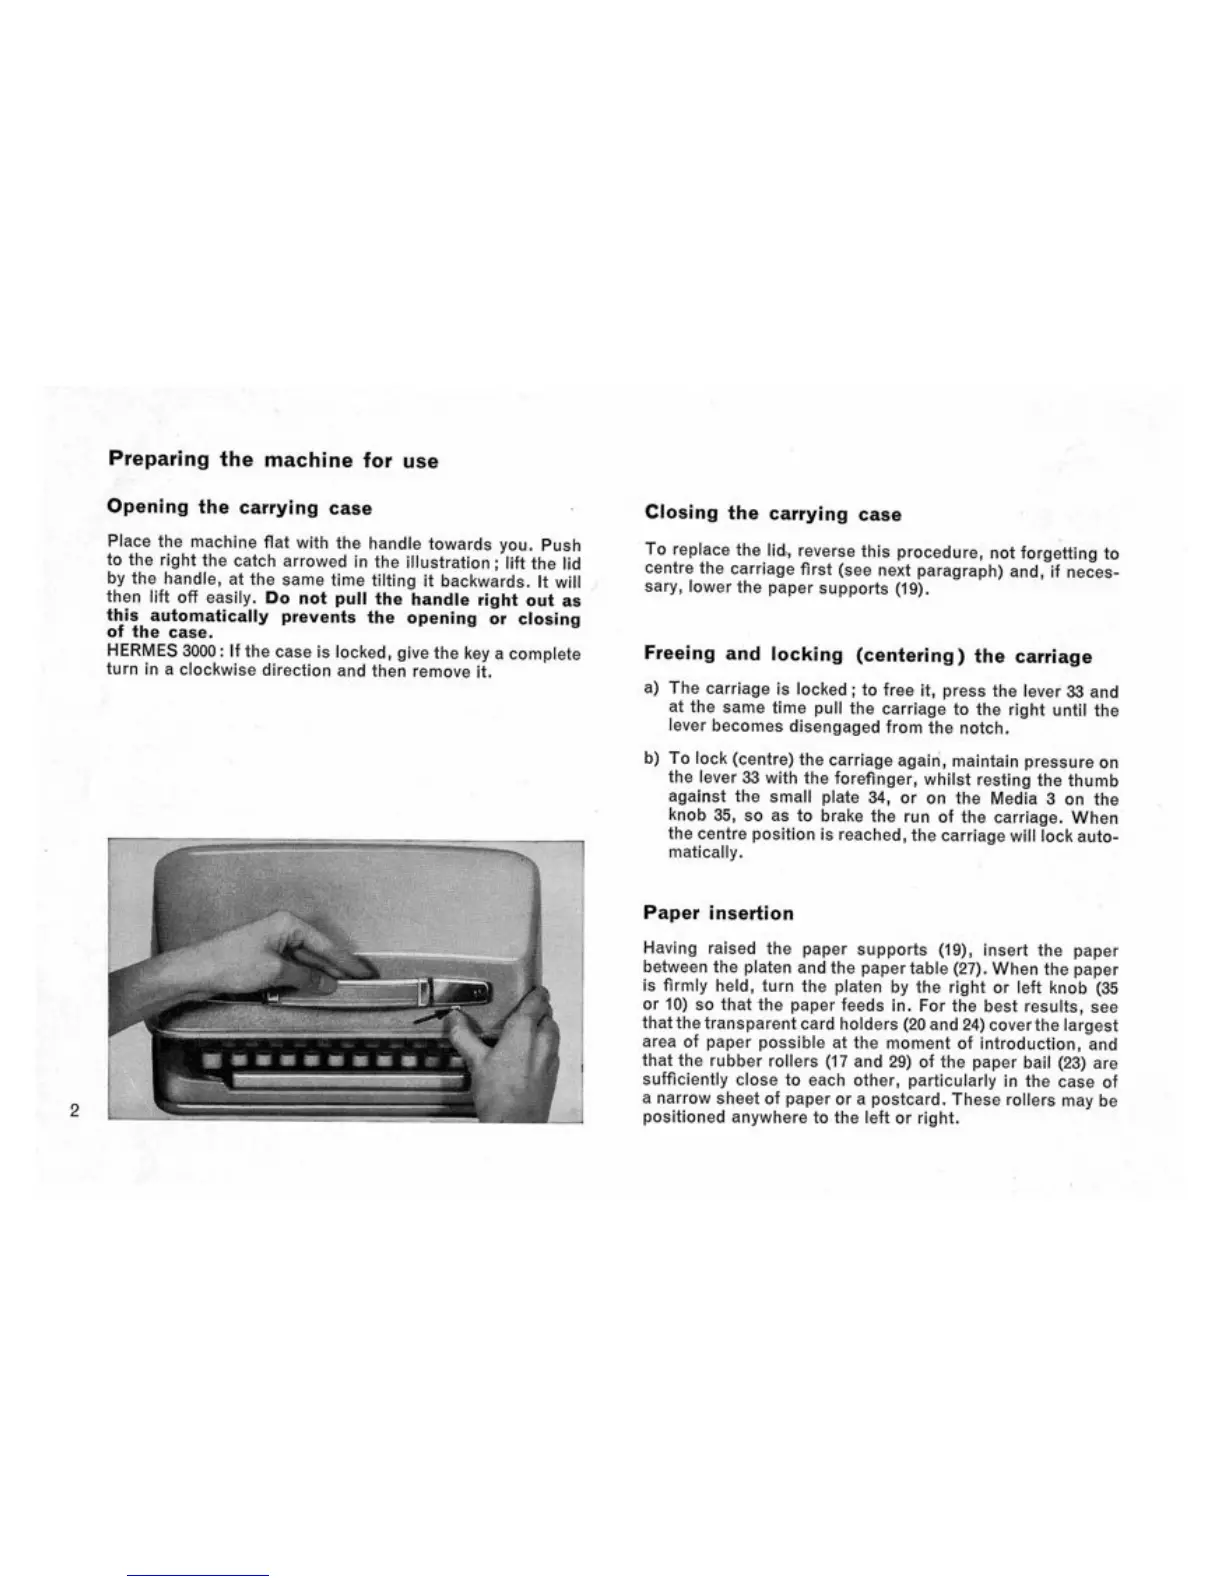
Opening
the
carrying case
•
Place
the
machine flat with
the
handle towards
you.
Push
to
the
right
the
catch arrowed
in the
illustration;
lift
the lid
by
the
handle,
at the
same time tilting
it
backwards.
It
will
then lift
off
easily.
Do not
pull
the
handle right
out as
this automatically prevents
the
opening
or
closing
of
the
case.
HERMES
3000:
If the
case
is
locked, give
the key a
complete
turn
in a
clockwise direction
and
then remove
it.
-
J
i
2
i;
" •
•' '-'
;;
:
:.;c.:c:.:-:x->:;:-:
:
o:o!y:W
£;•:•:*:•:•:•:•:•:•:--.-;
•:•;•: •:•:• :•:•: •:-:• .
:*:«*::>:
:
>;v:*:*:*:'>:-:v:-:^^^
;io«:::-::::::;
:
::^:o:»<:
61 Boo
RBfc-flo ys »0B »B «fS ^g» w8r a
« 88
OBH
rawitWMfiiiiiii
Tnnrint
r
nTiprr
"hi'1~
nil"'
' IH H i™ i
I?I
r
nTFnrrn
:->£W:^
:
:&:
««*»•
&&«
>
:
:V>:^:-;
:
;
:
::i^:-:
:
<:
:
>:v:;:
:
;
;
:
;
-:^":^•:•:v;o:^:^^?>;v;v:o:•^:•:•:o:-•;v;•^:'^:•^:•^:•:•:^•:•^:•^;^:•^^':^^-:•^::
$£&:&&:o&*
S*^£*S;#£;&
:
S£o:3:&
'-•••.••vji.v •' • '
* ' .
r
i'i".
'•' *l ^C C fc AJ wj Ow > L
,
>>>L'>i v i ' i
&i&^:i&:*:^^
fctt&&[££&-&&&d
Closing
the
carrying case
To replace
the lid,
reverse this procedure,
not
forgetting
to
centre
the
carriage first
(see
next paragraph)
and, if
neces-
sary, lower
the
paper supports
(19).
-
Freeing
and
locking (centering)
the
carriage
a)
The
carriage
is
locked
; to
free
it,
press
the
lever
33 and
at
the
same time pull
the
carriage
to the
right until
the
ever becomes disengaged from
the
notch.
b)
To lock (centre)
the
carriage again, maintain pressure
on
the lever
33
with
the
forefinger, whilst resting
the
thumb
against
the
small plate
34, or on the
Media
3 on the
knob
35, so as to
brake
the run of the
carriage. When
the centre position
is
reached,
the
carriage will lock auto-
matically.
Paper insertion
Having raised
the
paper supports
(19),
insert
the
paper
between
the
platen
and
the
paper table (27). When
the
paper
is firmly
held,
turn
the
platen
by the
right
or
left knob
(35
or
10) so
that
the
paper feeds
in. For the
best results,
see
that the transparent card holders (20 and 24)
cover
th e largest
area
of
paper possible
at the
moment
of
introduction,
and
that
the
rubber rollers
(17 and 29) of the
paper bail
(23) are
sufficiently close
to
each other, particularly
in the
case
of
a narrow sheet
of
paper
or a
postcard. These rollers
may be
positioned anywhere
to the
left
or
right.
 Loading...