Hermida Audio Technology Pedal Quick-Start Guide
Page 5 of 5
Reverb Pedal
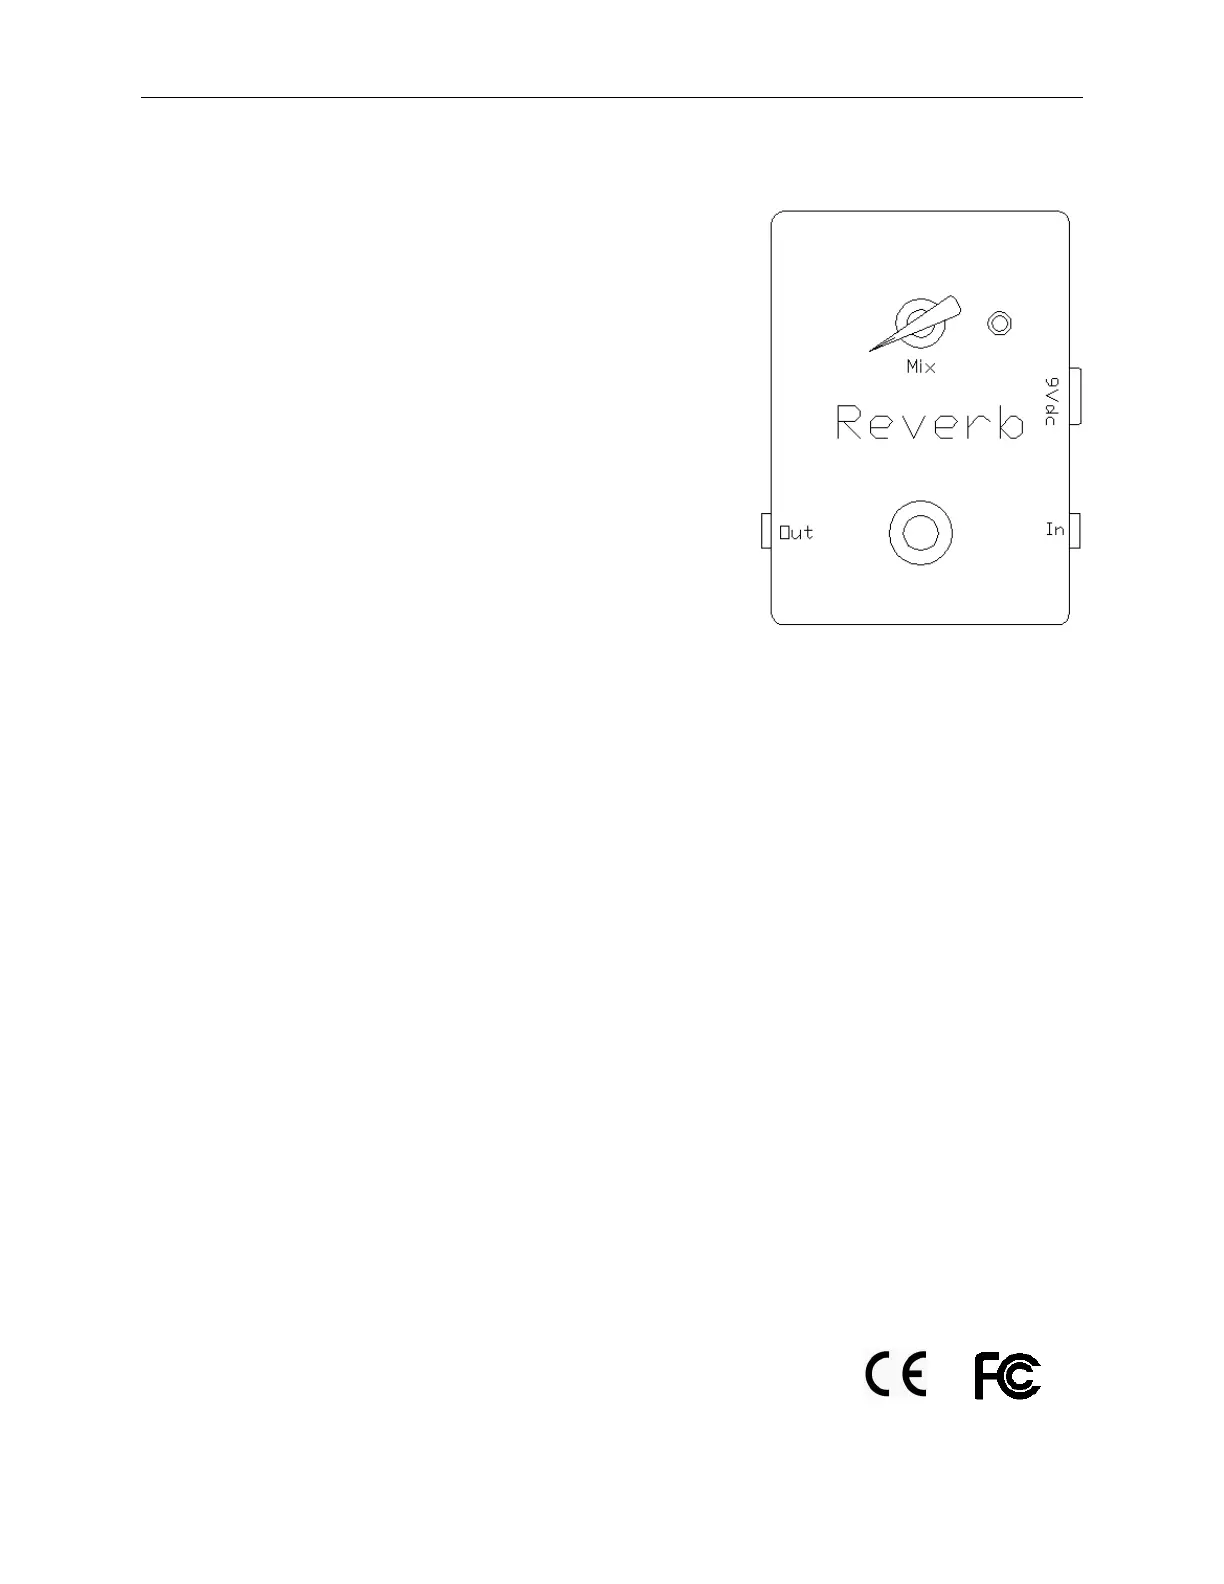
The Reverb pedal (Diagram E) offer s a simpl e and
effect i ve w ay t o add r ever b t o your favor i t e ampl i fi er .
The Reverb has both analog and digital signal paths in
order to maintain the war mth and response of the
original signal . Bot h signals ar e mi xed t oget her and sent
to the output of the pedal.
The Reverb has the following configuration:
1. Mix knob
2. In/ Out jacks
3. 9V DC adapter jack
4. St a t u s L ED
5. Bypass footswitch (t r ue bypass)
6. 9V battery clip (located inside the unit)
Note: It is highly recommended that the pedal be power ed
with a 9V DC adapter (included) or the power from your
pedal board. The pedal can operate with a battery but it will
consume t he batt er y quickly.
Rever b Pedal Oper ati on
1. Install a battery or DC adapter plug into the unit and connect the audio signal from
anot her pedal or gui t ar t o t he In jack. Connect t he cabl e fr om t he Out jack to
anot her pedal or ampl i fi er .
2. Pr ess t he Byp ass f oot sw i t ch t o act i vat e t he p edal . The St at us LED w i l l t ur n On.
3. While playing the guitar, adjust the Mix knob. The Mix knob blends t he wet r ever b
si gnal w i t h t he or i gi nal dr y si gnal fr om t he i nput .
4. So m e u s er s l i k e t o u s e t h e a m p l i f i e r reverb in combination with the Reverb pedal.
To do this, set your amplifier with the built-in reverb on and while playing the
gui tar , acti vat e t he Rever b pedal. Adjust t he Mix knob t o t ast e. Thi s setup w il l all ow
you to have three different settings: one w i t h t he ampl i fi er r ever b onl y, one w i t h t he
Rever b p ed al onl y and one w i t h bot h t he ampl i fi er and t he pedal r ever bs on .
The Reverb pedal complies with the following regulations/ testing: