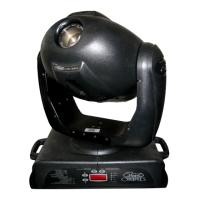
7-16 General Maintenance Studio Spot
®
250 / Studio Color
®
250 User Manual
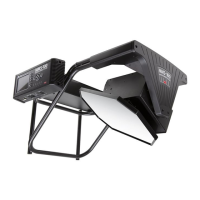
Replacing the Lens
You can replace the lens if it is damaged or broken, or to install an optional accessory
lens to achieve a different beam angle such as medium flood or extra wide flood (see
“Optional Accessories” on page intro-8).
Warnings: Disconnect power before servicing.
Equipment surfaces may reach temperatures up to 130° C
(266° F). Allow the fixture to cool before handling.
Replacing the Studio Spot
®
250 lens
You will need:
• replacement lens
• #2 Phillips-head screwdriver.
To replace the Studio Spot 250 lens:
1. Electrically isolate the fixture. If the fixture has been operating, allow the
fixture to cool before handling.
2. Remove the bezel by unlatching the two bezel latches (see Figure 7-8).
3. Remove the three #2 Phillips-head lens screws which secure the lens to the
lens assembly (see Figure 7-21).
 Loading...