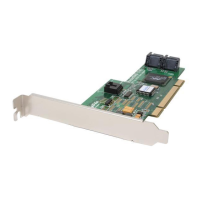
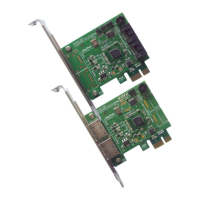
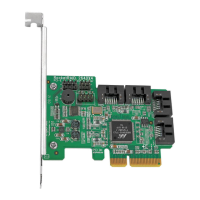
RocketRAID 174x Hardware Description/Installation
4. After installing the adapter, attach hard disks to the RocketRAID 174x using the
appropriate data cable. SATA cables have universal connections – either end
can be attached to the adapter or hard disk. Each RocketRAID 174x included
two standard SATA cables, for the internal ports (Port 3 and Port 4). The eSATA
ports are designed for use with external disk enclosures that utilize eSATA
connectors.
5. Many server-level chassis include hard-disk hot-swap bays. For these system
chassis, cables are attached to the chassis backplane, rather than directly to
each individual hard disk. Consult the chassis’s manual for proper installation
procedures.
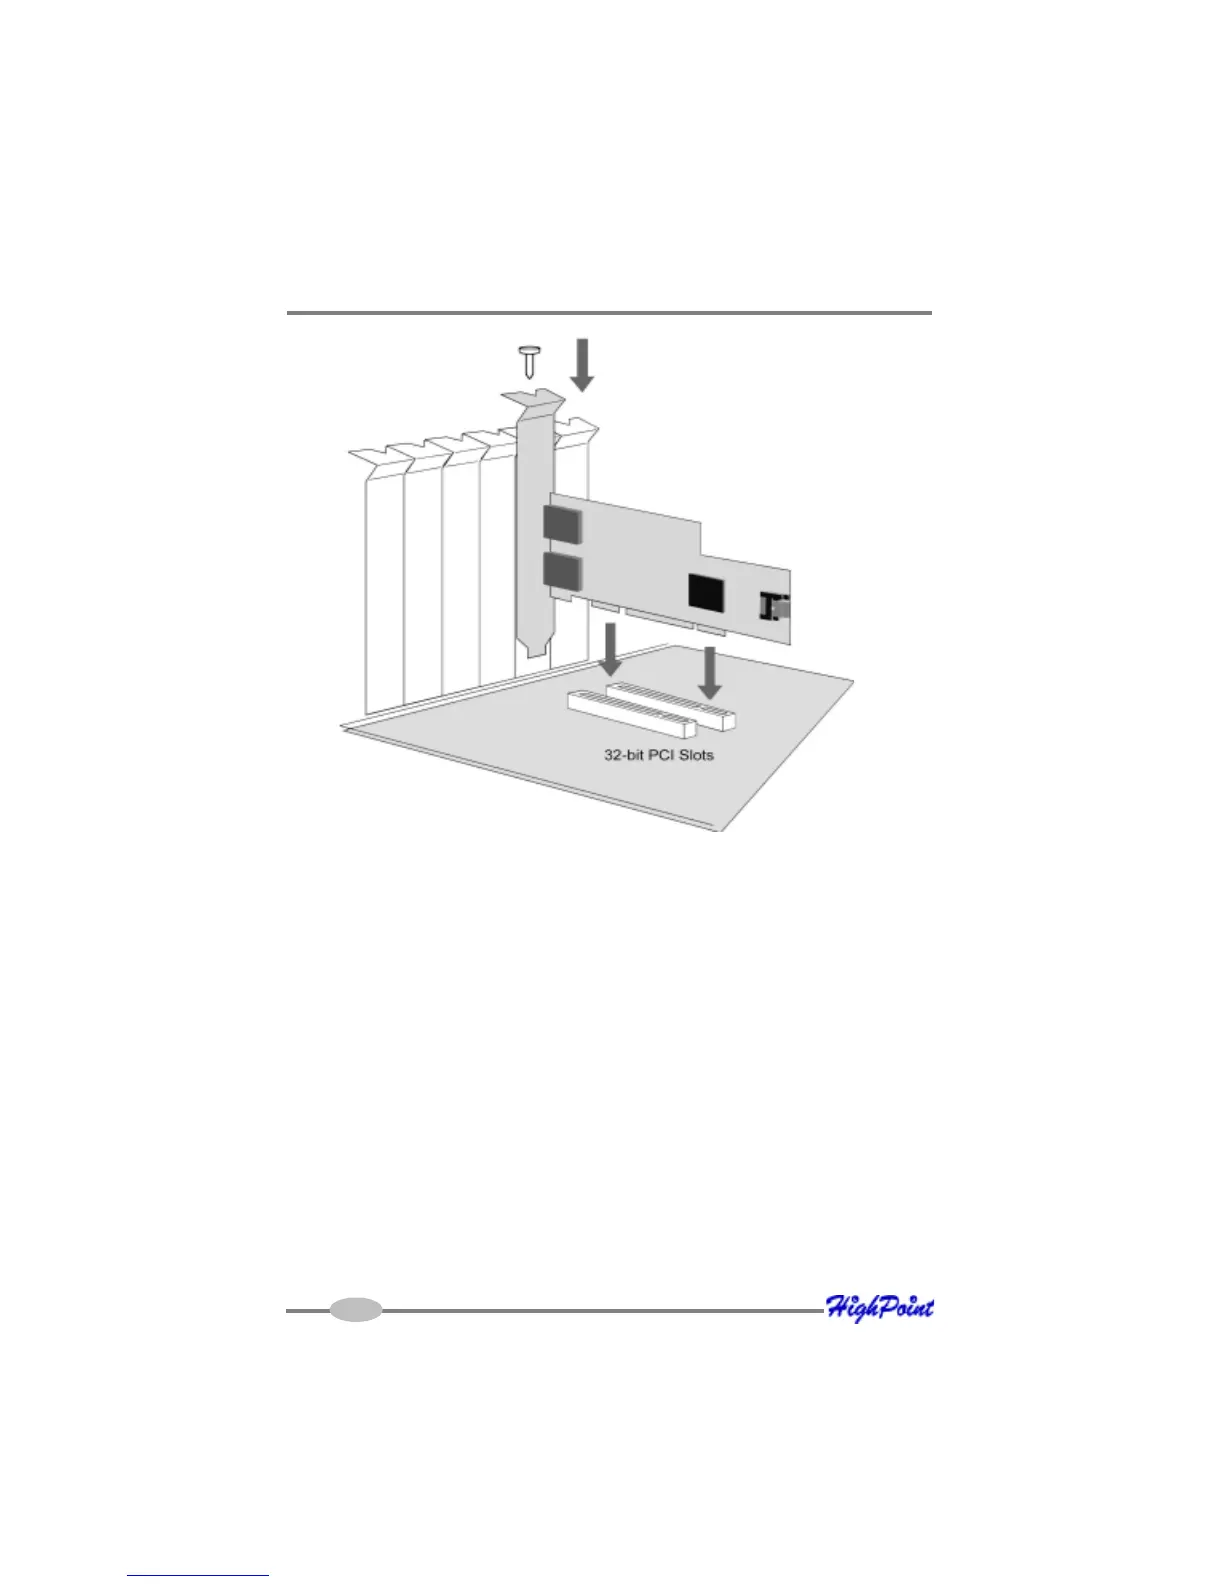
6. Close and secure the system chassis.
2-4