8
○ Since the built-in micro computer takes about 3
seconds to confi rm that the battery being charged with
charger is taken out, wait for a minimum of 3 seconds
before reinserting it to continue charging. If the battery
is reinserted within 3 seconds, the battery may not be
properly charged.
MOUNTING AND OPERATION
Action Figure Page
Removing and inserting the
battery
214
Charging 3 14
Switch Operation 4 15
Remaining battery indicator 5 15
Adjusting operating speed
*1
615
Mounting the blade 7 15
Dismounting the blade
*2
815
How to use the hook
*3
916
Select a saw blade of the
appropriate length
10 16
Fasten a workpiece fi rmly 11 16
Adjusting the base 12 16
Plunge cutting (for wood) 13 16
Charging a USB device from a
electrical outlet
14 17
Charging a USB device and
battery from a electrical outlet
14 17
How to recharge USB device 15 17
When charging of USB device is
completed
16 17
Selecting accessories ― 18
*1 Adjusting operating speed
CAUTION
Select mode while the trigger switch is released. Failure
to do so could result in malfunction.
Once you install the battery and switch on the power, you
can change modes with each press of the mode selector
switch.
● Speed change mode allows the number of maximum
strokes to be switched between 3 levels: low speed,
medium speed and high speed.
With speed change mode, the set number of maximum
strokes will be maintained even if there is a change in
load.
● With auto mode, electricity consumption and noise can
be suppressed by lowering the number of maximum
strokes during no-load motor operation.
Auto mode automatically increases the number of
revolutions when the load becomes heavier during
operation. When the load becomes lighter, the number
of revolutions is automatically reduced.
Operating speed
Mode Statuse Operating speed
Transmisson
Mode
Low 0 – 1600 min
-1
Medium 0 – 2300 min
-1
High 0 – 2500 min
-1
Auto Mode A
0 – 1600 min
-1
2500 min
-1
(When the
load becomes heavier)
CAUTION
Do not cut stainless steel in Auto Mode.
*2 Dismounting the blade
CAUTION
Never touch the saw blade immediately after use. The
metal is hot and can easily burn your skin.
(1) After pivoting the lever, point the blade downward. The
blade should fall out on its own. If the blade fails to fall
out, pull it out by hand.
WHEN THE BLADE IS BROKEN
Even when the saw blade is broken and remains inside
the small slit of the blade holder, it should fall out when
the lever is pivoted and the blade is pointed downward.
If the blade fails to fall out on its own, take it out by using
the procedures described below.
(1) If a part of the broken saw blade is sticking out of the
small slit of the blade holder, pull out the protruding part
and take the blade out.
(2) If the broken saw blade is hidden inside the small slit,
hook the broken blade using a tip of another saw blade
and take it out. (Fig. 8)
*3 How to use the Hook
The hook can be used to hang up the unit
temporarilyduring operations (Fig. 9).
CAUTION
The hook should never be used to hang the unit on your
person.
When using the hook, check to make sure that the main
unit will not slip and fall, or become unstable by the wind,
etc.
Never hang the unit from your belt or trousers as this
could cause accidents.
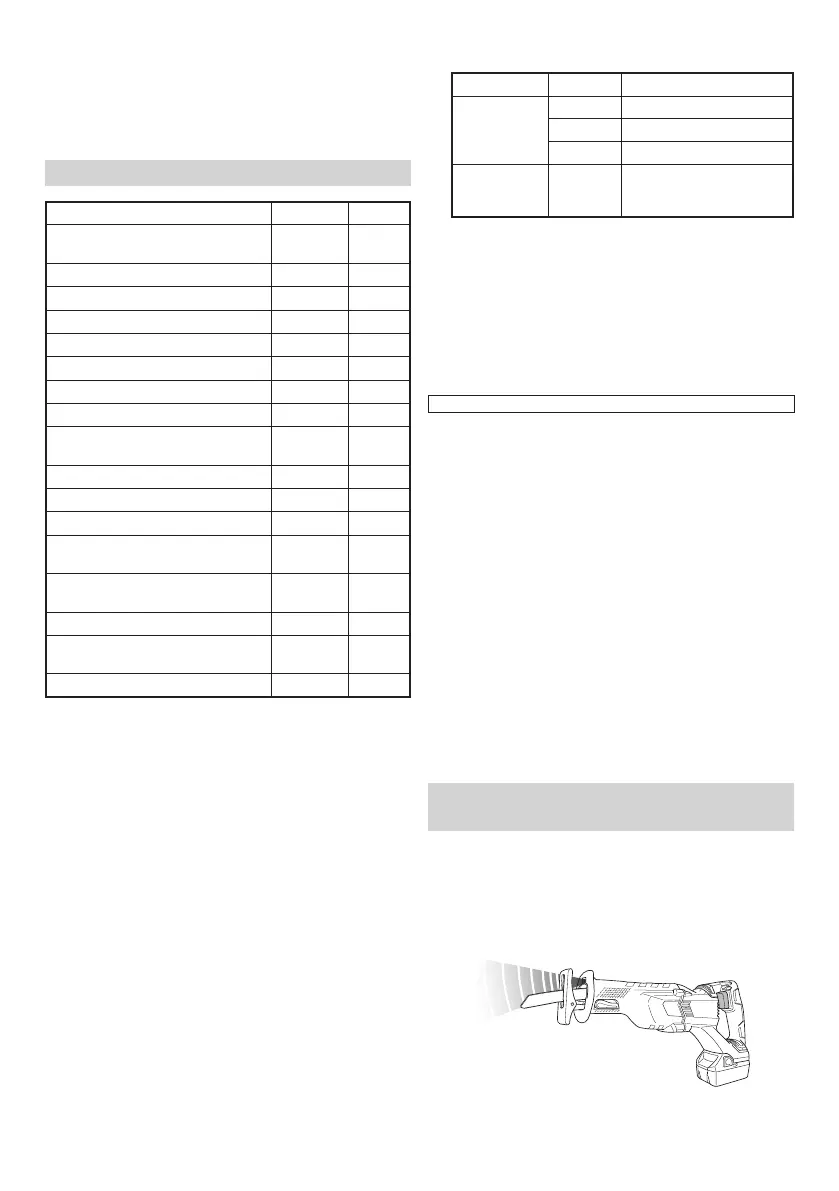
LED LIGHT WARNING SIGNALS
(Fig. 17)
This product features functions that are designed to protect
the tool itself as well as the battery. While the switch is
pulled, if any of the safeguard functions are triggered
during operation, the LED light will blink as described in
Table 3. When any of the safeguard functions are triggered,
immediately remove your fi nger from the switch and follow
the instructions described under corrective action.
Fig. 17
0000BookCR18DBL.indb80000BookCR18DBL.indb8 2017/12/0510:33:522017/12/0510:33:52
 Loading...