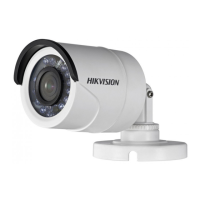
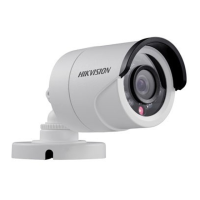
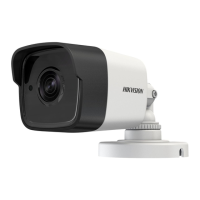
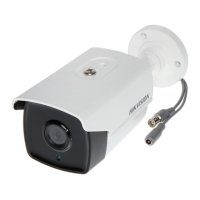
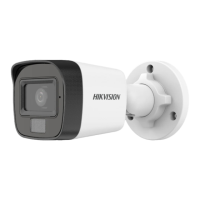
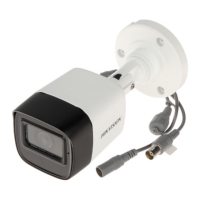
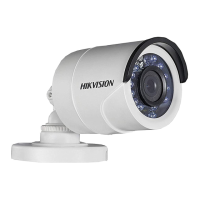
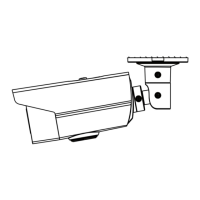
Figure 1. 2 Type II Camera Overview
Note:
Press the switch button for 5 seconds to switch the
video output with TVI, AHD, CVI, and CVBS available.
1.2.3 Type III Camera Overview
Figure 1. 3 Type III Camera Overview
Note:
Click the switch button for 5 seconds to switch the
video output with TVI, AHD, CVI, and CVBS available.
Installation
2.1 Installation Preparation
Before you start:
Make sure that the device in the package is in good
condition and all the assembly parts are included.
Make sure that all the related equipment is power-off
during the installation.
Check the specification of the products for the
installation environment.
Check whether the power supply is matched with
your power output to avoid damage.
Make sure the wall is strong enough to withstand
three times the weight of the camera and the
mounting bracket.
If the wall is cement, you need to insert expansion
bolts before you install the camera. If the wall is
wooden, you can use self-tapping screws to secure
the camera.
If the product does not function properly, contact
your dealer or the nearest service center. Do NOT

 Loading...
