EasyManua.ls Logo

HIKVISION DS-2CE16DF7T-IT3Z - User Manual

HIKVISION DS-2CE16DF7T-IT3Z
10 pages
Print Icon
To Next Page IconTo Next Page
Loading...
TURBO HD
D(F)7T Series
Bullet & Turret Camera
User Manual
UD00380B
User Manual
Thank you for purchasing our product. If there are any
questions, or requests, please do not hesitate to
contact the dealer.
This manual applies to the models below:
Type
Model
Type I Camera
DS-2CE16D(F)7T-AIT3Z
DS-2CE16D(F)7T-IT3Z
Type II Camera
DS-2CE56D(F)7T-IT3Z
This manual may contain several technical incorrect
places or printing errors, and the content is subject to
change without notice. The updates will be added to
the new version of this manual. We will readily improve
or update the products or procedures described in the
manual.
0100001060119
Question and Answer IconNeed help?

Do you have a question about the HIKVISION DS-2CE16DF7T-IT3Z and is the answer not in the manual?

Overview

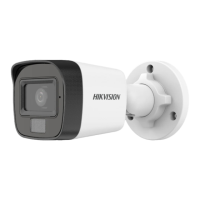
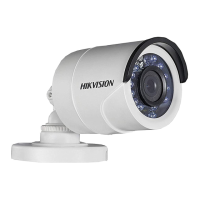
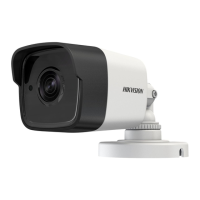
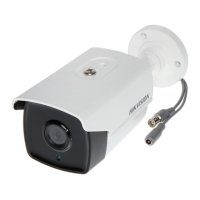
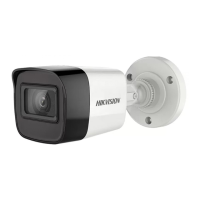
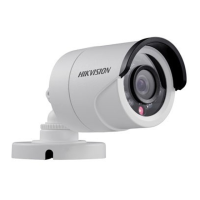
This document describes the TURBO HD D(F)7T Series Bullet & Turret Cameras, a range of surveillance devices designed for high-quality image capture and robust performance in various environments. These cameras leverage advanced sensor and circuit board technologies to deliver clear, low-noise, and high-resolution video, making them suitable for a wide array of surveillance and image processing systems.

Function Description

The primary function of these cameras is to provide high-definition video surveillance. They are equipped with high-performance CMOS sensors that capture images with exceptional clarity and detail. The cameras are designed to operate effectively in diverse lighting conditions, featuring low illumination capabilities of 0.01 Lux at F1.2 with AGC ON, and 0 Lux with IR, ensuring visibility even in complete darkness. An IR cut filter with auto switch enhances day/night functionality, automatically adapting to changes in ambient light to optimize image quality.

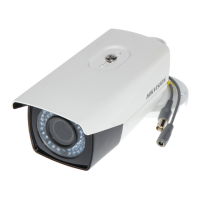
A key feature is the on-screen display (OSD) menu, which allows users to configure various camera parameters directly. This includes settings for auto white balance and internal synchronization, which are crucial for maintaining consistent color rendition and stable video output. The cameras also incorporate SMART IR mode, an intelligent infrared technology that adjusts IR intensity to prevent overexposure of objects close to the camera, ensuring balanced illumination and clear images in low-light scenarios. True WDR (Wide Dynamic Range) functionality further enhances image quality by balancing brightness levels across the entire image, providing clear details in scenes with both very bright and very dark areas, such as those with strong backlighting. The advanced 3-axis design of these cameras offers flexibility in installation, allowing for precise adjustment of pan, tilt, and rotation to achieve optimal surveillance angles.

Usage Features

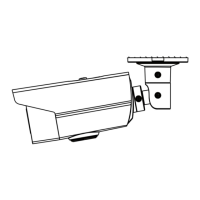
The cameras are designed for ease of use and installation, with considerations for both wall and ceiling mounting. The installation process involves attaching a drill template to mark screw and cable holes, routing cables, and securing the camera to the mounting surface. For Type I cameras (bullet type), a 3-axis adjustment mechanism allows for fine-tuning of the pan (0°-360°), tilt (0°-90°), and rotation (0°-360°) to achieve the desired surveillance angle. Type II cameras (turret type) also offer 3-axis adjustment, with pan (0°-360°), tilt (0°-75°), and rotation (0°-360°) ranges. Optional gang boxes can be used for a cleaner installation and cable management.

The OSD menu is the primary interface for configuring camera settings. Users can navigate this menu using a camera controller (purchased separately) or by calling a specific preset number (e.g., preset No. 95 on a DVR). The menu structure is intuitive, allowing users to move a cursor up/down to select menu items and left/right to adjust values. The "OK" key confirms selections.

Key configurable parameters include:

  • Format: Allows setting the camera's video format.
  • Focus: Provides options to adjust the camera lens using FOCUS+, FOCUS-, ZOOM+, and ZOOM- controls, ensuring sharp images at various distances.
  • AE (Auto Exposure): Controls image brightness through settings like BRIGHTNESS, EXPOSURE MODE, and GAIN.
    • BRIGHTNESS: Adjusts the overall image brightness from 1 to 10.
    • EXPOSURE MODE: Offers GLOBAL (normal exposure), BLC (Backlight Compensation) to clarify foreground objects against bright backgrounds, and WDR (Wide Dynamic Range) for balanced exposure in high-contrast scenes. BLC level can be adjusted from 1 to 10.
    • GAIN: Optimizes image clarity in poor light, with levels HIGH, MIDDLE, LOW, or OFF.
  • WB (White Balance): Adjusts color temperature to remove unrealistic color casts. Modes include ATW (Automatic Tracking White Balance) for automatic adjustment and MWB (Manual White Balance) for setting R GAIN/B GAIN values (0-255) to fine-tune red/blue shades.
  • DAY-NIGHT: Configures how the camera handles day and night conditions.
    • COLOR: Image remains colored at all times.
    • B/W: Image is black and white, with IR LED turning on in low-light.
    • SMART: Allows enabling/disabling INFRARED and setting SMART IR intensity (0-3). SMART IR prevents overexposure by adjusting IR light.
  • VIDEO SETTING: Provides controls for image enhancement.
    • CONTRAST: Enhances color and light differences (1-10).
    • SHARPNESS: Determines image detail (1-10).
    • COLOR GAIN: Adjusts color saturation (1-10).
    • DNR (Digital Noise Reduction): Reduces noise, especially in low-light moving images (1-10).
    • MIRROR: Flips the image horizontally (H), vertically (V), or both (HV). DEFAULT disables mirroring.
  • RESET: Restores all settings to their default values.
  • SAVE & EXIT: Saves current settings and exits the OSD menu.

Maintenance Features

The manual emphasizes several points for proper maintenance and longevity of the cameras, particularly concerning IR reflection prevention for models supporting IR functionality.

  • Professional Installation and Repair: Users are advised not to disassemble the camera for repair or maintenance themselves. In case of malfunction, contact the dealer or a service center.
  • Environmental Considerations: Ensure the installation environment meets product specifications. The mounting surface must be strong enough to withstand three times the camera's weight.
  • Power Supply: Verify that the power supply matches the camera's required output to prevent damage.
  • IR Reflection Prevention:
    • Cleanliness: Dust or grease on the dome cover can cause IR reflection. The dome cover film should remain on until installation is complete. If cleaning is necessary, use a clean soft cloth and isopropyl alcohol.
    • Placement: Avoid placing the camera near reflective surfaces that could cause IR light to reflect back into the lens.
    • Foam Ring: Ensure the foam ring around the lens is seated flush against the inner surface of the bubble to isolate the lens from the IR LEDs. The dome cover should be fastened securely to the camera body to ensure a seamless attachment with the foam ring.

These guidelines help ensure optimal performance and prevent common issues related to IR functionality, contributing to the camera's overall reliability and image quality over time.

HIKVISION DS-2CE16DF7T-IT3Z Specifications

General IconGeneral
Weatherproof RatingIP67
Power Supply12V DC ± 25%
Resolution1920 × 1080
Day & NightICR
Video OutputCVBS

Related product manuals