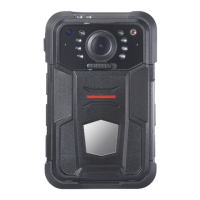
6. Tighten the screw.
Figure 2-22 Tighten Screw
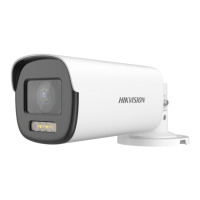
7. Power on the camera to adjust the view angle
according to the figure below.
Figure 2-23 3-Axis Adjustment
8. Screw the bubble back to finish installation.
Figure 2-24 Finish Installation
2.3.2 Wall Mounting
Before you start:
You need to purchase a wall mount in advance.
Steps:
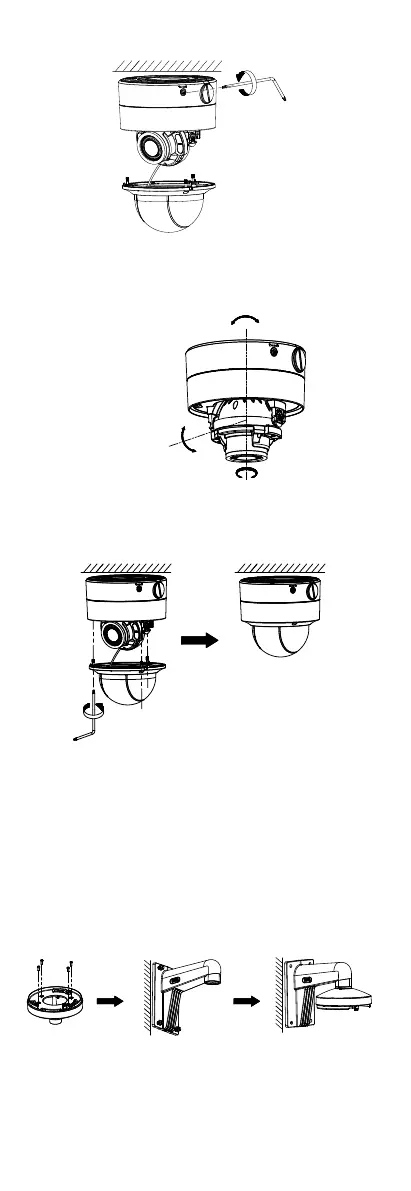
1. Install the bracket.
i. Secure the base plate to the installation adapter
of the bracket.
ii. Fix the bracket on the wall.
iii. Screw the installation adapter to the bracket.
Figure 2-25 Install Bracket
2. Refer to steps 4 to 8 of 2.3.1Ceiling Mounting
Without Junction Box to finish installation.
2.3.3 Pendant Mounting
Before you start:
 Loading...