Do you have a question about the HIKVISION DS-2CE10DF0T-F and is the answer not in the manual?
Details on FCC compliance, including interference limits and conditions for operation in commercial environments.
Specifies the two conditions under which the device complies with FCC Part 15 rules, including avoiding interference.
Information on CE marking and compliance with EU directives for safety, EMC, and RoHS standards.
Statement regarding the device's compliance with Canadian ICES-3 (A)/NMB-3(A) standards.
A general warning about potential radio interference in domestic environments for Class A products.
Guidelines to prevent serious injury or death, covering electrical safety, proper usage, and device integrity.
Precautions to prevent potential injury or material damage, including handling, environment, and usage limits.
Highlights key features of the camera, such as high-performance CMOS sensor, OSD menu, and 24-hour color image.
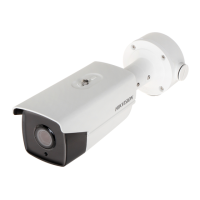
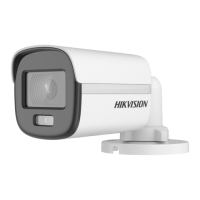
Provides a general overview of the camera's external components and connections for different models.
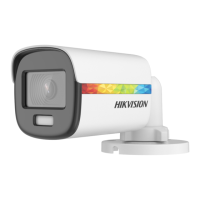
Details the external components and connection points for the Type I Camera model.
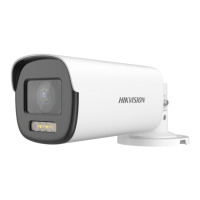
Details the external components and connection points for the Type II Camera model.
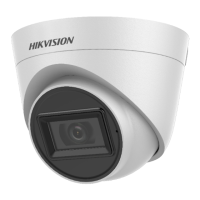
Details the external components and connection points for the Type III Camera model.
Details the external components and connection points for the Type IV Camera model.
Details the external components and connection points for the Type V Camera model.
Provides instructions for installing the Type I Camera, including mounting options and preparation steps.
Step-by-step guide for mounting the Type I Camera on ceilings or walls without using a junction box.
Instructions for mounting the Type I Camera on ceilings or walls using a junction box.
Provides instructions for installing the Type II Camera, including mounting options and preparation steps.
Step-by-step guide for mounting the Type II Camera on ceilings or walls without using a junction box.
Provides instructions for installing the Type III Camera, including mounting options and preparation steps.
Step-by-step guide for mounting the Type III Camera on ceilings without using a junction box.
Instructions for mounting the Type III Camera on ceilings using a junction box.
Instructions for mounting the Type III Camera on walls, typically using a dedicated wall mount.
Provides instructions for installing the Type IV Camera, including mounting options and preparation steps.
Step-by-step guide for mounting the Type IV Camera on ceilings without using a junction box.
Instructions for mounting the Type IV Camera on ceilings using a junction box.
Instructions for mounting the Type IV Camera on walls, typically using a dedicated wall mount.
Provides instructions for installing the Type V Camera, including mounting options and preparation steps.
Step-by-step guide for mounting the Type V Camera on ceilings without using a junction box.
Instructions for mounting Type V Camera on ceilings using a junction box or inclined mount.
Instructions for mounting the Type V Camera on walls, typically using a dedicated wall mount.
Explains how to set the video output format, offering options like 2MP@25fps, 2MP@30fps, PAL, or NTSC.
Details exposure settings, including Exposure Mode (GLOBAL, BLC, HLC, DWDR) and AGC adjustments.
Covers various video adjustments like Image Mode, White Balance, Brightness, Contrast, Sharpness, Saturation, 3DNR, and Mirror.
Instructions on configuring the Smart Light feature for automatic or manual control to avoid overexposure.
Describes the camera's alarm function and how to set the white light behavior (FLASHING/SOLID) during alarms.
Explains how to reset all camera settings back to their original factory default values.
Procedure for exiting the camera menu system, typically by navigating to the EXIT option.
Procedure for saving current settings and exiting the camera menu system.
| Image Sensor | 2 MP CMOS |
|---|---|
| Signal System | PAL/NTSC |
| Lens Mount | M12 |
| Day & Night | ICR |
| WDR (Wide Dynamic Range) | Digital WDR |
| Power Supply | 12 VDC ± 25% |
| Material | Plastic |
| IR Range | Up to 20 m |
| Weather Resistance | IP67 |
| Camera Type | Bullet |
| Lens | 2.8mm / 3.6mm / 6mm |
| Field of View (2.8 mm) | 102° |
| Field of View (6 mm) | 50° |
| Angle Adjustment | Pan: 0°-360°, Tilt: 0°-90° |
| Operating Temperature | -40 °C to +60 °C |