Network Video Recorder User Manual
37
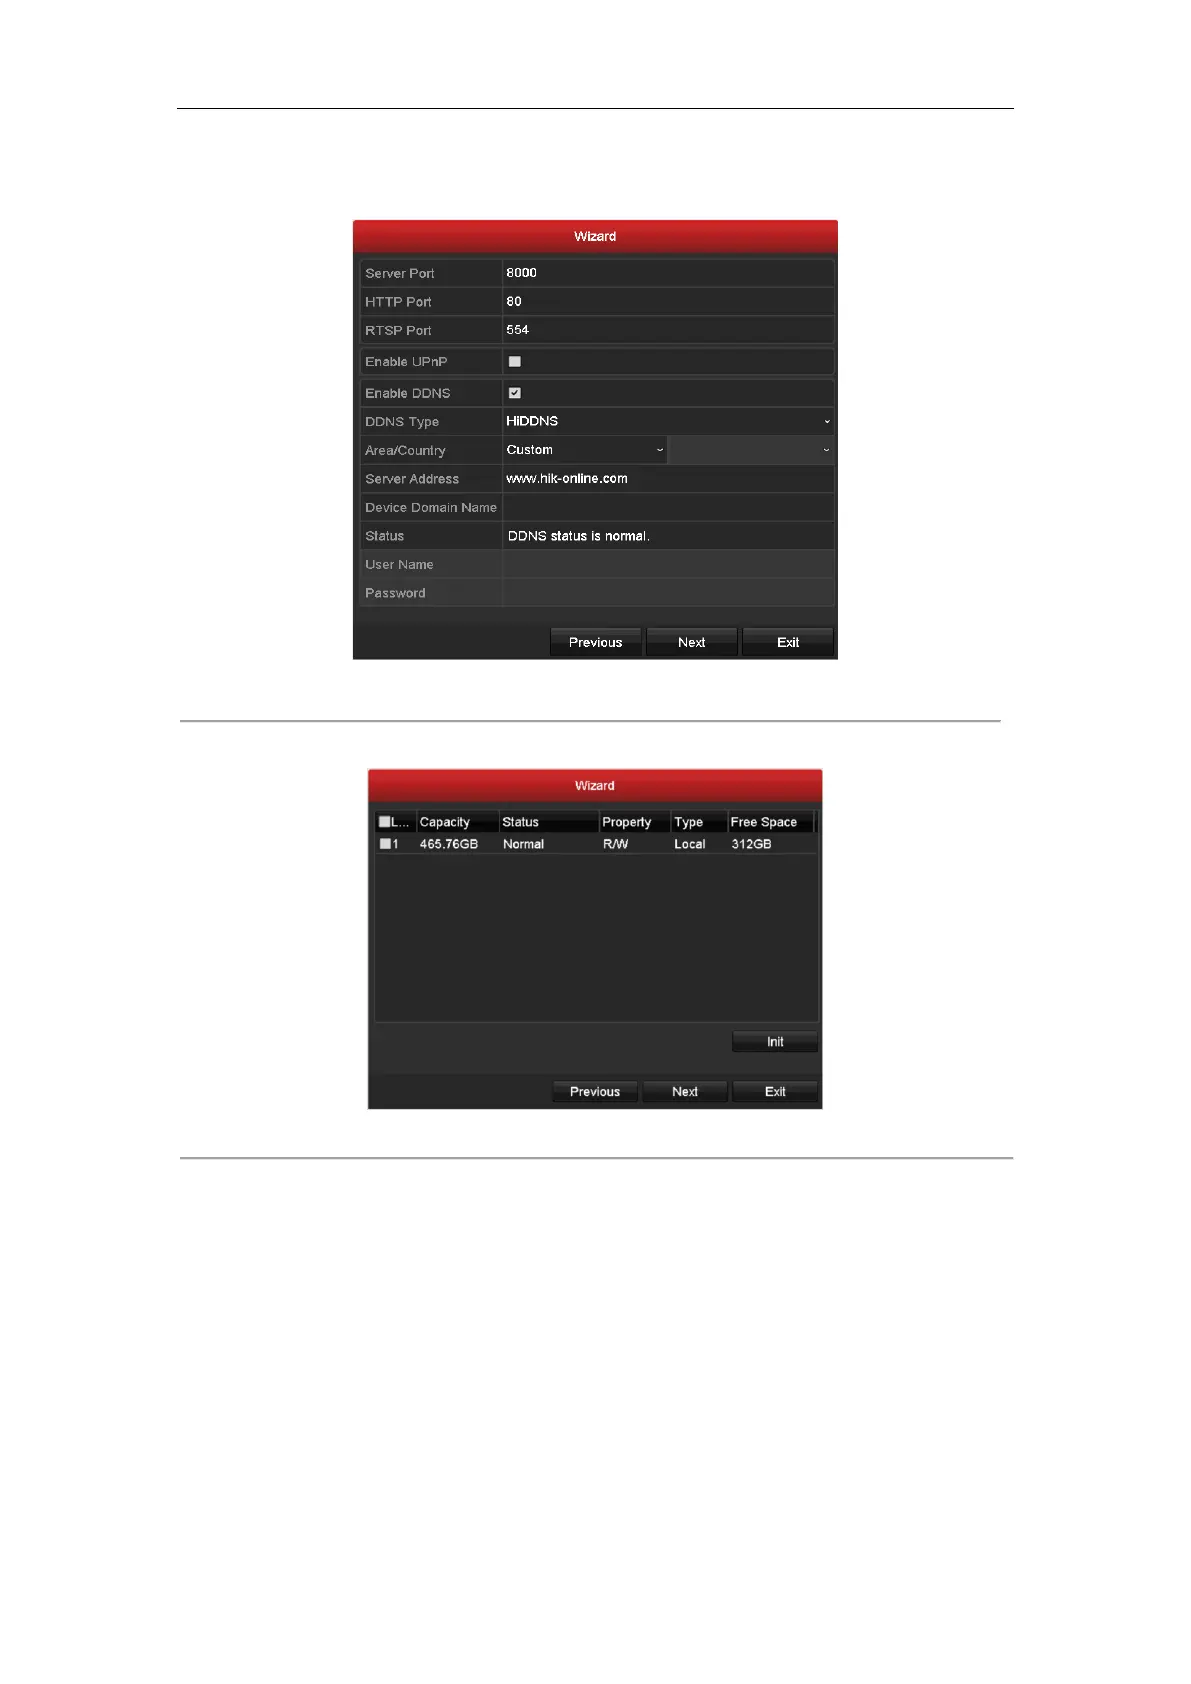
5. Click Next button after you configured the basic network parameters. Then you will enter the Advanced
Network Parameter interface. You can enable UPnP, DDNS and set other ports according to your need.
Figure 2. 15 Advanced Network Parameters
1. After configuration finishes, click Next button to enter HDD Management interface.
Figure 2. 16 HDD Management
2. To initialize the HDD, click the Init button. Initialization removes all the data saved in the HDD.
3. Click Next button to enter the IP Camera Management interface.
4. Click Search to search the online IP Camera and the Security status shows whether it is active or inactive.
Before adding the camera, make sure the IP camera to be added is in active status.
If the camera is in inactive status, you can click the inactive icon of the camera to set the password to
activate it. You can also select multiple cameras from the list and click the One-touch Activate to activate
the cameras in batch.
Click the Add to add the camera.