User Manual of Digital Video Recorder
133
9.2 Configuring Advanced Settings
9.2.1 Configuring PPPoE Settings
Purpose:
The DVR also allows access by Point-to-Point Protocol over Ethernet (PPPoE).
Steps:
1. Enter the Network Settings interface.
Menu > Configuration > Network
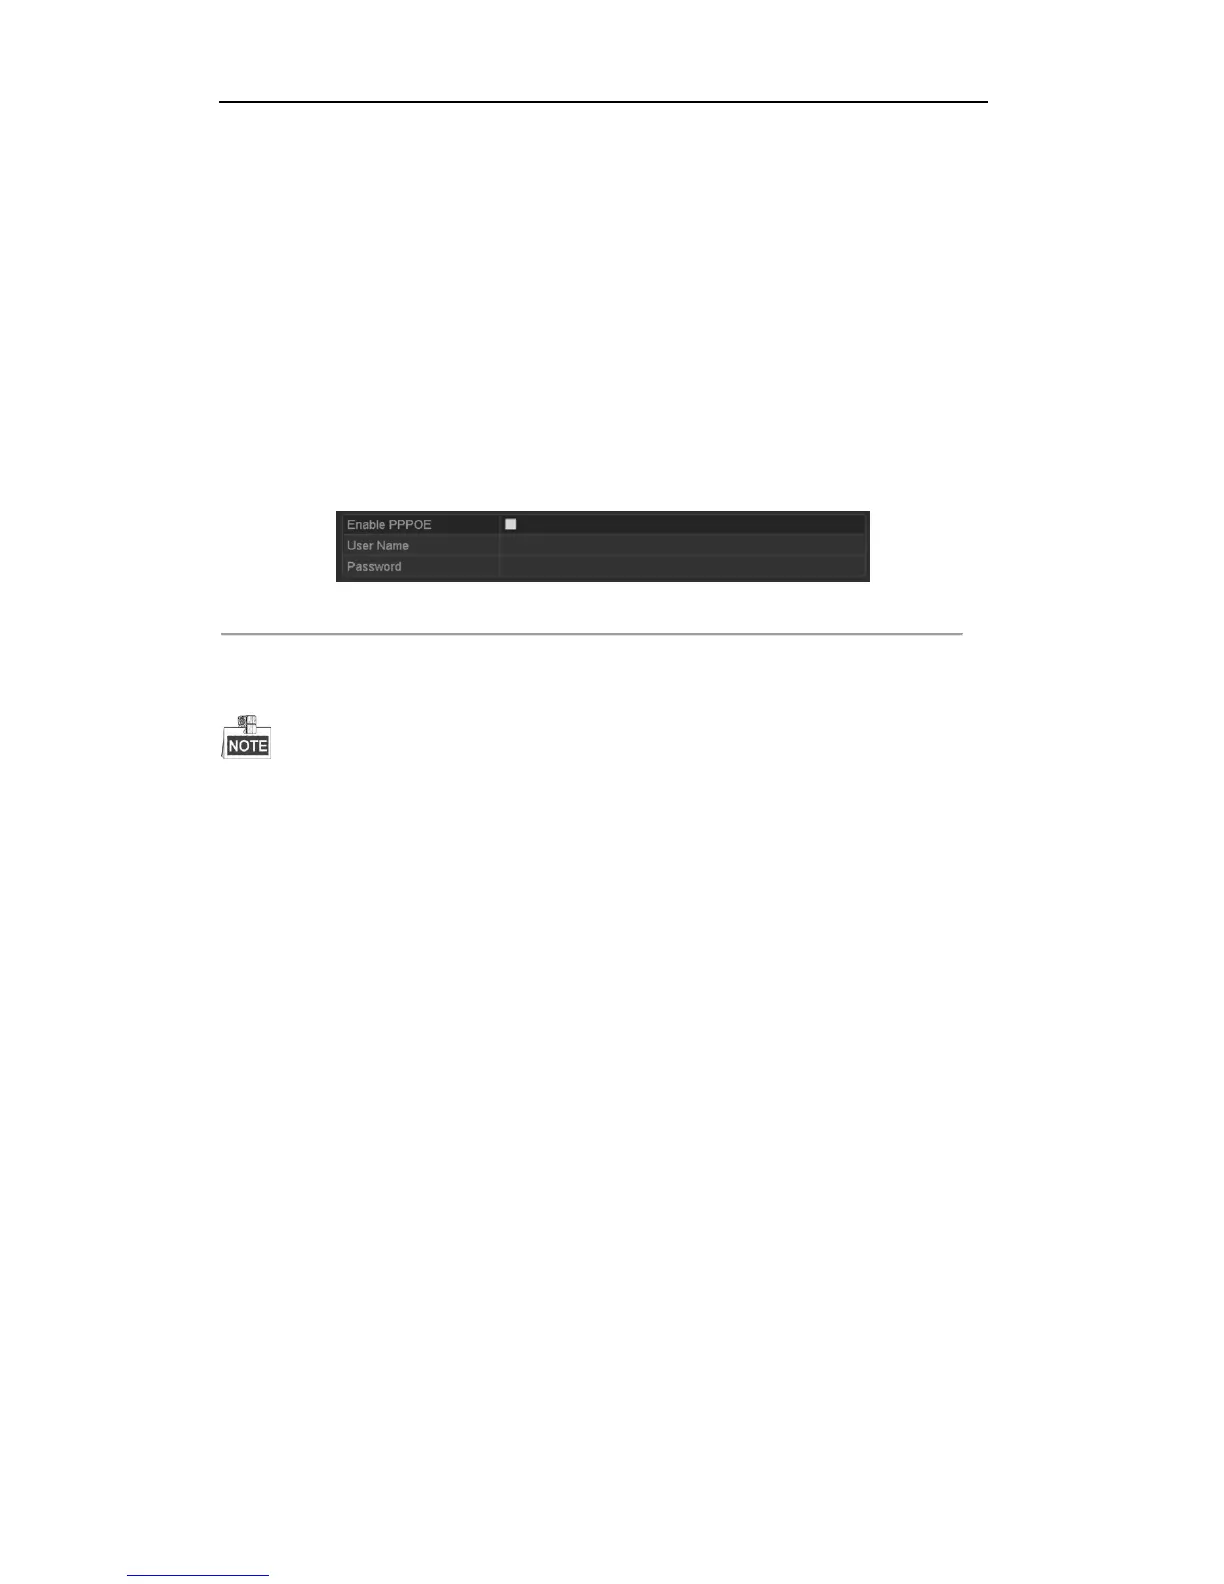
2. Select the PPPoE tab to enter the PPPoE Settings interface.
Figure 9. 2 PPPoE Settings Interface
3. Check the PPPoE checkbox to enable this feature.
4. Enter User Name and Password for PPPoE access.
The User Name and Password should be assigned by your ISP.
5. Click the Apply button to save the settings.
6. After successful settings, the system asks you to reboot the device to enable the new settings, and the
PPPoE dial-up is automatically connected after reboot.
You can go to Menu > Maintenance > System Info > Network interface to view the status of PPPoE
connection.
9.2.2 Configuring Extranet Access
Configuring EZVIZ Cloud P2P
Purpose:
EZVIZ Cloud P2P provides the mobile phone application and as well the service platform page to access and
manage your connected DVR, which enables you to get a convenient remote access to the surveillance system.
Steps:
1. Enter the Network Settings interface.
Menu > Configuration > Network
2. Select the Extranet Access tab to enter the EZVIZ Cloud P2P Settings interface.
3. Check the Enable EZVIZ Cloud P2P checkbox to activate this feature.
4. If required, check the Enable Stream Encryption checkbox to encrypt the video stream.
5. Enter the verification code of the device.