EasyManuals Logo
Home>HIKVISION>Security Camera>iDS-2CD9396-AS

HIKVISION iDS-2CD9396-AS Quick Start Guide

HIKVISION iDS-2CD9396-AS
20 pages
To Next Page IconTo Next Page
To Previous Page IconTo Previous Page
Page #12 background imageLoading...
Page #12 background image
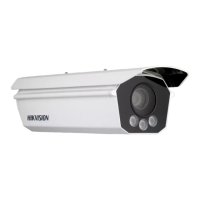
Network Traffic Camera • Quick Start Guide
11
Chapter 3 Installation
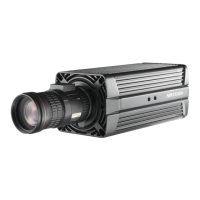
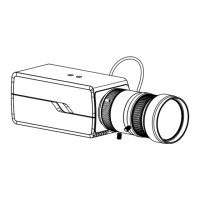
Install Lens
Pull out the sensor protective cover. Install the lens, and rotate it 90 clockwise until it is fixed.
Connect the lens cable plug to the auto iris interface.
If the camera only supports manual iris, skip step 2.
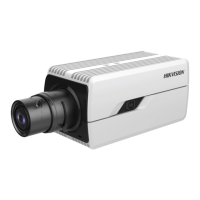
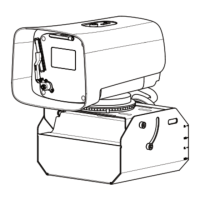
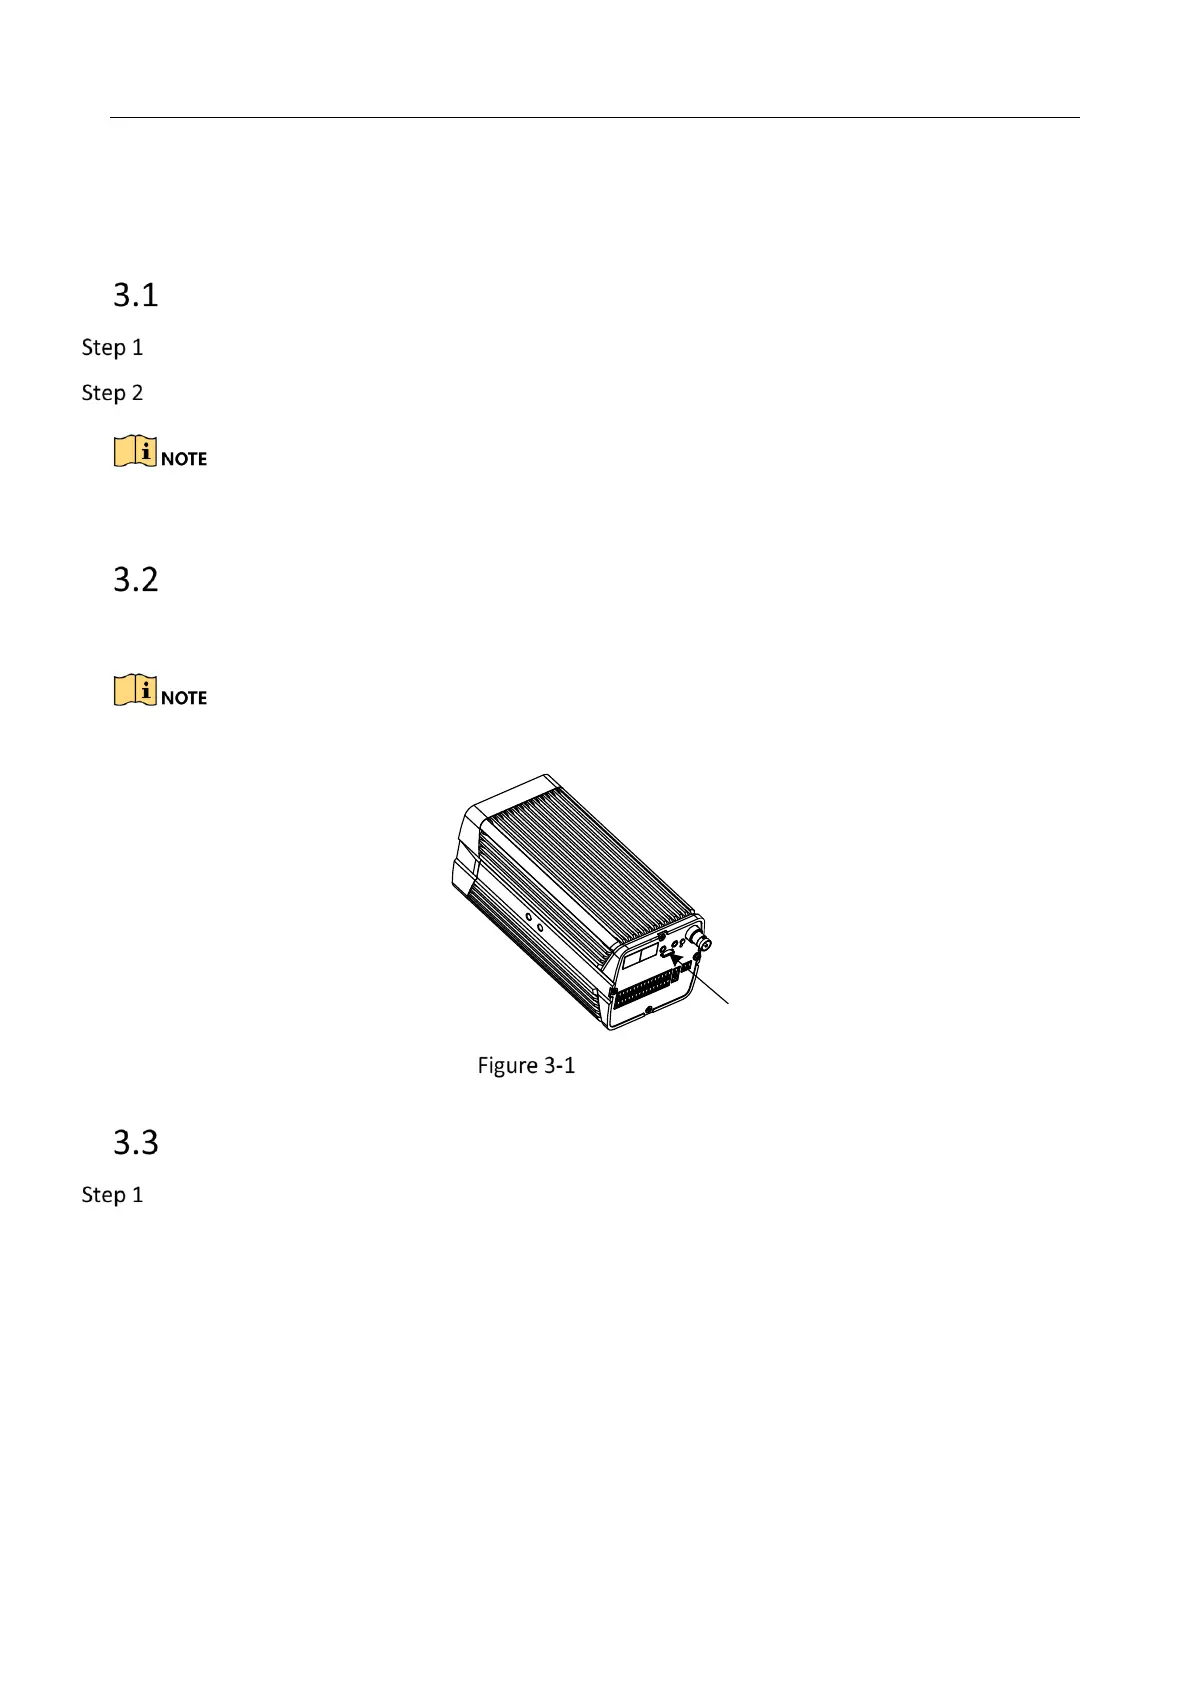
Insert TF card
Install the TF card according to arrow direction as shown in the Figure 3-1.
If you want to take out the TF card, press it inwards lightly to pop it up.
TF Card
Install TF Card
Insert Guard Shield
Pull upward the buckle, and take hook off the guard shield cover. Open the guard shield.

Other manuals for HIKVISION iDS-2CD9396-AS

Questions and Answers:

Question and Answer IconNeed help?

Do you have a question about the HIKVISION iDS-2CD9396-AS and is the answer not in the manual?

HIKVISION iDS-2CD9396-AS Specifications

General IconGeneral
BrandHIKVISION
ModeliDS-2CD9396-AS
CategorySecurity Camera
LanguageEnglish

Related product manuals