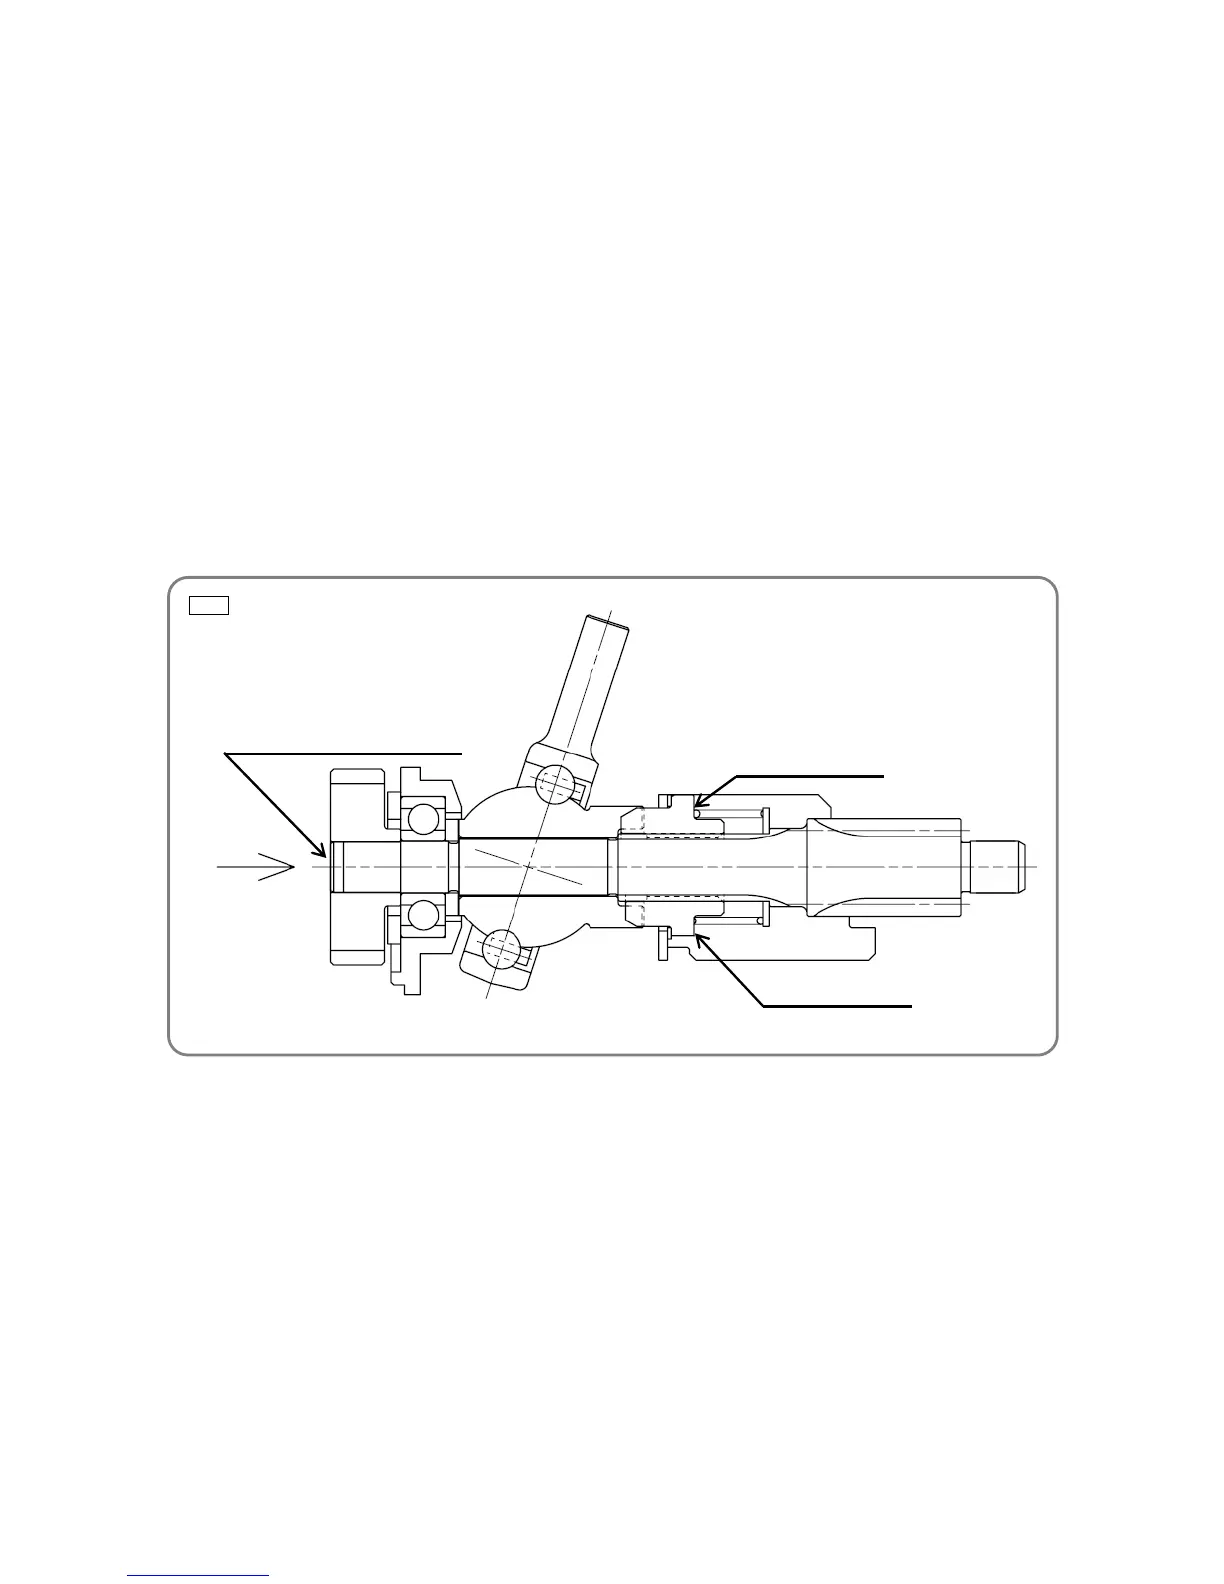
end face
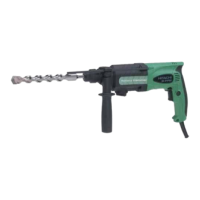
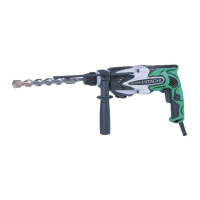
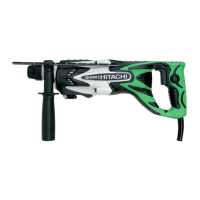
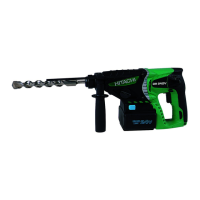
3. Disassembling the hammering mechanism
Use a drill bit or screwdriver to push in the Second Hammer [30], and then remove the Striker [36] that is
chucked by O-ring (C)[33]. Remove the Tapping Screw (W/Flange) D5 x 35 (66)<66>{76} from the
Housing (65)<65>{75} and then detach the Gear Cover [7]. Do not let the Inner Cover [53] come off from
the Housing (65)<65>{75}. Otherwise, the Armature (59)<59>{65} will come off together with the Inner
Cover [53], thereby damaging its carbon brushes and the commutator.
Remove the Seal Lock Hex. Socket Hd. Bolt M5 x 16 [48] from the Bearing Holder [49], rotate the Second
Shaft [41] to allow the Piston [38] to reach the top dead point (towards the Inner Cover [53]). The
Reciprocating Bearing [47] arm comes off from the Piston Pin [39] and parts on the Second Shaft [41]
come off together from the Inner Cover [53]. The Seal Lock Hex. Socket Hd. Bolt M5 x 16 [48] loses its
bonding force when disassembled. Accordingly, it must be replaced by a new one when reassembled.
Hold the end face of the Clutch [44] as shown below, use a hand press to push the rear end of the
Second Shaft [41] in order to push out the First Gear [51], Bearing Cover [50], Ball Bearing
608VVC2PS2L [17], Bearing Holder [49], Bearing Washer [18], Reciprocating Bearing [47], Clutch [44],
Change Plate [46], Washer [45], Clutch Spring [43], and Washer (C) [42] from the Second Shaft [41].
Note that the First Gear [51] is press-fitted to the rear end of the Second Shaft [41] for alignment.