— 10 —
English
ASSEMBLY AND ADJUSTMENTS_Continued
WARNING
Never connect the plug to the power source outlet until all installations and adjustments are completed and you have
read and understood the safety and operational instructions.
ASSEMBLY INSTRUCTIONS
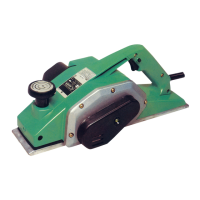
Lift the tool from the packaging and place it on your
workbench. Carefully open the front and rear extension
tables and take out the loose parts bag and power cord.
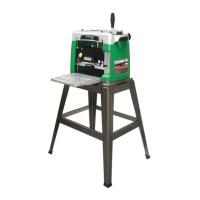
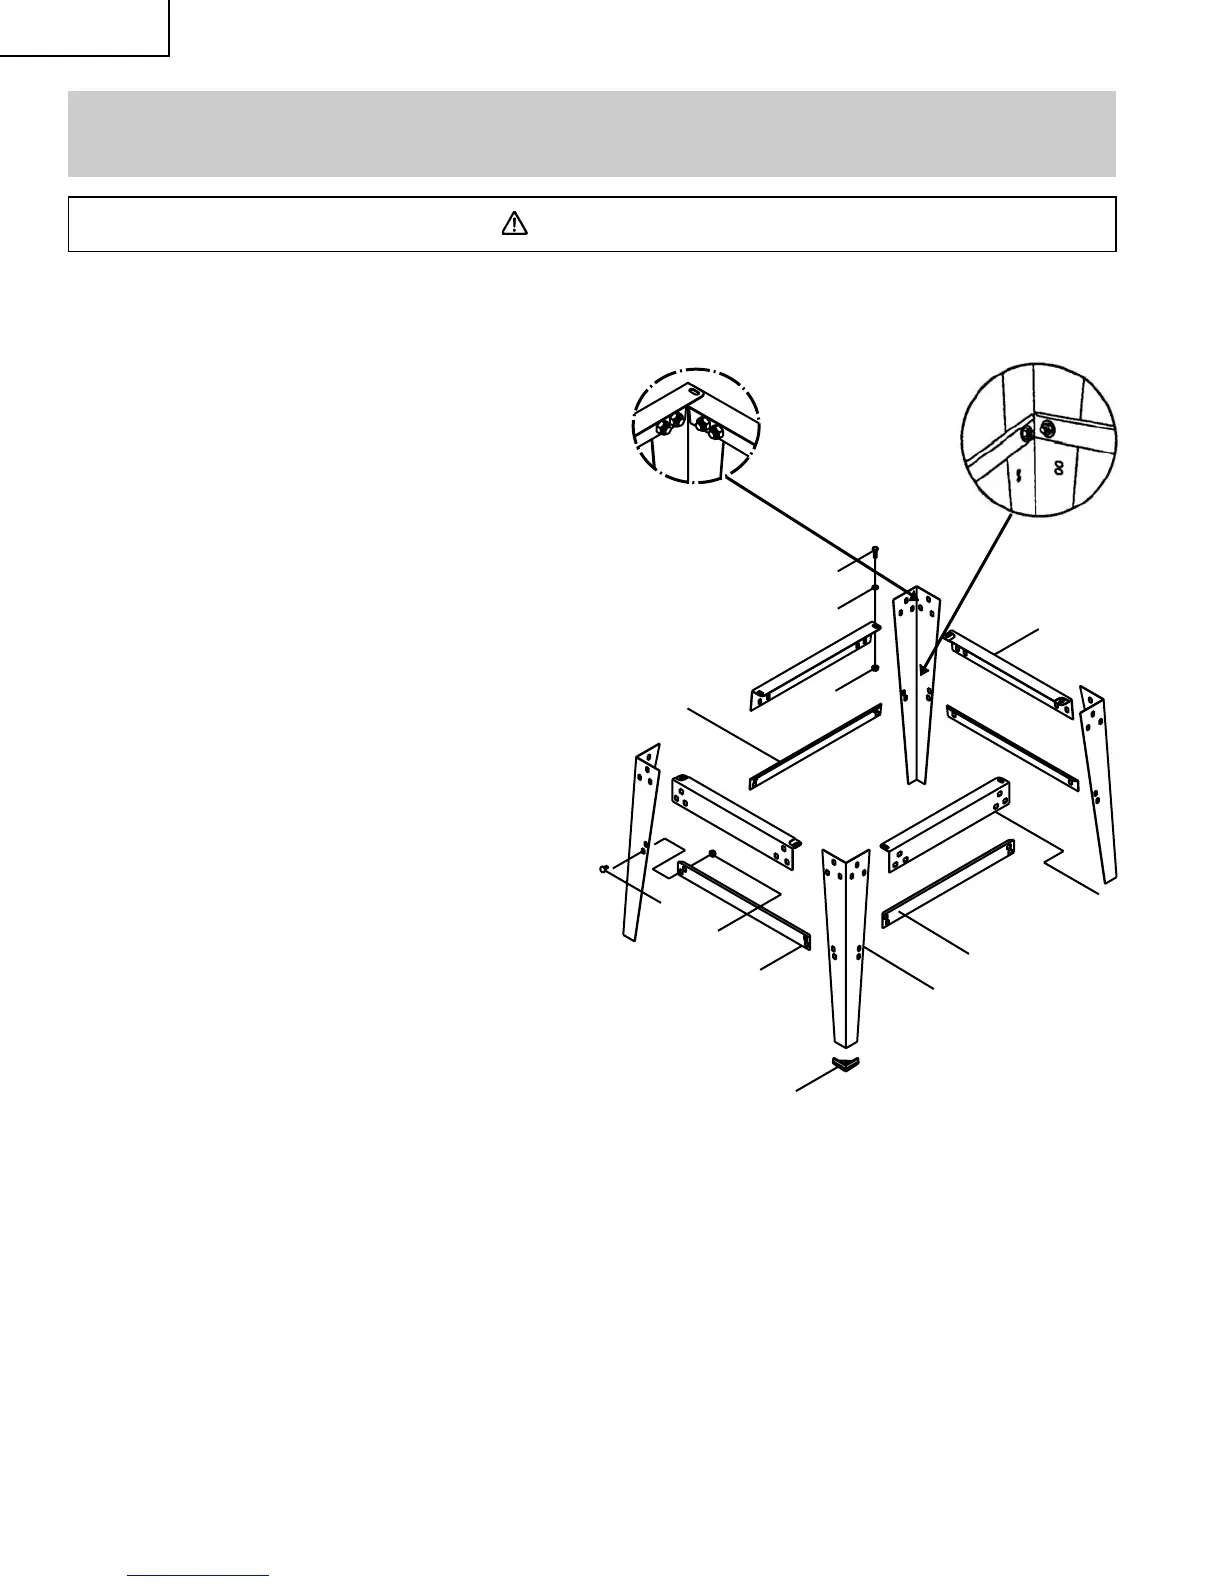
ASSEMBLE STAND (Fig. A)
1. Unpack all parts and sort by type and size.
Refer to the parts list on page 18 for correct
quantities.
2. Attach long upper crossbar (4) to top of
leg (1) and adjacent leg using carriage bolts (2) and
nuts (5).
NOTE: Do not tighten bolts until step 7.
3. Attach long lower crossbar (3) to bottom of leg (1) and
adjacent leg using carriage bolts and nuts.
4. Repeat on opposite side of stand.
5. Join the front and back of stand, using short upper
(11) and lower (10) crossbars, carriage bolts and nuts.
6. Place end caps (7) on legs.
7. Place the stand on a level surface and make sure all
legs are contacting the floor and are at similar angles
to the floor. Tighten all bolts.
ASSEMBLE PLANER TO STAND
1. Carefully place planer on top of stand.
2. Line up the four mounting holes on tool base with
those on the stand.
3. Fasten the planer to the stand using mounting bolts
(12), washers (13) and nuts (14)(see Fig. A).
4. Tighten all nuts.
NOTE: DO NOT OVER TIGHTEN NUTS.
Fig. A
1
2
3
4
5
10
11
12
13
14
6
7