2. Installation Work
A16381H9HF
5
(2) According to different controller installation methods, choose one of the following two ways to install the
mounting plate and connect the cable .
Method 1 : To mount the controller directly on the surface of a wall:
c. Cut away the insulation at the end of the cable and clamp the M3 solderless terminals (eld-supplied).
(3) Re-attach the controller body to the controller mounting plate. Be careful not to pinch the cable when
attaching it.
a. Prepare the optional eld-supplied surface mounting box which can t the mounting plate.
Method 2 : to install the controller on a surface mounting box:
M4 Screws
(Field-Supplied)
Surface Mounting Box
Mounting Plate
Connect the te
B
A
Remove the
protective film.
b. Feed the cable through the conduit in the wall.
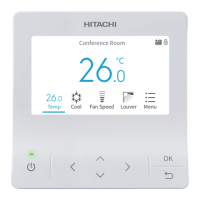
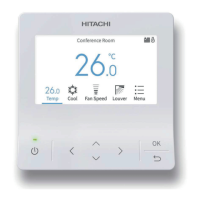
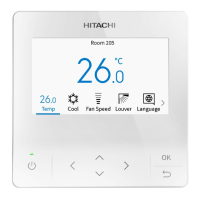
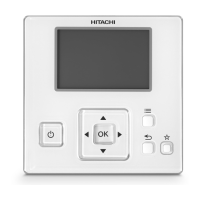
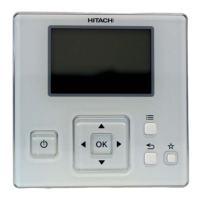
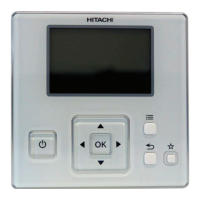
(4) After installation, remove the protective film from the LCD screen.
-Supplied)
Cable
D. Attach the cable-tie to the cable
on the inside of the dr
Draw-out Hole
C. Feed the cable with its
sheath peeled through
B. Peel away the insulation
at the end of the cable
and clamp the M3 (field-
supplied) solderless
terminals .
B
A
A. Secure the mounting
plate onto the wall with
M4×16mm screws (supplied)
23 23
111
111.5
41.8
∅5
3-7
2-8.2
2-4.3
41.8
23
30 30
7
3-5

 Loading...