– 63 –
ELEC. COVER
FIXTURE SCREW
FIXTURE SCREW
ON
OFF
Removing the indicating P.W.B.
1. Remove the connector from the CN2 on
the control P.W.B.
2. Remove the upper hook from the indicating
P. W.B. lock resin, pull the P.W.B. forward
a little and remove it.
When installing the parts, use
caution not to pinch any code
between the part and cabinet.
Removing electrical parts
1. Remove the electrical parts cover.
2. Remove the connectors from the CN1 (heat exchange
thermistor), CN4 (stepping motor) and CN10 (fan motor).
3. Remove two lock screws.
4. Remove the electrical parts in the direction of arrow.
Removing control P.W.B.
1. Remove the connectors from the CN2 and
CN3.
2. Remove the P.W.B. from the P.W.B. support.
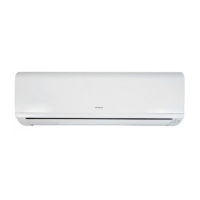
STRUCTURE OF AN INDOOR UNIT ELECTRIC PARTS
RAS-E14H2A
08A395_RAS_35YH6_061-082_E 2008.03.05, 16:4063