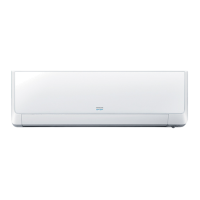
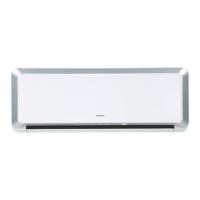
1. Front Panel
(1
(1)
(2)
)
Fig. 1
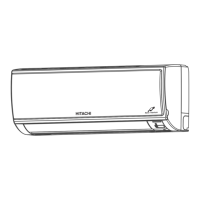
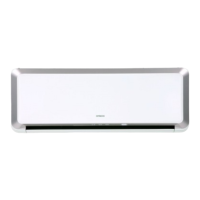
2. Front cover
Fig. 2
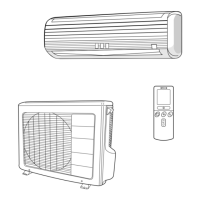
Fig. 3
3. Control P.W.B. and Indicating
P.W.B.
(1)Remove each connector from the lead wire.
(2)Remove the four P.W.B. supports from the
control P.W.B.
(3)Pull the support hook at the upper side of the
indication lamp of the indicating P.W.B. and pull
out the P.W.B. forward.
Be sure to hold the front panel with both hands
to detach and attach it.
When the front panel is fully opened with both
hands,
push the right arm to the inside to
release it, and while
closing the front panel
Shaft
Hole
2
1
slightly, put it out forward.
After removing two screws, pull the center of
the front cover and release the claws.
Pull the side faces (lower sections) of the front
cover as shown in the figure and remove the
CAUTION
•
Remove and attach the front cover
to the direction as shown in the
figure to ensure no damage occurs
to the ECO sensor.
ECO Sensor
X
O
cover.
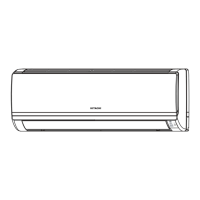
After removing the screw of fix ing the
terminal cover, hold the handle of terminal
cover and remove it.
(3)
screw
screw
Terminal
cover
Screw cover
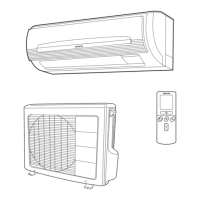
Procedure for Disassembly and Reassembly
INDOOR UNIT
RAK-18QXD,RAK-25RXD
RAK-35RXD,RAK-50RXD
Indicating P.W.B.
Control P.W.B.
Support hook
 Loading...