5
ELECTRICAL WIRING
5
After performing drain piping work and electrical wiring,
check to ensure that water flows smoothly as in the
following procedure:
Checking Unit without Drain-up Mechanism
- Pour approximately 1.8 liters of water into the drain pan.
- Check to ensure that the water flows smoothly or
whether no water leakage occurs. When water cannot
be found at the end of the drain piping, pour another
approximately 1.8 liters of water into the drain pan.
NOTE:
Pay attention to the thickness of the insulation when
the left side piping is performed. If it is too thick,
piping can not be installed in the unit.
4.2. DRAIN PIPE CONNECTION
1. Prepare a polyvinyl chloride pipe with a 18.5 mm outer
diameter.
2. Insulate the drain pipe after connecting the drain hose
as shown.
5. ELECTRICAL WIRING
5.1. ELECTRICAL WIRING CONNECTION FOR INDOOR UNIT
CAUTION:
Use twisted shielded pair cable or shield pair cable
for transmission wires between the indoor and the
outdoor units, and connect the shielded part to the
earth screw in the electrical box of the indoor unit as
shown below.
Single phase connection
Remote Control (PC-ART)
Transmission Wires
Power supply wires
(Single phase)
Earth Screw
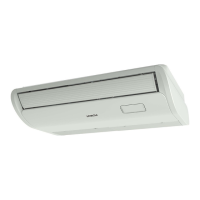
1. Wiring from left-rear side to the RPF as it is shown
below.
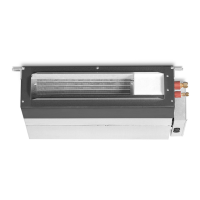
2. Wiring from left-rear side to the RPFI as it is shown
below.
3. Wiring from right-rear side as it is shown below
4. Wiring connection is shown below
Drain Hose
Insulation (field-supplied)
Polyvinyl Chloride Tube (field-supplied)
Front
Cover
Side
Cover
Opening (Rear)
Wiring
Wall
Electrical
Box
Front Cover
Wiring
Wall
Electrical
Box
RCS (Optional)
Power Supply Cable
Transmission Wire
Electrical Box
Wall
Through Holes
Intermediate Cable
Remote Control Switch Cable
Power supply Cable
 Loading...

