05
Slide the Siren up o of the mounting plate and use
a pencil or marker and a sprit level to mark out the
four holes, for drilling, on the wall.
Drill the holes you've marked, insert the wall plugs,
then screw the four screws into the wall. Make sure
that at least 12mm of the screw protrudes from the
surface of the wall.
Thread the power cable though the middle of the
mounting plate. Now place the mounting plate onto
the screws, sliding down to lock into place.
Lightly tighten the four mounting screws to secure
the backplate.
Prepare the Siren for fitting
While at ground level, unscrew the battery
compartment on the Siren and remove the battery
tab. The Siren will beep and the security light will
flash. You can now replace the battery compartment
and tighten the securing screw. This will protect the
Siren from water ingress.
Important: You must unscrew the battery compartment before removing the battery tab.
Cover the end of the power cable with tape to
prevent the ingress of dust or debris. Thread the
cable from the inside of the property to the outside.
Now connect the cable to the power supply and plug
it into the internal socket and switch on.
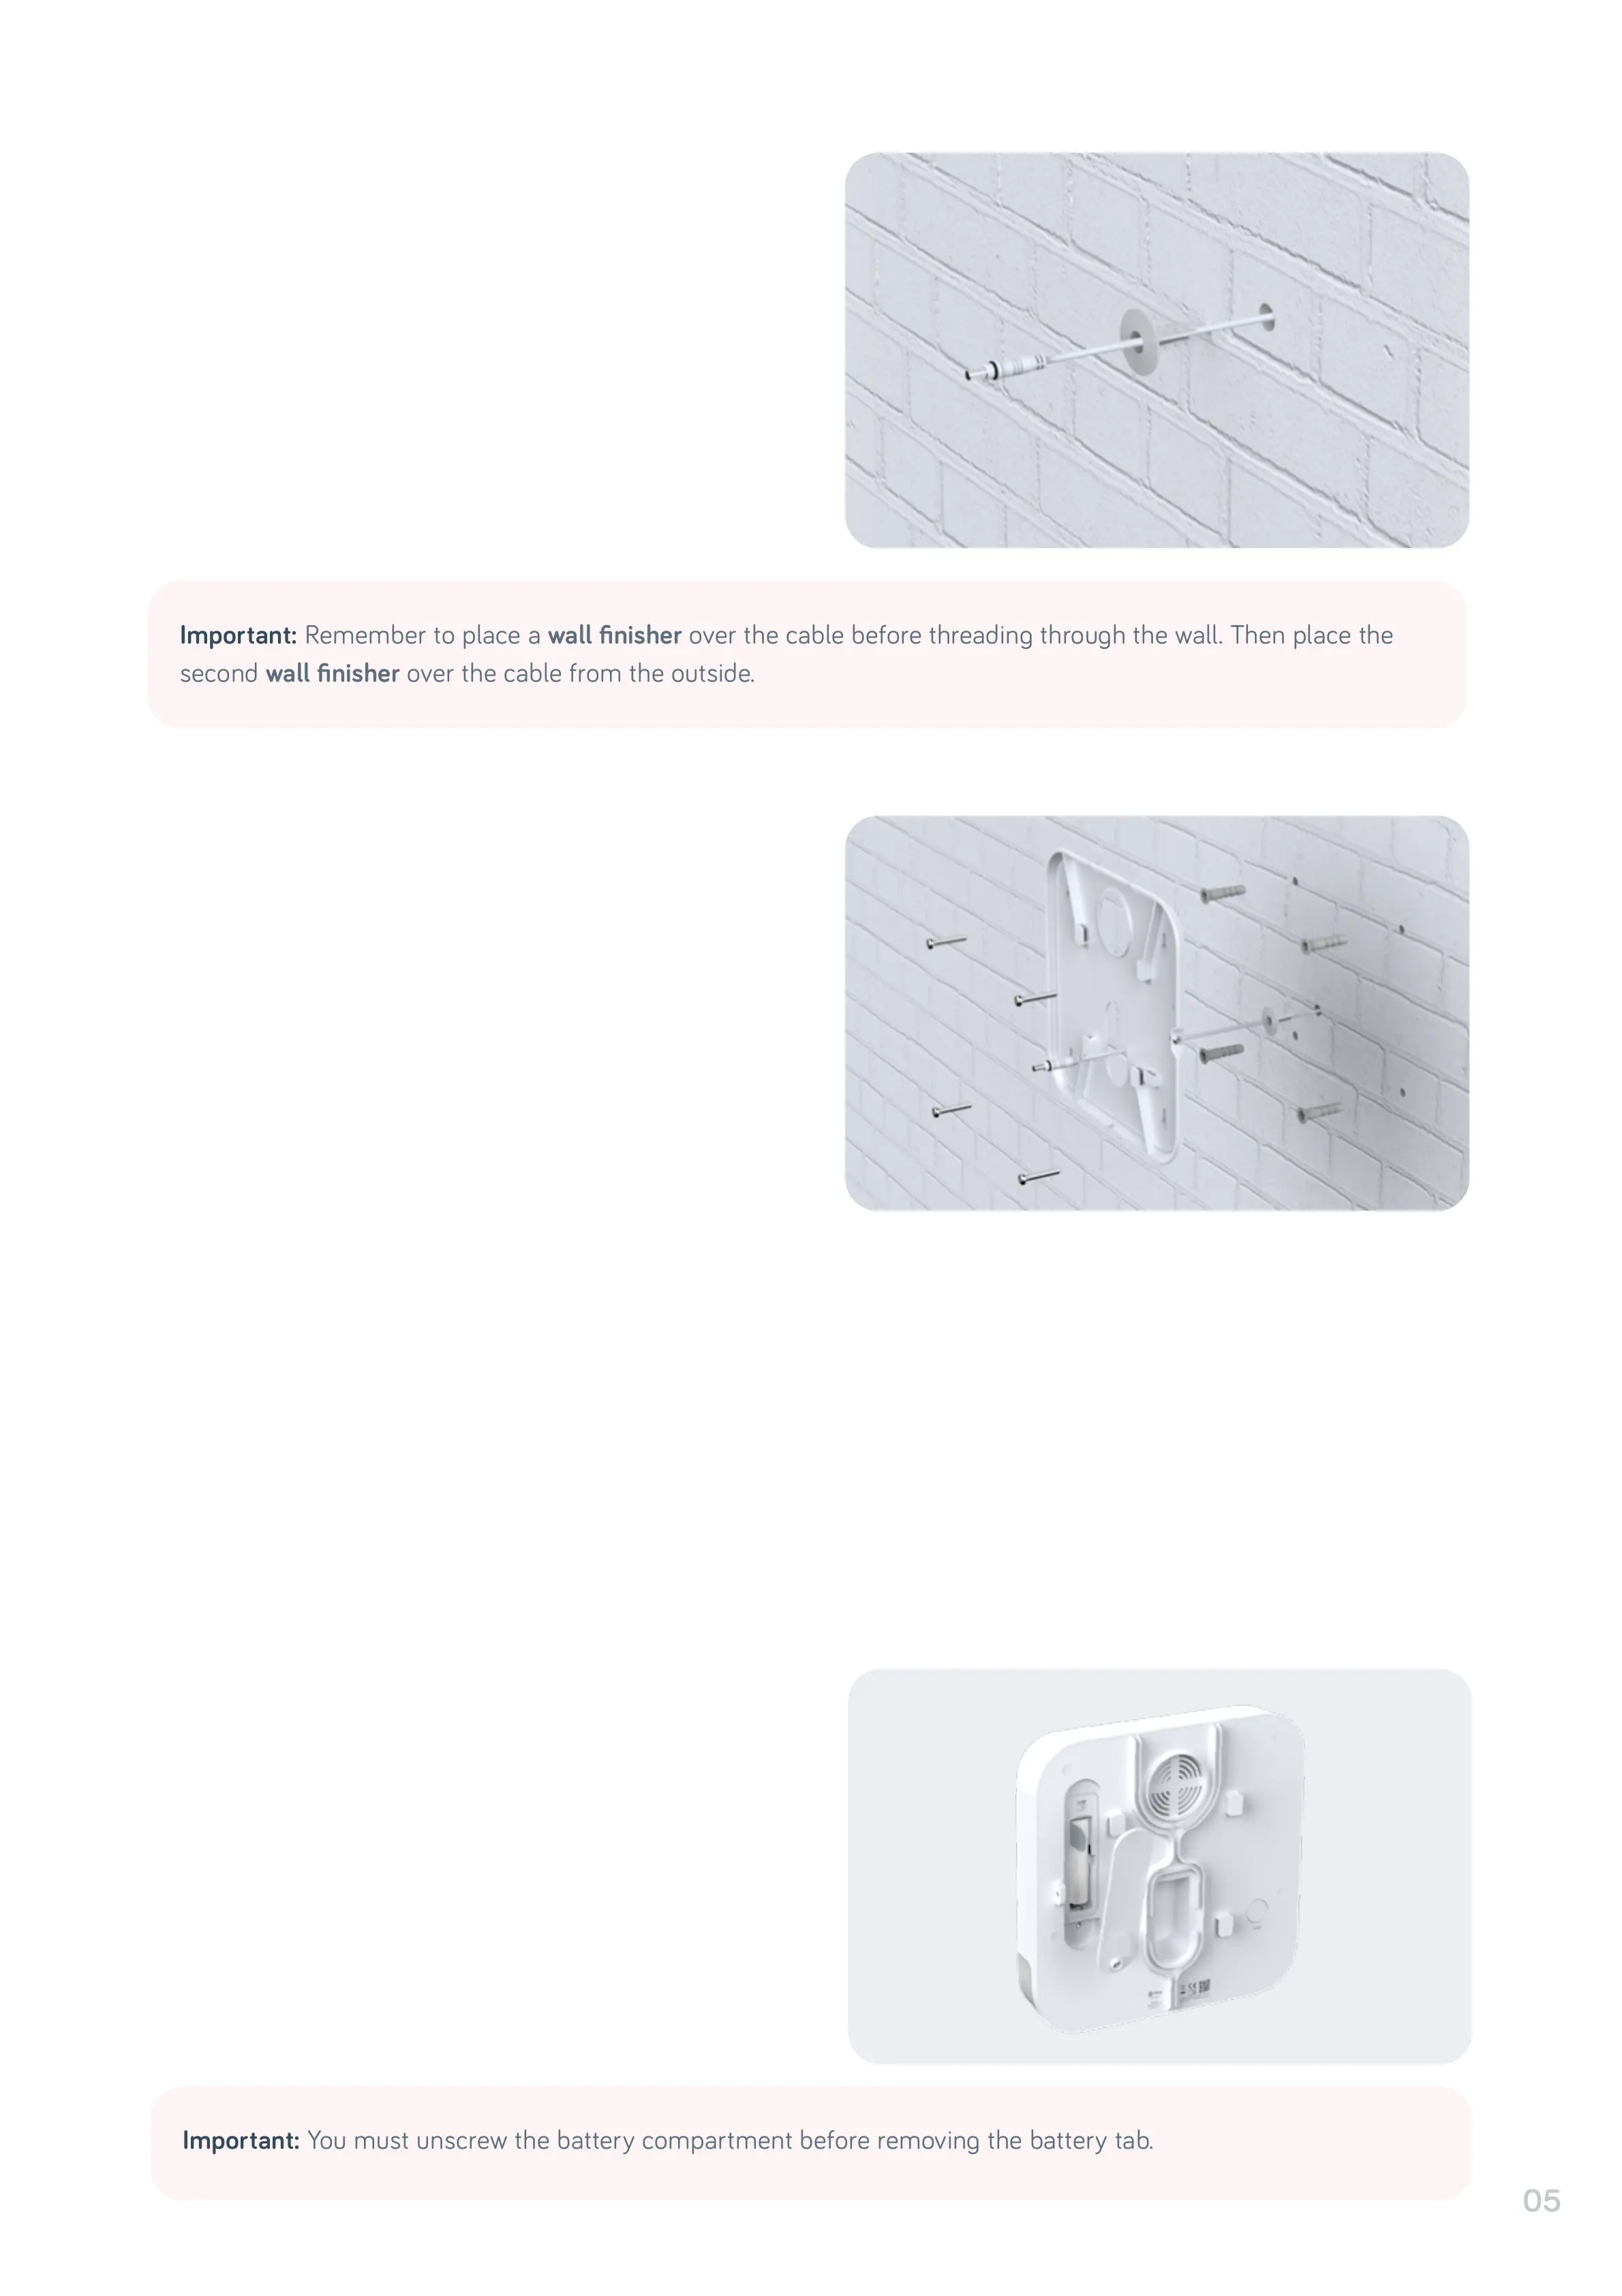
Important: Remember to place a wall finisher over the cable before threading through the wall. Then place the
second wall finisher over the cable from the outside.