10
USING HIX SUBLIMATION WRAPS
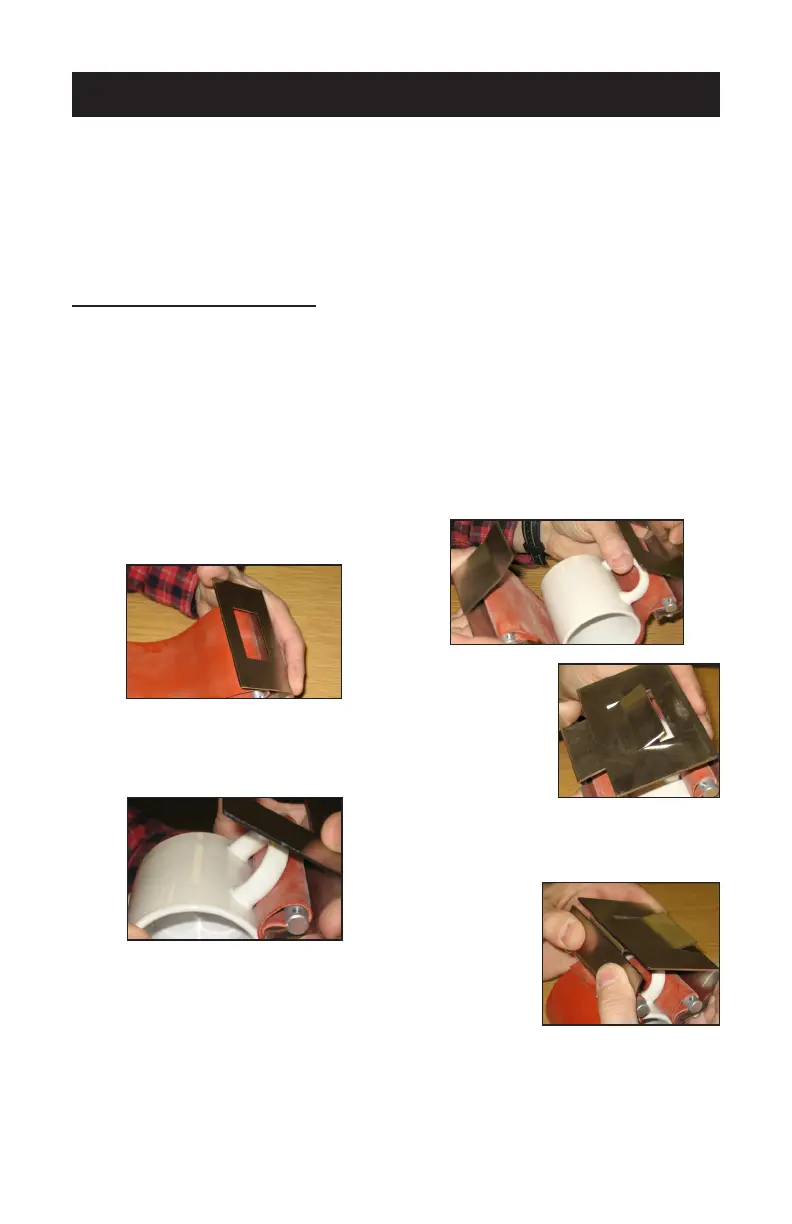
a) Hold the “loop end” of the mug wrap
in your hand.
b) Hold the mug with the handle
pressed against the “loop end” at
the point where the silicone rubber
wraps around the round bar.
c) With your other hand, grasp the
“hook end” of the mug wrap, and
wrap the silicone rubber around the
mug.
d) Insert the bent
up portion of
the “hook end”
into the rect-
angular open-
ing on the
“loop end.”
e) With both hands, squeeze the two
halves of the mug wrap together un-
til it locks together. You will hear a
‘snap’ sound
when the
“hook end”
is fully in-
serted into
the “loop
end”.
least a ¼” away from the handle you should see consistent quality. As you
become more experienced there are tips and tricks that will make full wrap
imaging more successful; not fool proof but more consistent results can be
achieved with proper preparation of the transfer. Also quality mugs must
be purchased, while a mug wrap helps to cover some imperfections in the
mug itself, nothing can help a poorly made, wavy or irregular surface and/
or coated mug.
TO USE YOUR WRAP
1. TRIM TRANSFER: Before applying the transfer trim the transfer so
there is no excess paper above or below the mug. TIP: Trimming the
transfer with a straight edge will assist in lining the transfer with the
top of the mug and help eliminate crooked transfers.
2. APPLY TRANSFER: Secure the ends of your transfer to the mug
using heat tape. TIP: Fold one end of the heat tape to make for quick
and easy removal of transfer.
3. WRAP MUG:
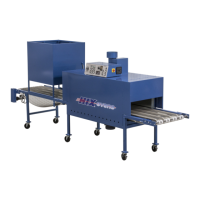
4. PLACE IN OVEN: Set oven to 400°F. Place your wrapped mugs
in the oven top down to allow heat to be trapped inside of the mug
improving transfer quality. Space each mug at least 2 inches apart
toallowformaximumairowbetweenmugsandmoreevenheating
of the entire mug.