WWW.HOBBYEAGLE.COM 15 / 15
Calibration STEPS
A3 Pro V2 uses a quick approach for accelerometer calibration, there are only 2 steps corresponding to
both sides of Z axis of the unit required to be calibrated. Each step will take about 2 seconds. While
calibrating, the LED will flash Blue several seconds and then light up solid in Blue. Do not move the gyro
until the calibration is done.
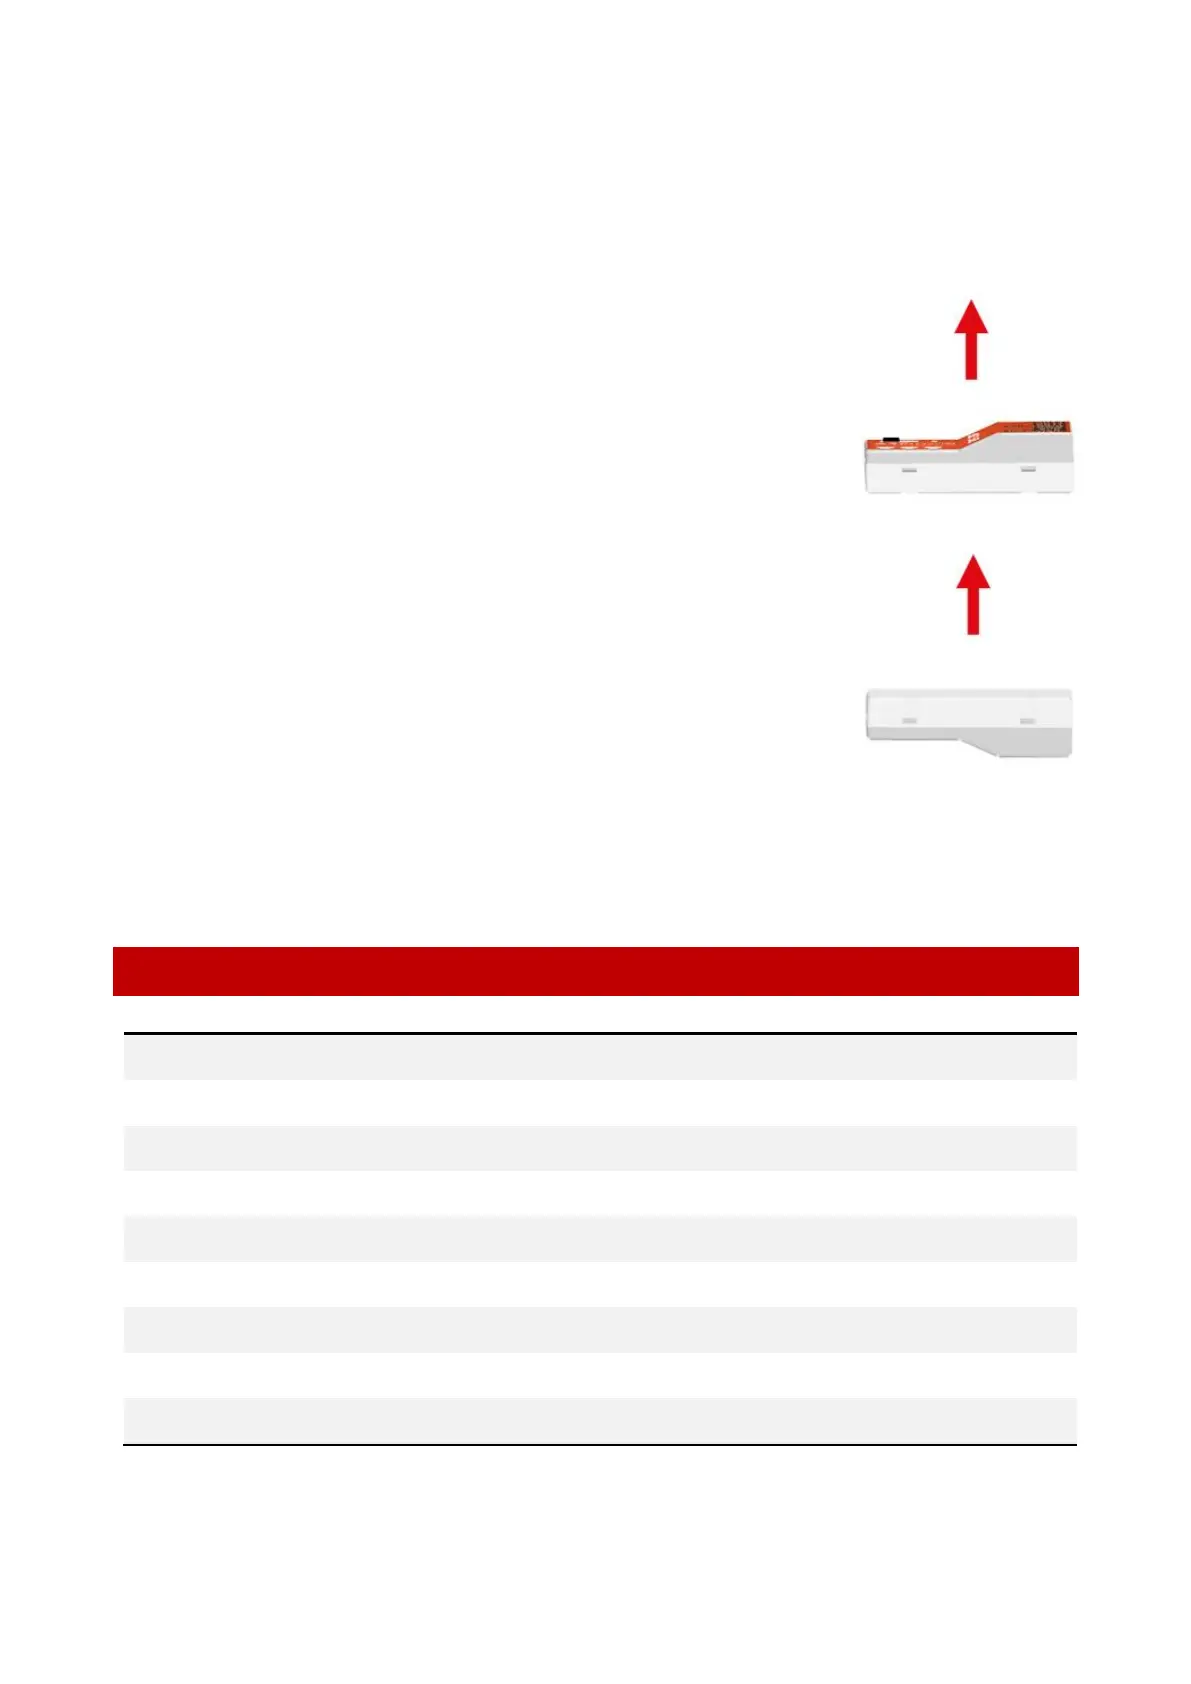
Step 1 Put the gyro flat and face up on the table and make it parallel to
the desktop. short press the button, do not move the gyro while the LED is
flashing Blue quickly.
Step 2 Put the gyro flat and face down on the table and make it parallel
to the desktop, short press the button, do not move the gyro while the LED
is flashing Blue quickly.
Finish After you have finished the 2 steps above, the LED will flash Violet
once which indicates that the calibration is complete, after a successful
calibration the gyro will start the initialization automatically.
SPECIFICATIONS