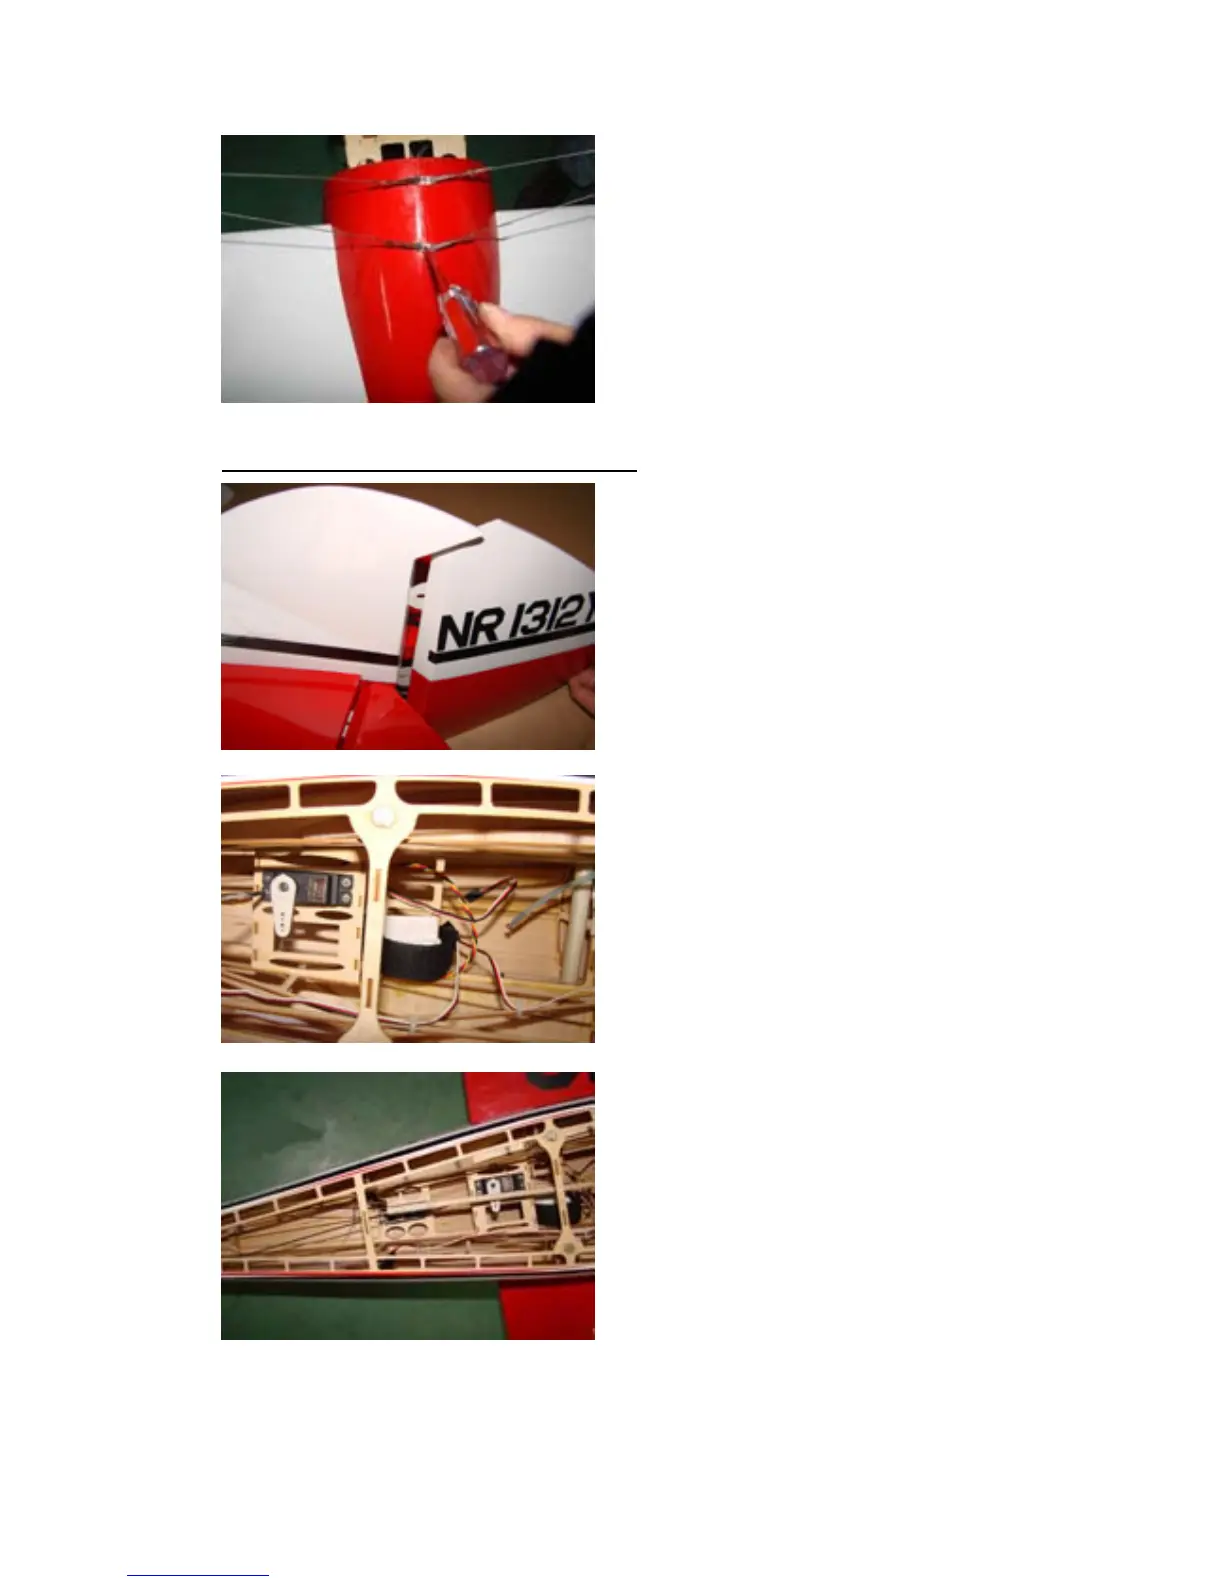
holes with the center of the rubber
mounting pads in the wing. Drill a
pilot hole through the mounting
holes in the pant, through the rubber
pad and into the plywood
underneath.
Step3. Assemble the tail surfaces
1. Bolt the wing onto the fuselage
and set the airplane in a position so
that you can sight over the
horizontal stab and wing together.
After this, be careful to glue them by
dropping CA into gap at the location
of each hinge.
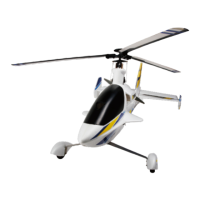
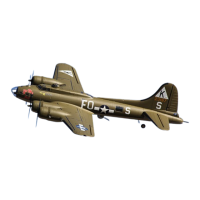
2. There are three holes we have
provided in factory, use three screws
to fix the plastic control horn on the
rudder and elevator.
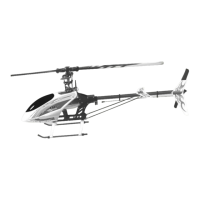
3. Slip the Elevator into the slot on
the fuselage, and then insert the
hinge of fan into the factory cut
hinge slots. After this, be careful to
glue them together by dropping CA
into gap at the location of each hinge.
Seeing the slot between the vertical
stabilizer and elevator is vertical
with the middle line of fuselage, and
the vertical stabilizer should be gone
halves with the midline of fuselage.
It can be sure the elevator is on the
right situation of the fuselage. Then be careful to glue the vertical
stabilizer on the fuselage tighter.



 To Next Page