43
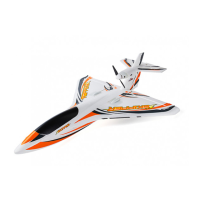
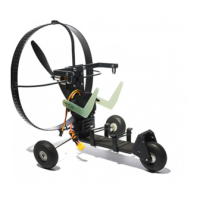
Airframe Assembly
2) Attach aluminum landing gear to fuselage with four M2 x 16mm course thread screws.
3) Apply glue to the wheel pants. Stick wheel pant to aluminum gear to thoroughly spread glue. Glue
works best as a contact adhesive. Stick pant to landing gear, pull off, wait 2 minutes, then
re-attach.
4) Glue horizontal stabilizer to fuselage. Use same contact adhesive method as before. Attach
elevator control rod to elevator control horn.
Airframe Assembly
5) Glue vertical fin to fuselage after attaching horizontal stabilizer. Apply glue into slot on stablizer.
Do not apply excess glue. Attached rudder control rod to control horn.
6) Apply glue to horizontal stabilizer tips. Only apply glue to top and bottom surfaces, not the
stabilzer end. Do not apply glue past the molded ridge. From there, slip on stabilizer sub-fins. Tail
assembly now complete.
7) Apply glue to fuselage and attach winglets
8) Attach propeller and spinner to motor shaft. Text on propeller should face forward. Secure prop
with 10mm nut. Secure spinner to backplate with two screws.
1) Attach tail boom assembly to the forward fuselage section with two M4 x 90mm, and two M4 x
70mm machine screws.