Step 5
9
Step 5
8
Charging the Aircraft Battery continued
Charging HobbyZone
®
Battery Packs
1. When charging a stock Ni-Cd battery pack (HBZ6510),
completely discharge the battery prior to charging.
This will ensure that your battery will get a full
charge and will help prevent it from false peaking.
2. Using the dial indicator on the side of the charger, set
the charge rate as indicated in the chart below.
Success Tip
The Aerobird Xtreme™ battery should be charged
shortly before flying. If the battery sits for more than
12 hours prior to flying, you will need to “re-peak”
the battery before you fly by repeating the steps on
on this page. This will ensure you get the maximum
amount of flying time per charge.
Safety First!!
Do not leave the battery and charger unattended while in
use. While charging, place the battery on a heat resistant
surface and constantly monitor the temperature of the bat-
tery pack. Do not allow children to charge batteries unless
they are supervised by a responsible adult.
Battery Capacity Maximum Typical
Charge Rate Charge Time
Stock Aerobird Xtreme Battery
1700mAh 7.2V Ni-Cd 1.8 amps 55 minutes*
Optional Xtreme Battery
3000mAh 7.2V Ni-MH 1.8 amps 105 minutes*
*charge times are only estimates. Actual charge times may vary.
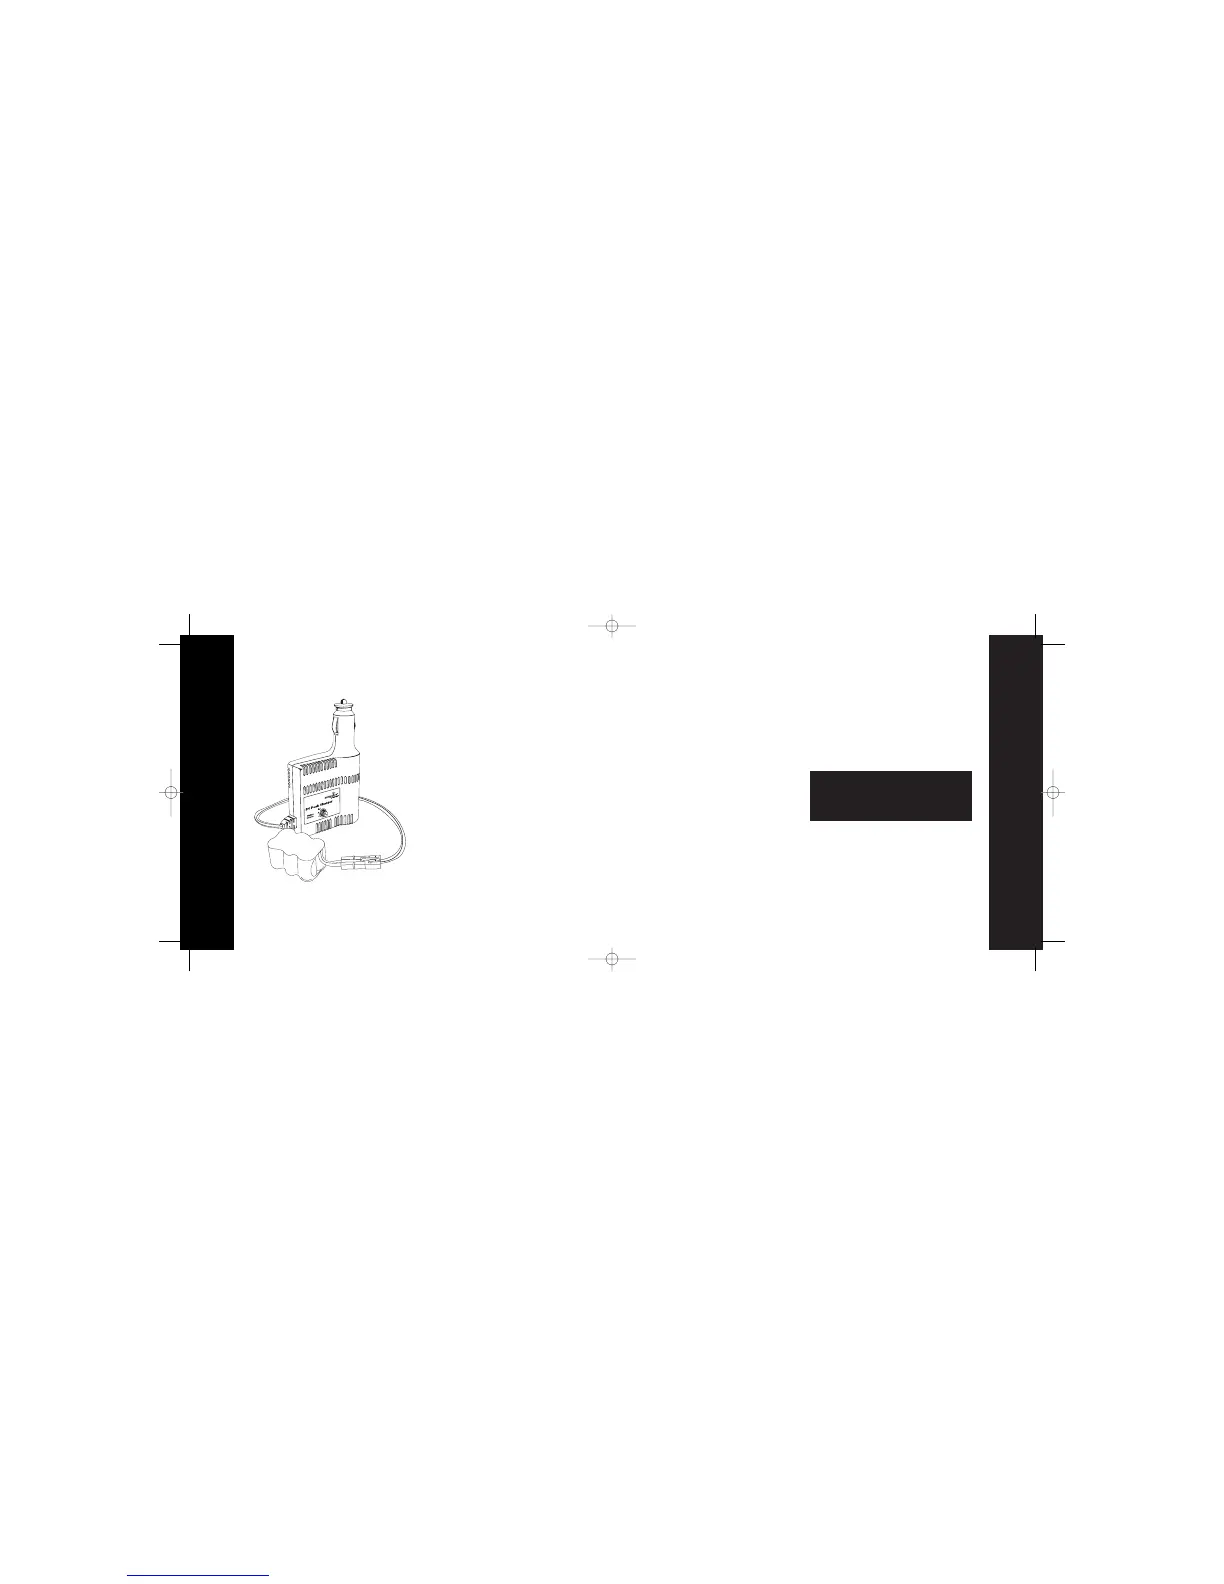
Charging HobbyZone Ni-CD and Ni-MH Battery Packs
The Aerobird Xtreme’s charger uses unique peak detection
circuitry that ensures an accurate charge every time and
protects your Ni-Cd and Ni-MH batteries from the dangers
of over-charging. During the charge cycle, it continuously
monitors the battery’s charge curve and automatically
stops charging when the peak charge is detected.
DC Peak Detect Charger Features:
• Variable charge rate from 0.5–1.8 amp charge rate
• Trickle charge
• Automobile 12V power outlet DC adapter
(with alligator clip adaptor)
• Tamiya-style connector
• Charges 6- and 7-cell Ni-Cd and Ni-MH battery packs
• LED charge indicator
3. Connect the battery pack to the charger.
4. Connect the charger to the 12V power outlet in
your automobile. The LED will continually blink
slowly while the battery charges.
5. Charging is finished when the LED indicator
glows steadily.
NOTE: Your Aerobird Xtreme also comes with a
special adapter so you can power your charger with
a 12V power supply, or an automobile battery.
 Loading...