BEFORE PROCEEDING, PLEASE MAKE SURE
YOU HAVE READ THE INTRODUCTION, SYSTEM
ADJUSTMENT, AND MOUNTING SECTIONS
FRONT SPEAKERS
(AND TWEETER POD IF PRESENT)
Step #1: Remove the seat, and both wires (+ and -) from the battery.
Step #2: Remove the outer fairing/headlamp assembly. Refer to a service manual
if you need help with this. Note: A towel on the front fender can help
prevent scratches or “dings” from dropped tools or fasteners etc.
Expletives will also be kept to a minimum!
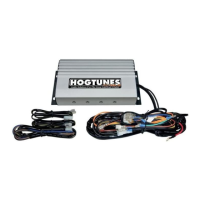
Step #3: Locate the bag with 3 separate harnesses. It has the amps power har-
ness (red, black, and orange wires with a 3 pin green plug), input
harness (ending in an 8 pin white plug), and a front out harness (4 pin
black plug with blue/black, and brown/black wires). Plug the power
harness into the amp, and make sure to secure the screws to prevent the
harness from backing out while riding. Plug the input harness into the
amp where it says “Audio Input/Exp. Port”. Plug the 4 pin output har-
ness into “Amplified Output” on the amp.
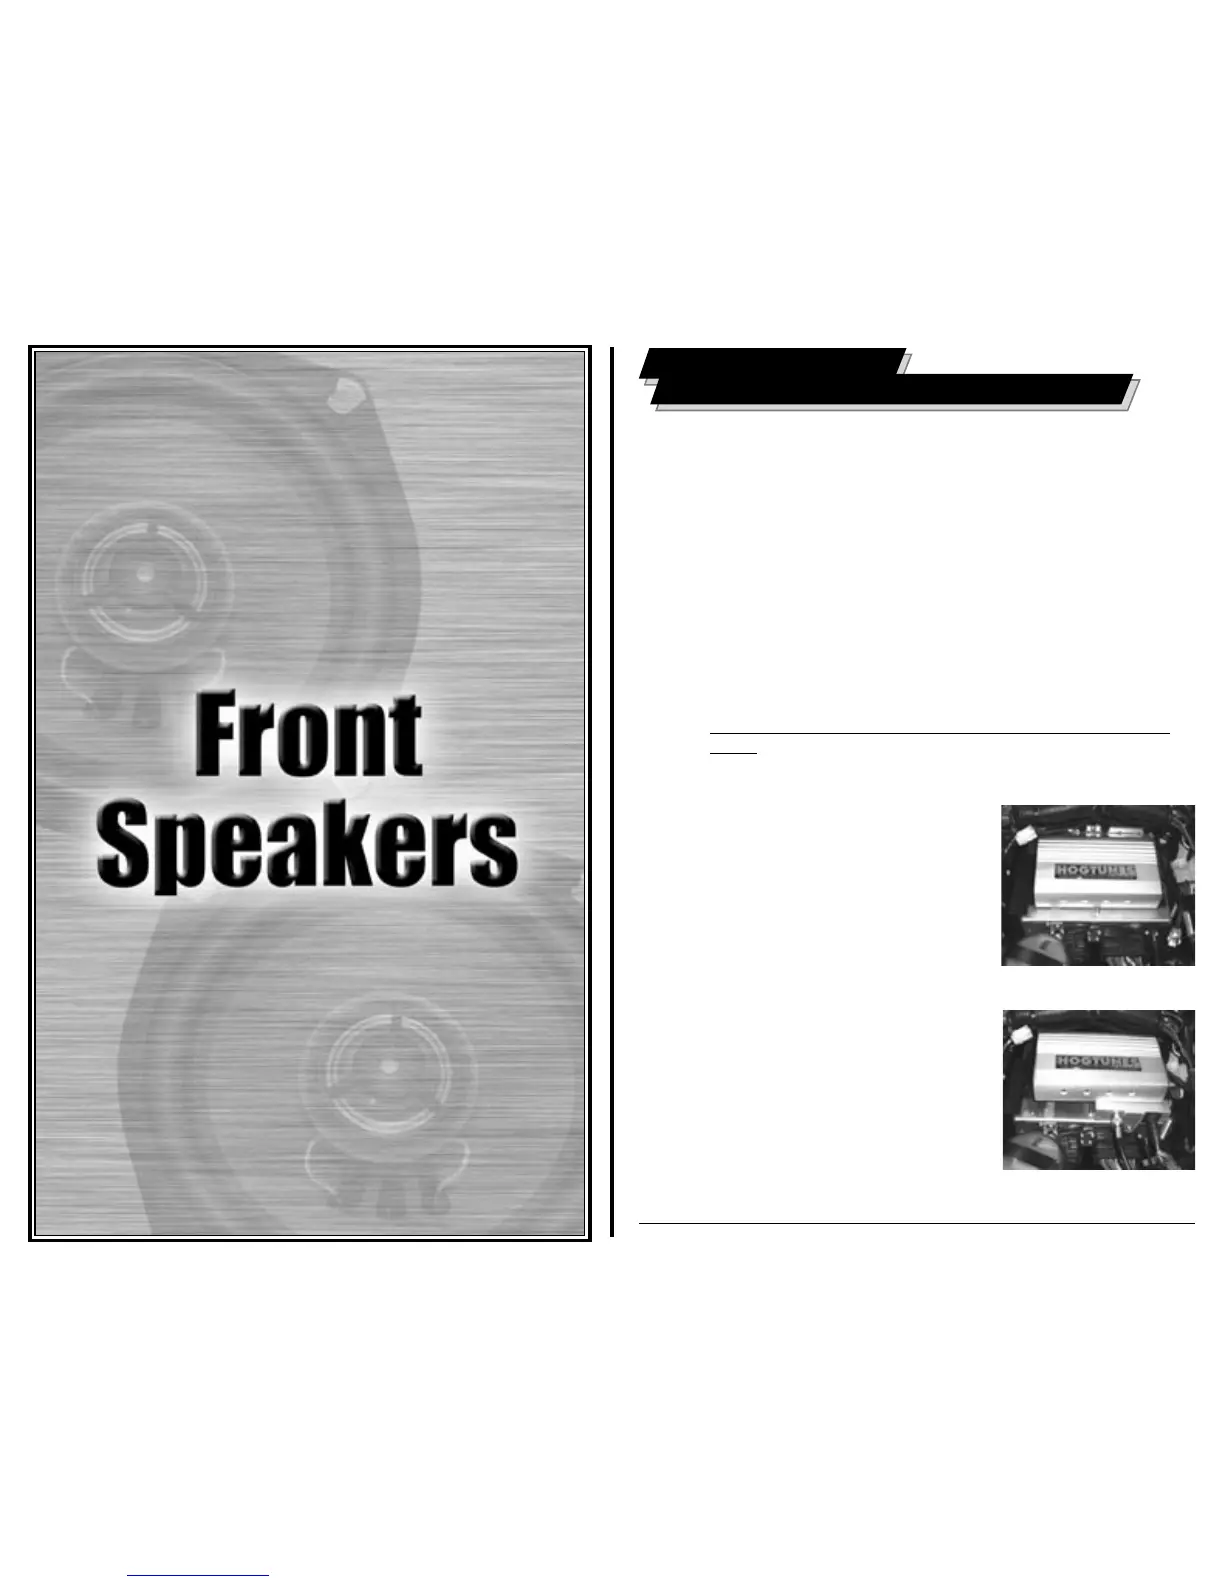
Step #4a:
Mounting the amp For Standards, Street Glide, EG Classic, and Ultra
Classic-- If this is the only amp in the system, the amplifier gets mounted to
the top of the factory radio using the supplied “hook and loop” adhesive,
and must sit so you can read the text on top of the amplifier as in
diagram 1.1. The amplifier needs to
mount as far back on the radio as pos-
sible so the fairing can go back on. The
minimum distance from the back of the
radio to the most forward edge of the
amplifier is 5/8” (15mm). On pre-2006
model bikes, it is a tight fit--but will go.
2006+ (Advanced Audio) radios have a
“bump” on top of the radio that runs from
front to back down the center of the radio.
Cut the adhesive in half and apply each
piece on either side of this bump. The
amp will then mount flush. Most adhesives
work best at room temperature or higher.
Note: 2006 and newer Ultras have the
CB module on top of the radio. The amp
will adhere on top of the CB module so it
is “half on/half off this module as shown
in Diagram 1.2. The supplied adhesive is
plenty strong for this! The amp can adhere
on top of CB and XM modules without issue.
Diagram 1.1
No CB/XM Module Present
6
Diagram 1.2
Shown mounted on top
of CB Module