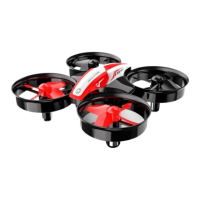
3. Charging the Battery and Transmitter
Phone adapter:
5V 1A/2A
(Not included)
Press the buckle and Pull out
the Battery from the drone.
----
Charging time:
3~6 Hours
(Depending on
Charging Power)
Phone adapter:
5V 1A/2A
(Not included)
----
Charging time of the
transmitter: about 1Hour
(Charging) (Fully Charged)
Tip:
When the transmitter is in low power, the “Battery Power Indicators” on
the transmitter will blink, you need to charge the transmitter this time.
Connect the USB Charging Cable with the Battery, then, connect the USB
Charging Cable to a computer or a USB adapter.
Connect the USB Charging Cable with the Transmitter, then, connect
the USB Charging Cable to a computer or a USB adapter.
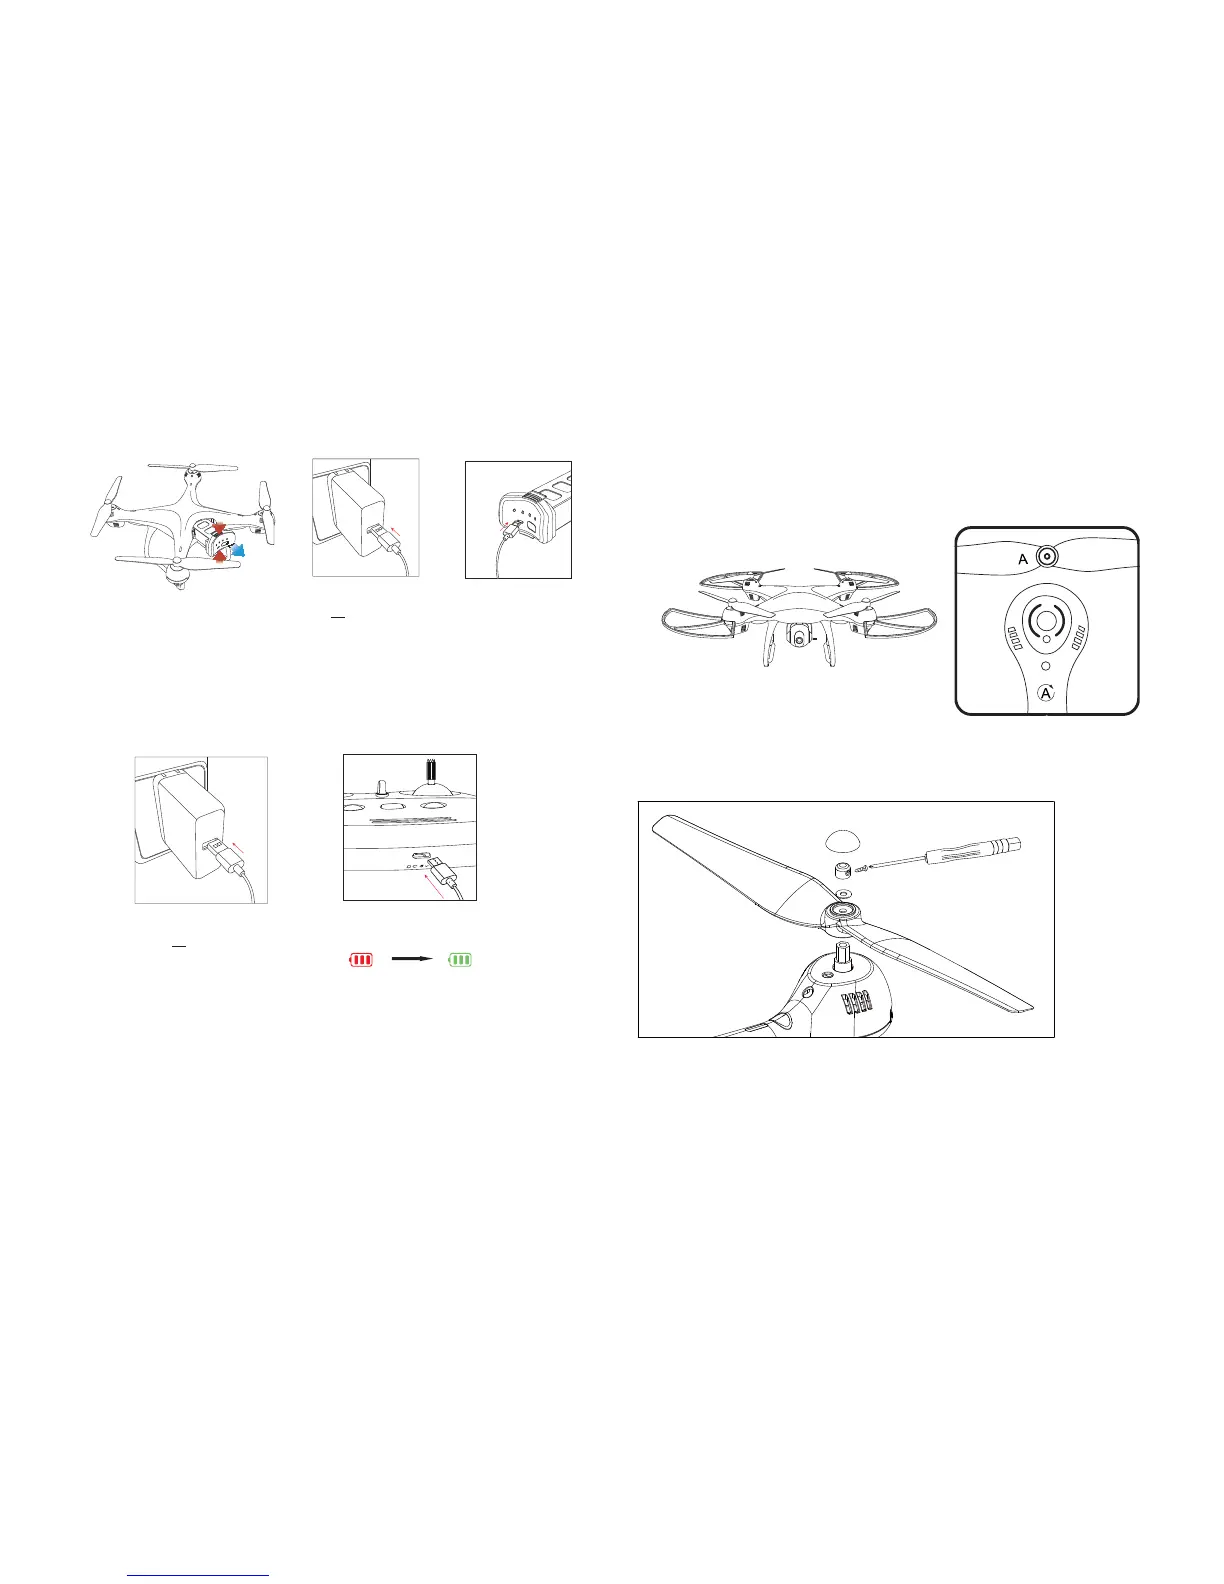
5. Assemble the Propeller
A
A
B
B
1. Remove Propeller Cap.
2. Unscrew the small screw.
3. Pull out the Fixed Ring and Spacer Ring, then pull out the propeller.
4. Attach the correct propeller.
Cap
Spacer Ring
Fixed Ring
Propeller
Attach the propellers with the
ring mark to the motor cover
with ring marks.
Please note that the letter “A ” or “ B ” is printed on each propeller.
Make sure all the propellers are attached in the correct motor posi-
tion.
6
7
①
②

 Loading...