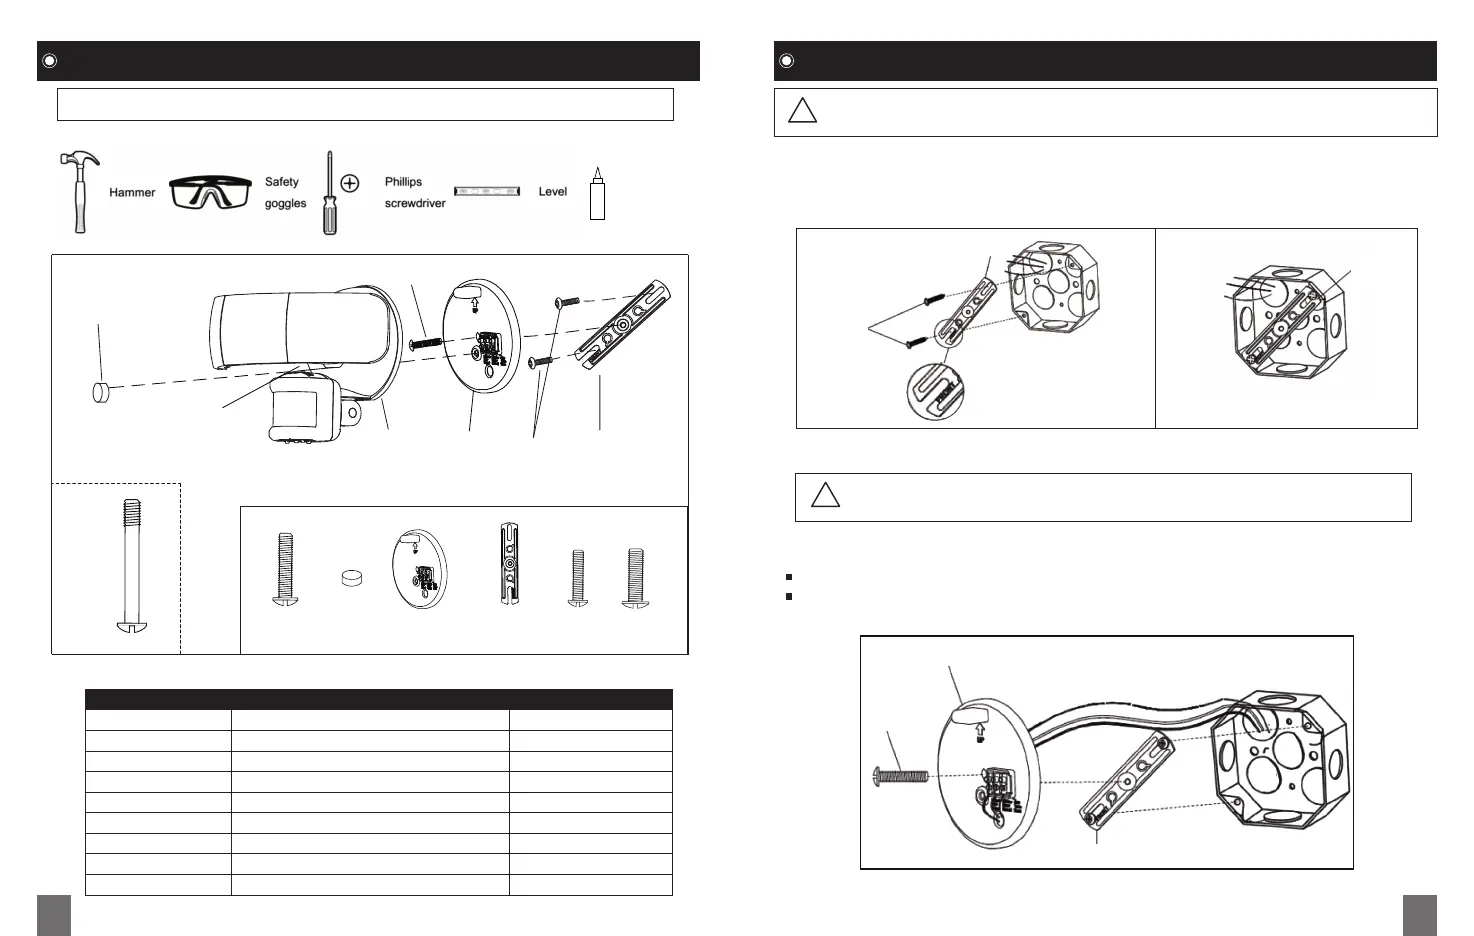
PRE-INSTALLATION (Continued) INSTALLATION
Step 1. Installing the Mounting Bracket
- Line up the holes on the Mounting Bracket ( E ) with the holes on your junction box. Using
the two Mounting Screws ( F or G ) fit the junction box.
Step 2. Installing the mounting plate
- Take the junction box wires through the hole in the mounting plate (D).
- Place the mounting plate (D) against the junction box.
When mounting to a wall, the “UP” arrow must point upward.
When mounting to an eave, the “UP” arrow must point toward the building.
!
Tools Required for Installation (not included)
WARNING: Risk of electric shock. Disconnect power at fuse or circuit breaker
before installing or servicing.
!
CAUTION: Do not cut any wires with factory installed wire connectors or
remove the wire connectors
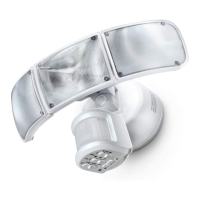
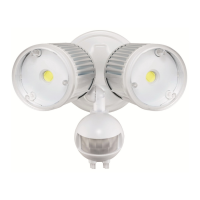
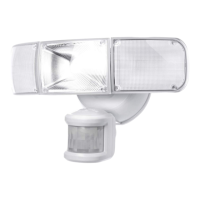
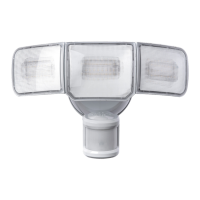
A Light Fixture 1
B Small mounting bolt 1
C Decorative Cover 1
D Mounting Plate 1
E Mounting Bracket 1
F #6-32 X 3/4” Junction Box Screw 2
G #8-32 X 3/4” Junction Box Screw 2
H Large mounting bolt (pre-installed) 1
User Manual 1
Part Description Quantity
FIXTURE PACKING LIST
H
B C D E F G
Silicone
Sealant
C
H
A
D
E
F or G
F or G
B
E
E
D
E
B
04 05