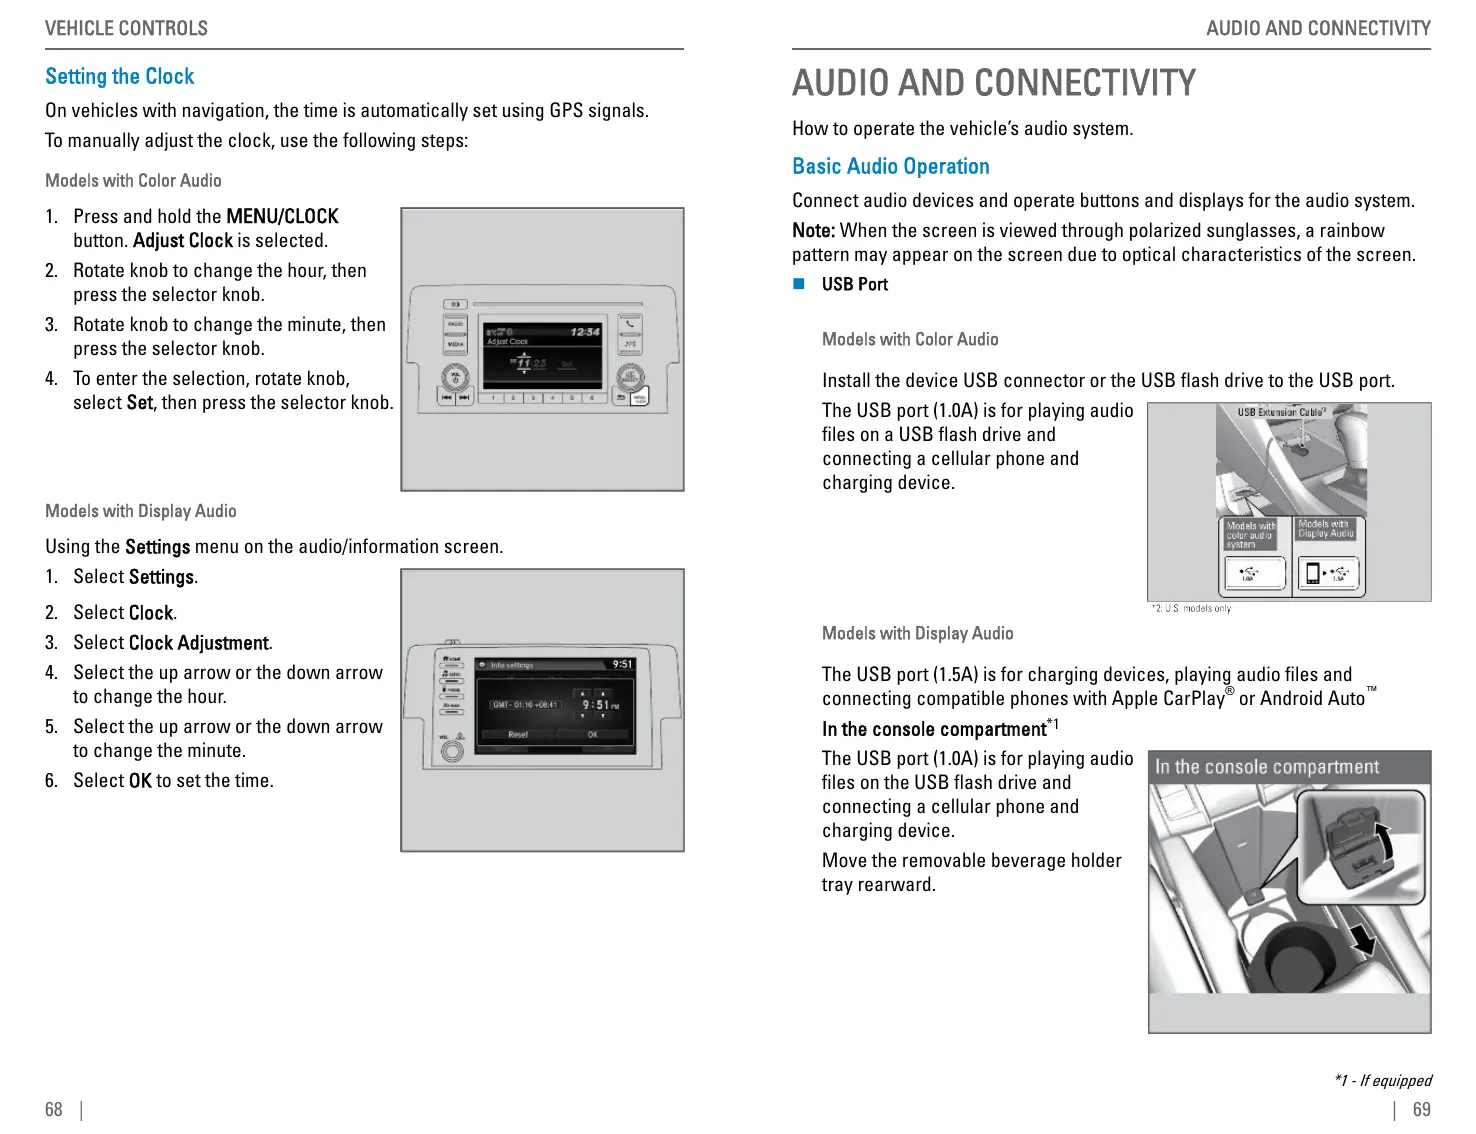
Setting the Clock
On vehicles with navigation, the time is automatically set using GPS signals.
To manually adjust the clock, use the following steps:
Models with Color Audio
1. Press and hold the MENU/CLOCK
button. Adjust Clock is selected.
2. Rotate knob to change the hour, then
press the selector knob.
3. Rotate knob to change the minute, then
press the selector knob.
4. To enter the selection, rotate knob,
select Set, then press the selector knob.
Models with Display Audio
Using the Settings menu on the audio/information screen.
1. Select Settings.
2. Select Clock.
3. Select Clock Adjustment.
4. Select the up arrow or the down arrow
to change the hour.
5. Select the up arrow or the down arrow
to change the minute.
6. Select OK to set the time.
VEHICLE CONTROLS
68 |
AUDIO AND CONNECTIVITY
How to operate the vehicle’s audio system.
Basic Audio Operation
Connect audio devices and operate buttons and displays for the audio system.
Note: When the screen is viewed through polarized sunglasses, a rainbow
pattern may appear on the screen due to optical characteristics of the screen.
n USB Port
Models with Color Audio
Install the device USB connector or the USB flash drive to the USB port.
The USB port (1.0A) is for playing audio
files on a USB flash drive and
connecting a cellular phone and
charging device.
Models with Display Audio
The USB port (1.5A) is for charging devices, playing audio files and
connecting compatible phones with Apple CarPlay
®
or Android Auto
™
In the console compartment
*1
The USB port (1.0A) is for playing audio
files on the USB flash drive and
connecting a cellular phone and
charging device.
Move the removable beverage holder
tray rearward.
*1 - If equipped
AUDIO AND CONNECTIVITY
| 69

 Loading...