CTX700N/ND
Genuine Accessory User’s Guide
2 of 3
This accessory uses a 1 amp fuse. If you ever need to replace this fuse, be sure to use another 1 amp •
fuse of the same type.
- Fuse: 1 A
Do not connect any accessory that consumes more than 12 watts. (12 V, 1 A).•
Use accessories with the engine running to avoid discharging the battery.•
Switching the headlight to low beam when accessories are connected will help avoid discharging the •
battery.
Never insert a cigarette lighter as this will damage the socket.•
Cover the socket with the cap when the accessory socket is not used to prevent entry of foreign •
objects.
Carefully secure any connected devices, as vibrations may cause them to shift unexpectedly.•
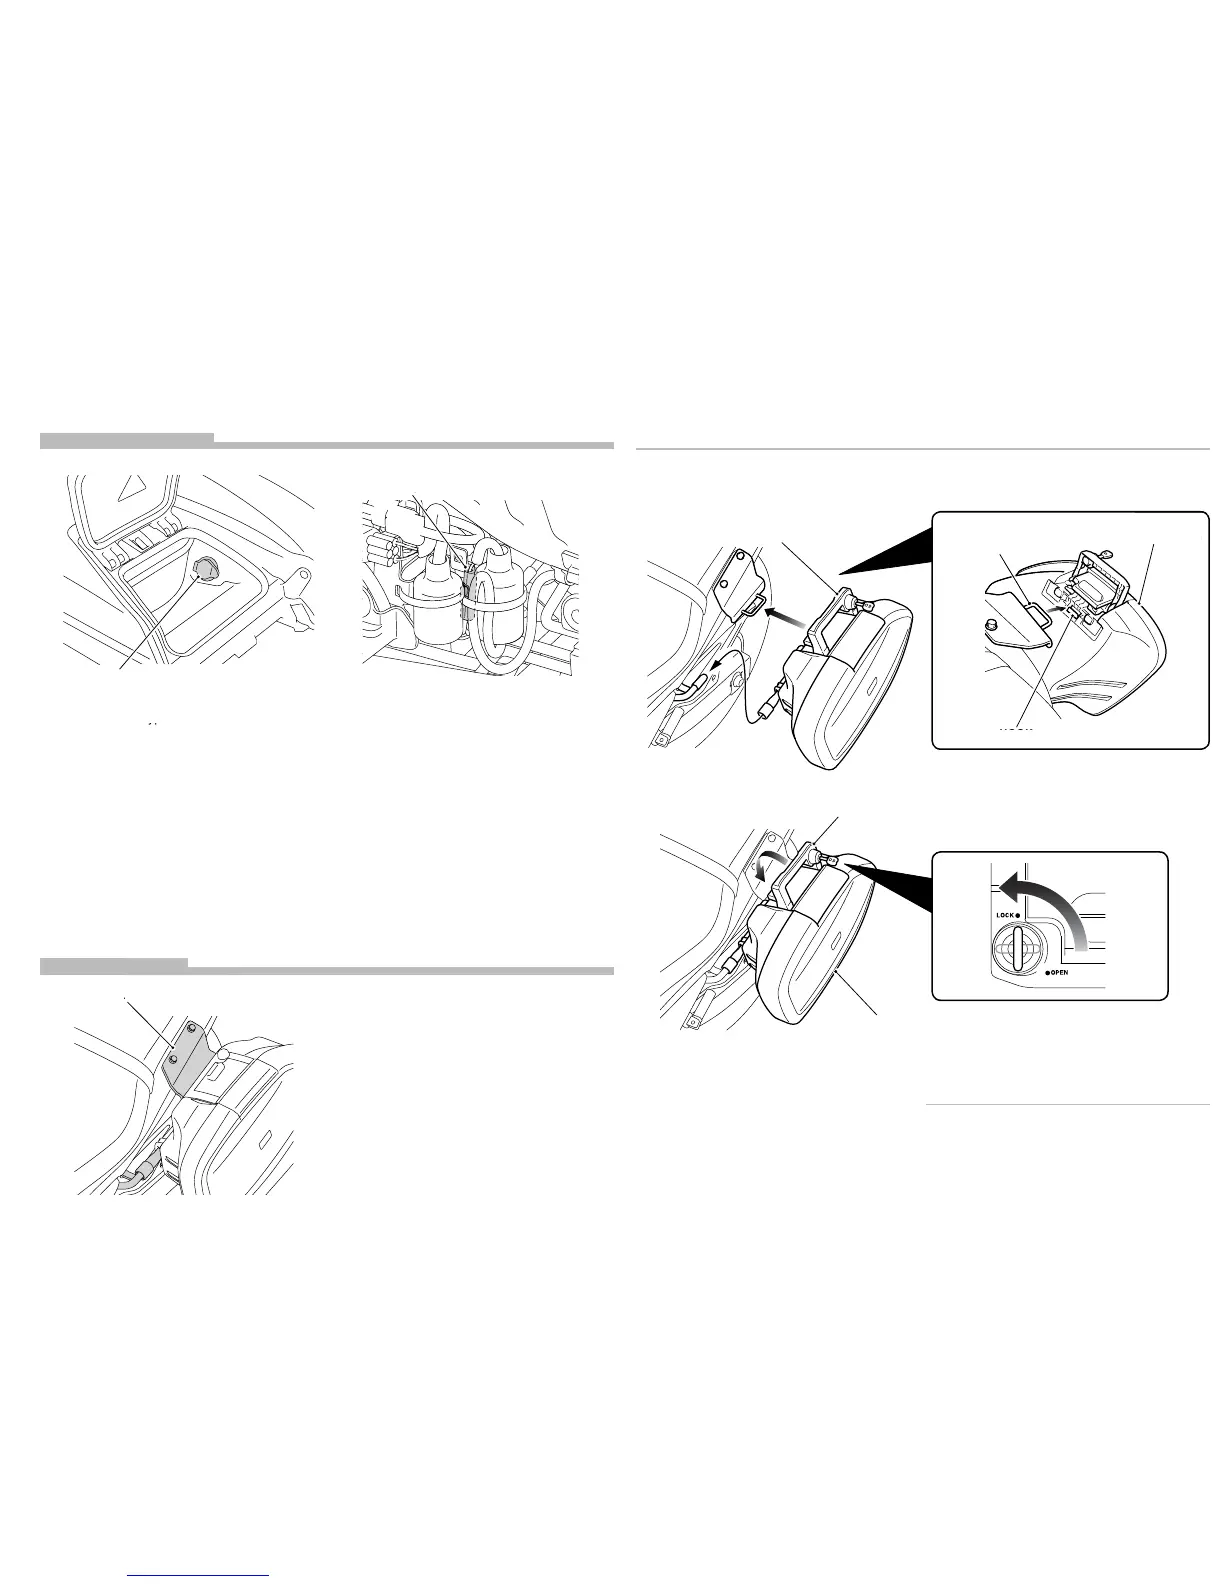
ACCESSORY SOCKET
<RIGHT SHELTER REMOVED>
ACC SOCKET
FUSE
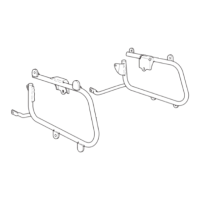
SADDLEBAG STAY
Check the accessory mounts frequently and •
retighten if necessary.
Clean this accessory with a soft cloth soaked with •
a solution of mild detergent and water. Then wipe
with a clean cloth soaked with water to remove
any remaining dirt and detergent. Finally wipe dry
with a soft, clean cloth.
SADDLEBAG STAY
HOW TO INSTALL THE SADDLEBAG
LEFT SADDLEBAG
1. Release the lock by turning the key clockwise.
2. Install the left saddlebag as shown.
HANDLE LEVER
Install the saddlebag with
the handle lever raised.
LEFT SADDLEBAG
ADDLEBAG
LOOP
Insert into the hook.
HOOK
3. Lower the handle lever and lock the left
saddlebag by turning the key counterclockwise
as shown.
HANDLE LEVER
4. Repeat on the right side.
SADDLEBAG REMOVAL
Remove the saddlebags in the reverse •
order of installation.