Do you have a question about the Honda ST1300 2003 and is the answer not in the manual?
Explains the essential role of set-up and pre-delivery service for rider safety and machine reliability.
Details critical safety practices for technicians, including shop safety, tool usage, and hazard avoidance.
Instructions for removing the motorcycle from its shipping crate and checking for transit damage.
Guide for carefully removing shipping braces, loose parts cartons, and the crate frame.
Details on identifying and checking all loose parts included with the motorcycle against the provided illustration.
Procedure for installing the front fender, reflector stays, and reflectors using specified hardware.
Step-by-step guide for cleaning brake discs and correctly installing the front wheel with collars and axle.
Instructions for installing the windshield, adjuster rubbers, plastic washers, collars, and related covers.
Procedure for attaching the rear view mirrors and hose clips, connecting terminals, and securing covers.
Guide for attaching the handlebar cover and installing the saddlebag lever lock mechanism.
Steps for removing the motorcycle seat and the right side saddlebag using the ignition key.
Instructions for removing the side cover and servicing the motorcycle's pre-charged battery.
Procedure for storing the tool kit and Owner's Manual, and adjusting the seat height.
Steps for correctly installing both the front and rear seats, ensuring they are securely locked.
Procedure for installing the engine guard covers.
Procedure for checking the engine oil level using the inspection window.
Guides for checking the final drive oil level and front/rear brake fluid levels.
Procedure for checking and topping off the coolant level in the reserve tank.
Instructions for verifying the correct routing of all cables, hoses, and wire harnesses.
Procedures for checking the engine idle speed and tire pressure.
Instructions for optionally installing the fuel tank knee grip pads.
Final step to complete the On-Road Motorcycle Set-up/Pre-delivery Checklist.
| Bore x Stroke | 78mm x 66mm |
|---|---|
| Compression Ratio | 10.8:1 |
| Ignition | Computer-controlled digital with three-dimensional mapping |
| Transmission | 5-speed |
| Final Drive | Shaft |
| Front Tire | 120/70ZR-18 |
| Rear Tire | 170/60ZR-17 |
| Trail | 98mm (3.9 inches) |
| Wheelbase | 58.7 inches |
| Seat Height | 31.1 inches |
| Fuel Capacity | 7.7 gallons |
| Fuel System | PGM-FI with automatic choke |
| Front Suspension | 45mm HMAS cartridge fork with spring-preload adjustability; 4.6 inches travel |
| Front Brakes | Dual full-floating 310mm discs with three-piston calipers |
| Rear Brakes | Single 316mm disc with three-piston caliper |
| Rake | 26.0 degrees |
| Curb Weight | 730 lbs |
| Engine Type | 1261cc liquid-cooled longitudinally mounted 90-degree V-4 |
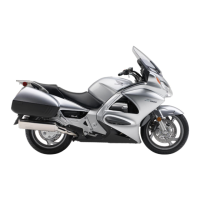
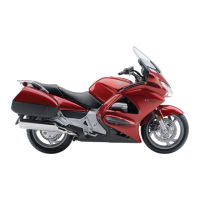
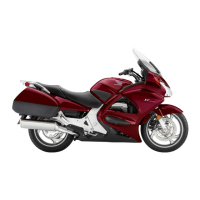
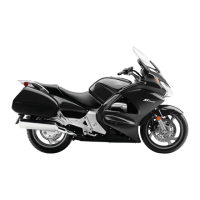




 Loading...