 Loading...
Do you have a question about the Honeywell Home Smart Series and is the answer not in the manual?
| Connectivity | Wi-Fi |
|---|---|
| Warranty | 1-year limited warranty |
| Sensors | Room temperature, humidity |
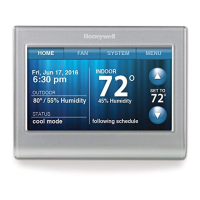
| Display | Touchscreen |
| Energy Savings | Yes |
| App Control | Honeywell Home app |
| Control Method | Touchscreen, app, voice |
| Power Source | Battery or C-wire |
| Scheduling | 7-day programmable |
| Geofencing | Yes |
| Energy Saving Features | Scheduling, Geofencing |
| Remote Control | Yes |
| Voice Control | Amazon Alexa, Google Assistant |