EasyManua.ls Logo

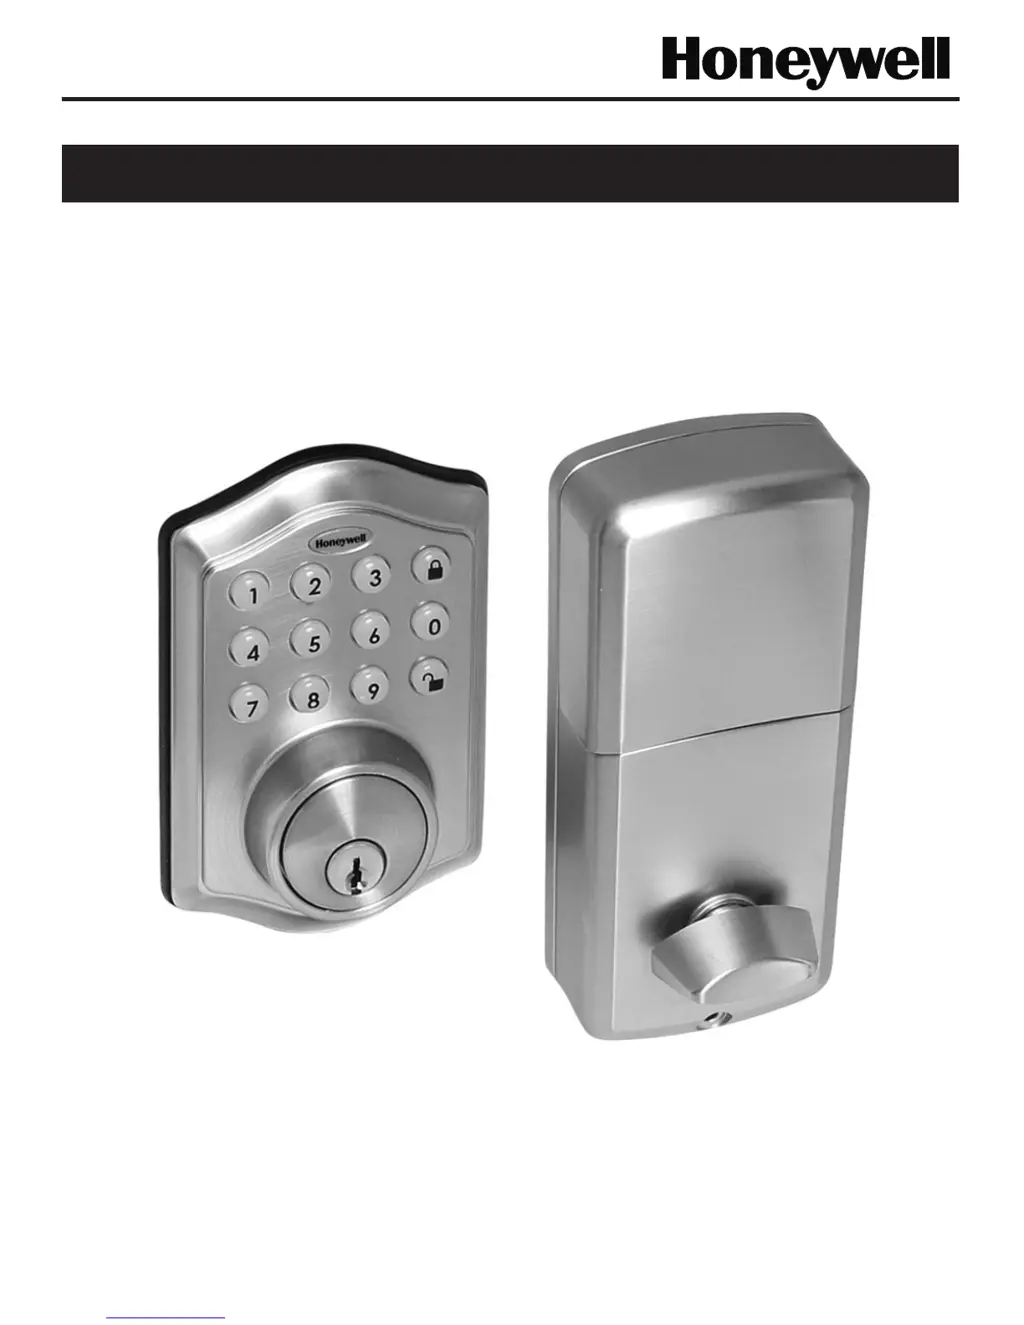
Honeywell 8712009 - User Manual

Honeywell 8712009
20 pages
Print Icon
To Next Page IconTo Next Page
Loading...
Page 1
Models 8712009, 8712109, 8712309, 8712409
Read this manual carefully before installing and operating!
ENGLISH
Installation & Operation Guide
Digital Deadbolt

Questions and Answers

  • J
    Jennifer SmithAug 3, 2025
    What to do if my Honeywell lock will not function electronically?
    • S
      Scott ConwayAug 3, 2025
      If your Honeywell lock isn't working electronically, ensure you're using fresh, high-quality alkaline batteries and that they are installed with the correct polarity (+/-). Also, check that the control wire is properly attached to the interior assembly.
  • M
    miranda49Aug 9, 2025
    How to fix a Honeywell deadbolt latch that is sticking?
    • M
      Michelle GregoryAug 10, 2025
      If the deadbolt latch on your Honeywell lock is sticking, the installation screws might be too tight. Here's what to do: 1. Remove the interior assembly. 2. Slightly loosen the mounting plate screws. 3. Lock and unlock using the key. 4. Reattach the control wire and interior assembly.
  • A
    Amber LeblancAug 15, 2025
    Why does my Honeywell lock give an error signal when opening or locking, and the deadbolt latch won't fully extend or retract?
    • P
      Pamela ReedAug 15, 2025
      If your Honeywell lock is giving an error signal and the deadbolt latch isn't fully extending or retracting, use the key or interior knob to unlock the door. While the door is open, check that the deadbolt latch operates smoothly. Ensure proper alignment of the strike plate and adjust it as needed to prevent any binding against the deadbolt latch.
  • L
    Laurie DonaldsonAug 21, 2025
    What to do if Honeywell lock latch is working backward?
    • M
      Madison ManningAug 22, 2025
      If your Honeywell lock latch is working backward (unlocks when the lock button is pushed or locks when the unlock button or code is pushed), the direction switch is likely set incorrectly. To fix this, remove the interior assembly and move the switch to the opposite direction. Ensure the switch is set for either a left or right-handed door. If it's already correct, rotate the interior knob and reinstall the interior assembly, then retest while holding the interior assembly in place.
  • S
    Sophia GonzalesAug 27, 2025
    What to do if the interior knob will not turn on Honeywell lock?
    • J
      James JohnsonAug 28, 2025
      If the interior knob on your Honeywell lock won't turn, the knob or vertical tailpiece might be installed in the wrong position. Remove the interior assembly and reposition the interior knob. Make sure that with the deadbolt latch retracted, the tailpiece is vertical.

Summary

Installation Instructions and Package Contents

Package Contents and Tools Required

Details the components included in the lock package and the necessary tools for installation.

Prepare Door and Jamb for Installation

Template and Marking Procedures

Instructions for using the template to mark the door and jamb for drilling.

Drilling and Chisel Door Steps

Guidance on drilling the main holes and chiseling the door for the latch set.

Door Jamb Marking and Drilling

Steps for marking and drilling the door jamb for the strike plate.

Adjustable Deadbolt Latch Set

Convert Backset: 2-3;8 to 2-3;4

Procedure to adjust the deadbolt latch from 2-3/8 inch to 2-3/4 inch backset.

Convert Backset: 2-3;4 to 2-3;8

Procedure to adjust the deadbolt latch from 2-3/4 inch to 2-3/8 inch backset.

Install Deadbolt Latch Set and Identify Door Handling

Installing the Deadbolt Latch

Steps to insert and secure the deadbolt latch into the door.

Identify Your Door Handling

Guide to determine if the door is left-handed or right-handed for correct installation.

Prepare Interior Assembly

Unpack and Prepare Interior Assembly

Instructions for unpacking and preparing the interior assembly components.

Set Door Handing Switch

How to set the internal switch for left or right-handed doors.

Install Exterior Assembly

Install Interior Assembly

Final Installation Steps

Operation Instructions: Exterior Assembly Overview

Locking and Unlocking Procedures

User Code Management and Auto-Lock

Advanced Lock Features and Warnings

Installation Troubleshooting Guide

Door Installation Template

Consumer Assistance and Support

Product Warranty Information

Honeywell 8712009 Specifications

General IconGeneral
BrandHoneywell
Model8712009
Lock TypeElectronic Deadbolt
TypeKeyless Entry
ColorSatin Nickel
MaterialMetal
Power SourceBattery
Battery TypeAA
Battery LifeUp to 1 year
KeypadYes
Auto LockYes
One Touch LockingYes
FinishSatin Nickel
CompatibilityStandard doors

Related product manuals