I
Ian NelsonAug 9, 2025
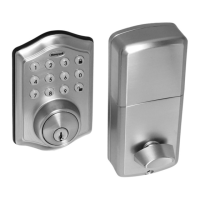
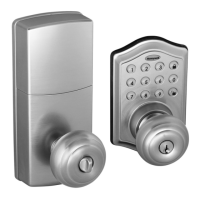
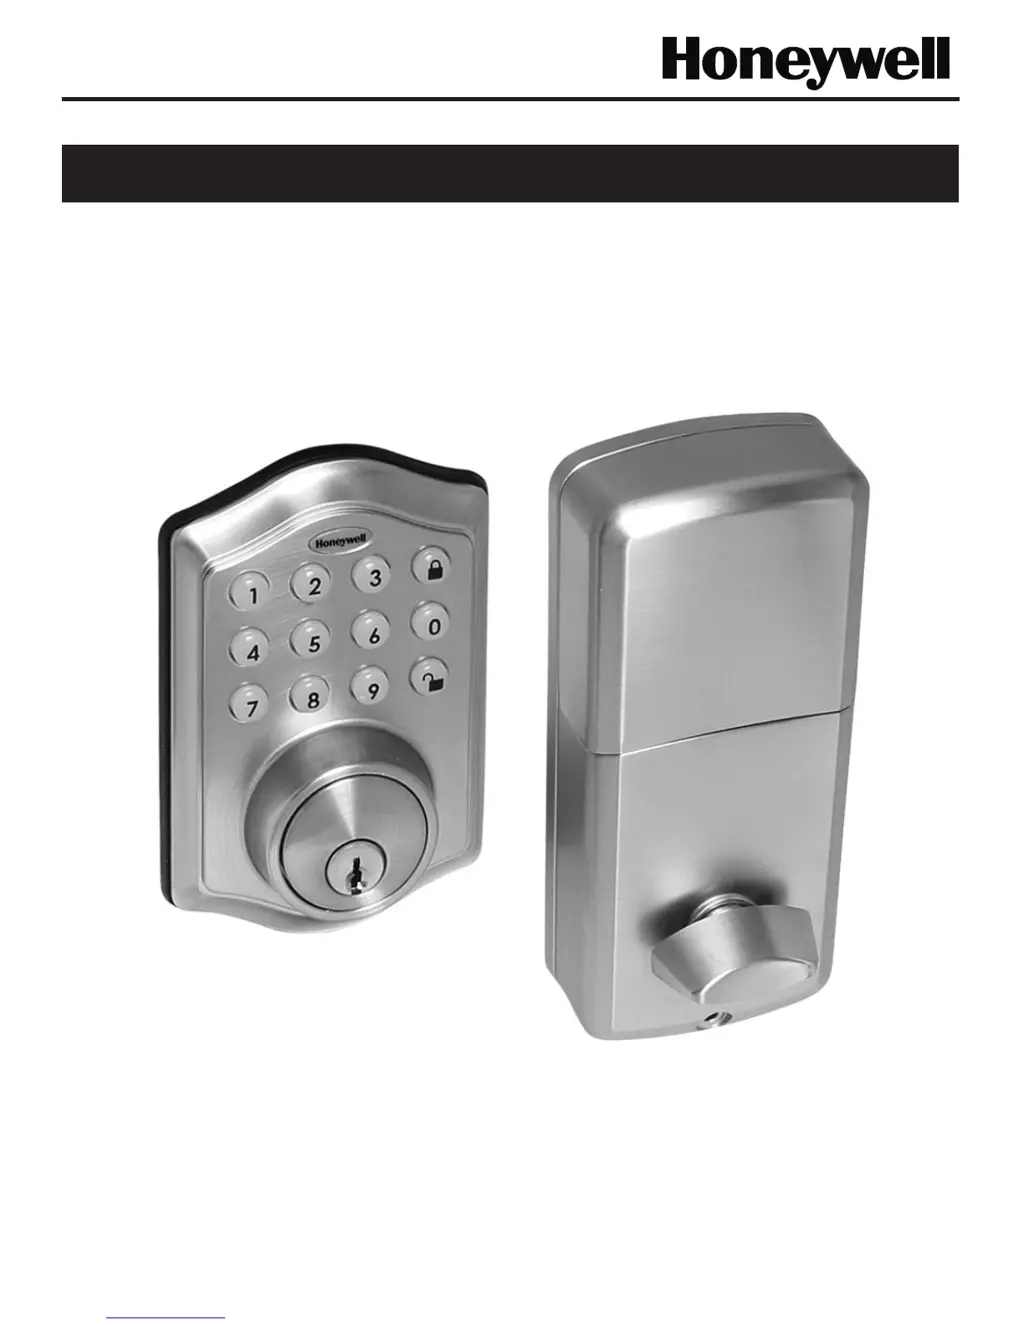
What to do if my Honeywell lock will not function electronically?
- MMichelle BallAug 9, 2025
If your Honeywell lock isn't working electronically, ensure you're using fresh, high-quality alkaline batteries and that they are installed with the correct polarity (+/-). Also, check that the control wire is properly attached to the interior assembly.