Do you have a question about the Honeywell CT31 and is the answer not in the manual?
Turn off power at the heating/cooling system or fuse/circuit-breaker panel before starting installation.
Remove the thermostat cover and unit, but leave the wallplate with wires attached.
Do not discard thermostats containing mercury in sealed tubes; contact local waste management for disposal.
Disconnect and label each wire with its corresponding terminal letter using provided labels.
Remove the old wallplate only after all wires have been labeled, ensuring wires do not fall into the wall.
Pull wires through the base, level it, and mark the screw hole positions on the wall.
Drill holes, insert anchors, pull wires through the base, and secure it to the wall with screws.
Match labeled wires to corresponding terminals on the thermostat base and tighten securely.
Check if the 'Rc' wire is present; if so, this thermostat may not be compatible with your system.
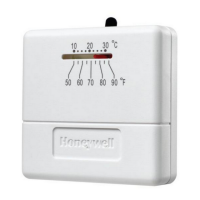
Separate the cover and use a pencil to set the adjustment lever according to your heating/cooling system.
Mount the thermostat, snap the cover into place, and restore electrical power to the system.
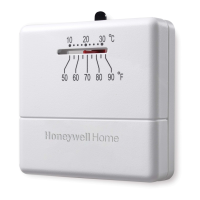
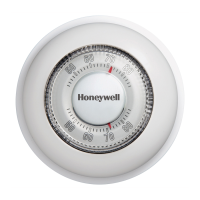
Adjust the lever on the thermostat to set the desired indoor temperature.
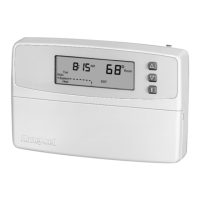
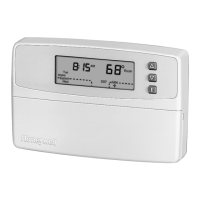
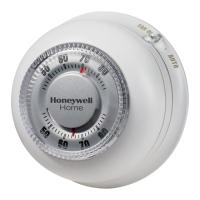
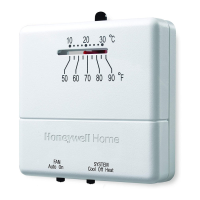
Set the fan switch to 'On' for continuous operation or 'Auto' for on-demand fan cycles.
Select 'Cool', 'Heat', or 'Off' using the system switch to control your HVAC system.
Avoid operating the cooling system below 50°F (10°C) to prevent potential compressor damage.
| Brand | Honeywell |
|---|---|
| Model | CT31 |
| Category | Thermostat |
| Language | English |