8
REPLACEMENT FILTERS (CONTINUED)
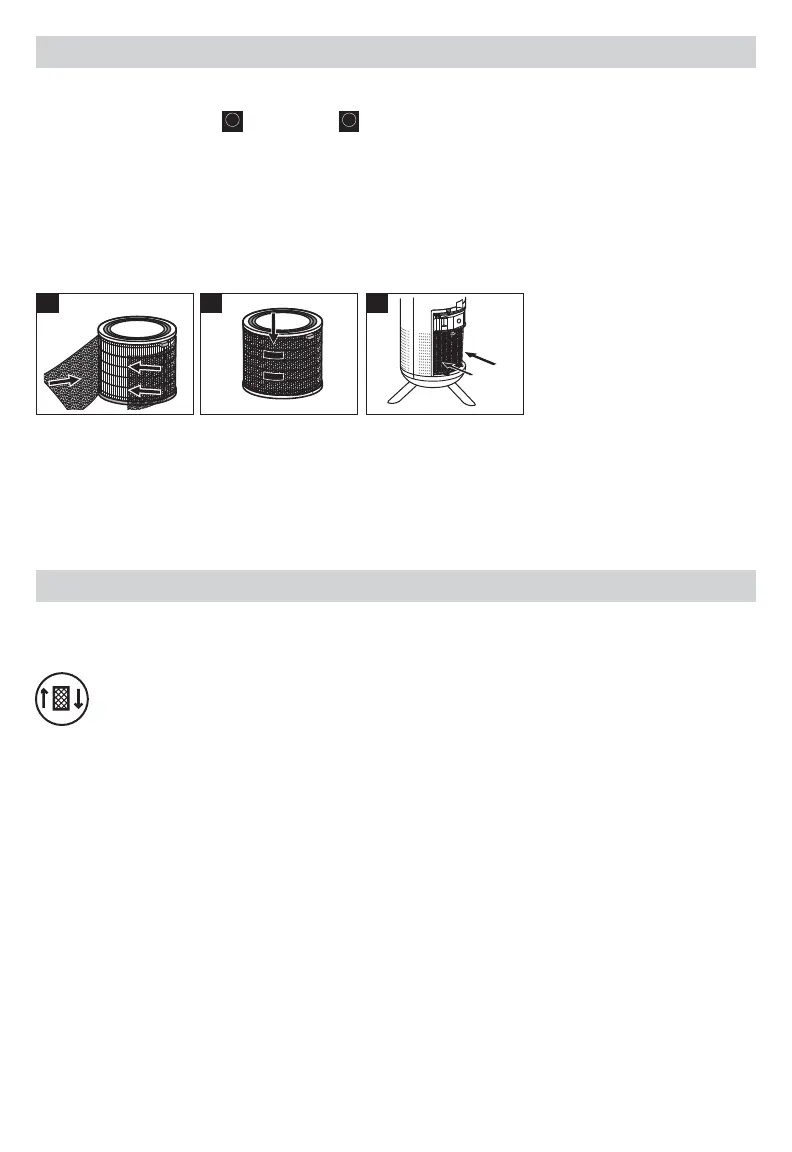
To change either filter, follow the steps described below:
1. Remove the HEPA Filter
J
and PreFilter
A
cartridge from the Air Purifier.
Remove fasteners holding the PreFilter and remove the PreFilter from the HEPA Filter cartridge.
Cut a new PreFilter from the Universal HRFAP1 PreFilter using the old Filter as a template
(5.7 in x 22.5 in). If also replacing the HEPA Filter, discard the used HEPA Filter but keep the
PreFilter fasteners to use on the new HEPA Filter.
2. Wrap the new PreFilter around the HEPA Filter cartridge and secure it with the fasteners provided.
3. Reinsert assembled filter cartridge into the Air Purifier. Ensure the plastic ring is on the top with the tab
facing out.
These replacement intervals are intended as guidelines only. Performance of any filter media is dependent upon
the concentration of contaminants going through the system. High concentrations of contaminants such as dust,
pet dander, and smoke will reduce the useful performance of the filters.
NOTE: The PreFilter and HEPA Filters are not washable and should not be vacuumed.
DO NOT immerse them in water.
RESET FILTER CHECK INDICATOR
After you have replaced the appropriate filters, plug the unit back in. The Filter Reset Light will remain on or
blinking until it is reset.
To reset the Filter Check/Reset Light:
With the unit powered ON, press and hold the Filter Reset button for 3 seconds until light turns off or
stops blinking. The light will stay off until the next filter needs replacing.
NOTE: This procedure is the same whether you are resetting the PreFilter or HEPA Filter Reset Light.
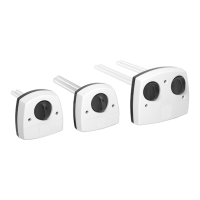
1 2 3
 Loading...