3/05 Replacement Kit Instruction 43-DR-33-87 15
Procedure for Pen Alignment (Recorder with Display)
Table 8 gives the procedure for aligning pens at zero and span (full scale) in a recorder with a
display.
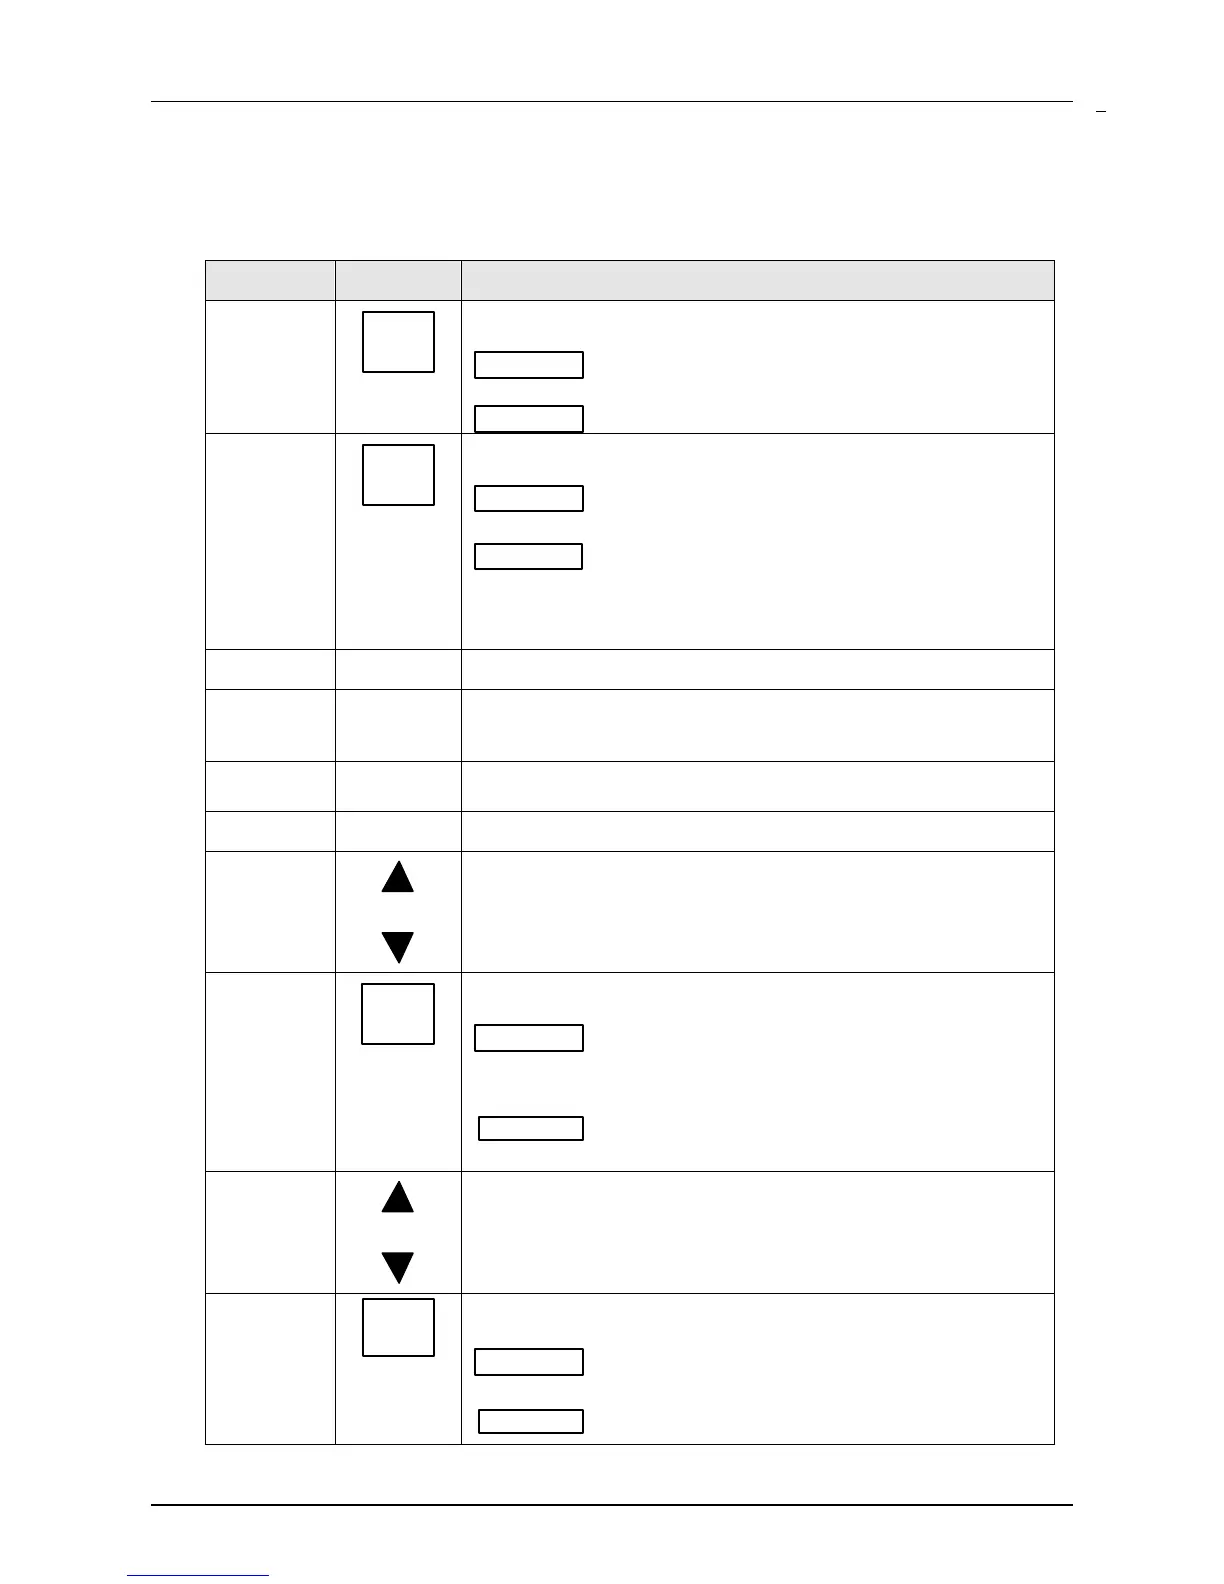
Table 8 Procedure for Pen Alignment (Recorder with Display)
Step Press Action/Result
1
SET
UP
until you can see:
ALIN
Upper Displa
PEN
Lower Displa
2
FUNC
until you can see:
(value)
Upper Displa
(approximately 60 on the upper display)
PEN0
Lower Dis
la
Wait until pen stops moving downscale.
If the pen tip is greatly out of position, follow Steps 3 through 6.
If the pen position requires only minor adjustment, go to Step 7.
3
Turn off the power to the recorder.
4
To place the pen tip in approximately the correct position,
loosen the screw holding the pen 1 (purple) arm to the servo
shaft.
5
Align the tip of pen 1 with the zero line on the chart and tighten
the locking screw.
6
Turn on the power and repeat Step 2.
7
or
to set tip of pen 1 (purple) on zero scale line of chart ±0.25% (or
quarter graduation).
8
FUNC
and you will see:
(value)
Upper Displa
(approximately 1200 more than the zero value in
Step 2)
PEN 100
Lower Display
Wait until pen stops moving upscale.
9
or
to set tip of pen 1 (purple) on full scale line of chart ±0.25% (or
quarter graduation).
10
DISP
to return to normal operation for pen 1. You will see:
(value)
Upper Display
INP 1
Lower Display
 Loading...