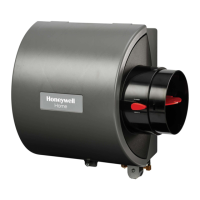
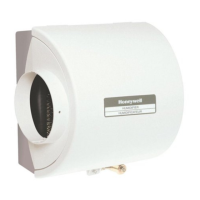
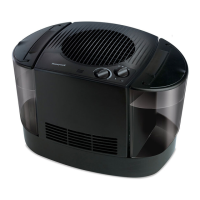
HE120 BY-PASS DRUM HUMIDIFIER
69-1860EF—01 14
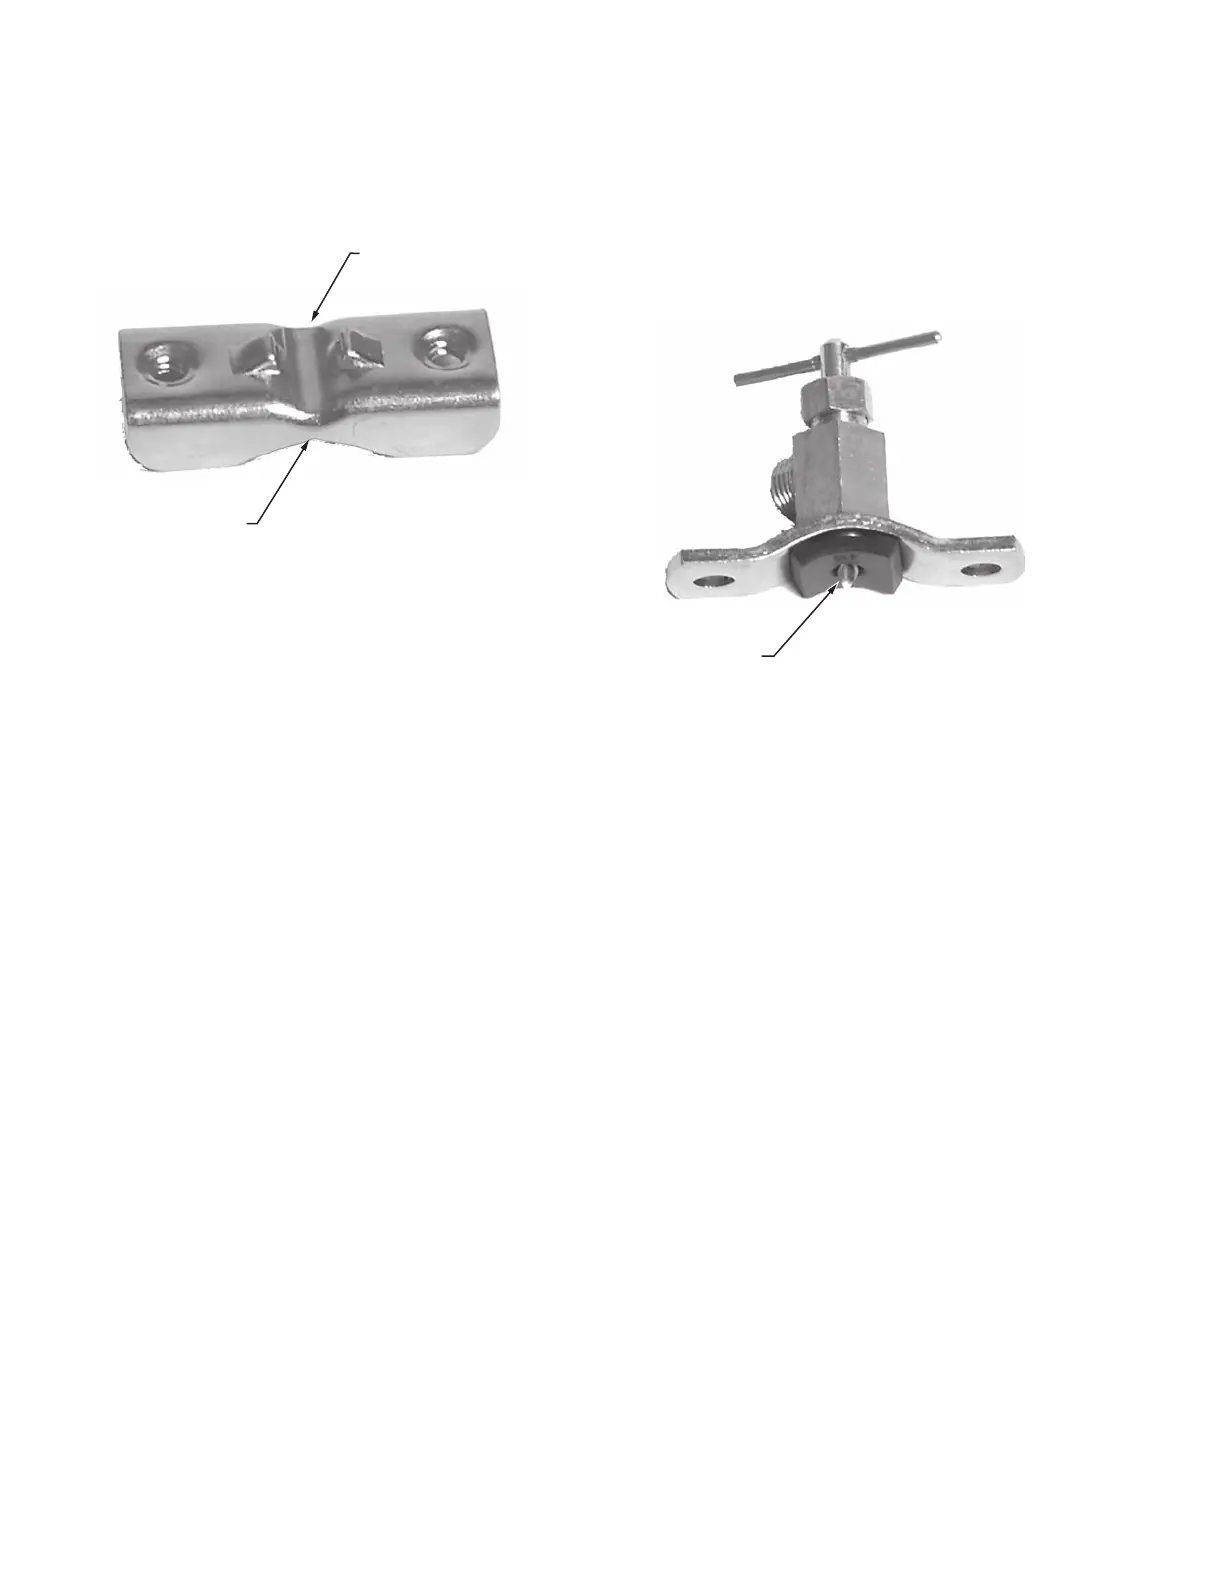
a. For 3/8 in. diameter copper tubing use bracket side
with projections to prevent distorting tube.
See Fig. 33.
b. Use “V” side of bracket for all other size tubing.
Fig. 33. Saddle Valve Bracket installation.
4. Tighten screws evenly – brackets should be parallel.
Tighten firmly.
Steel or Brass Pipe:
1. Shut off water supply and drain the line.
2. Drill a 3/16 in. hole in pipe. Use a cordless drill to avoid
shock hazard.
3. Turn the handle to expose the lance beyond the gasket
no more than 3/16 in. See Fig. 34.
4. Place valve body over hole such that lance fits into the
drilled hole in the pipe.
5. Tighten bottom clamp evenly. Brackets should be paral-
lel. See Fig. 32.
6. Turn handle clockwise to close the valve.
7. Open water supply.
Fig. 34. Positioning Saddle Valve for installation
with steel pipe.
BRACKET SIDE
(USE WITH 3/8 IN. DIAMETER
COPPER TUBING)
“V” SIDE OF BRACKET
(USE WITH LARGER
DIAMETER TUBING)
M13633
LANCE ABOVE
GASKET
3/16 IN. MAXIMUM
M13632
 Loading...