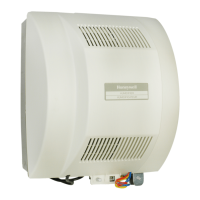
HE120 BY-PASS DRUM HUMIDIFIER
15 69-1860EF—01
STEP 9: INSTALL WATER LINE
CAUTION
Water Hazard.
Can result in water damage to property.
Properly secure water line along route to prevent
movement and provide support at compression nut
joints.
IMPORTANT
Be sure to check with your local building codes to
determine if the Plastic Water Tubing packaged with
the Humidifier is appropriate for your installation.
(Some local building codes require 1/4 in. copper
tubing to be used.)
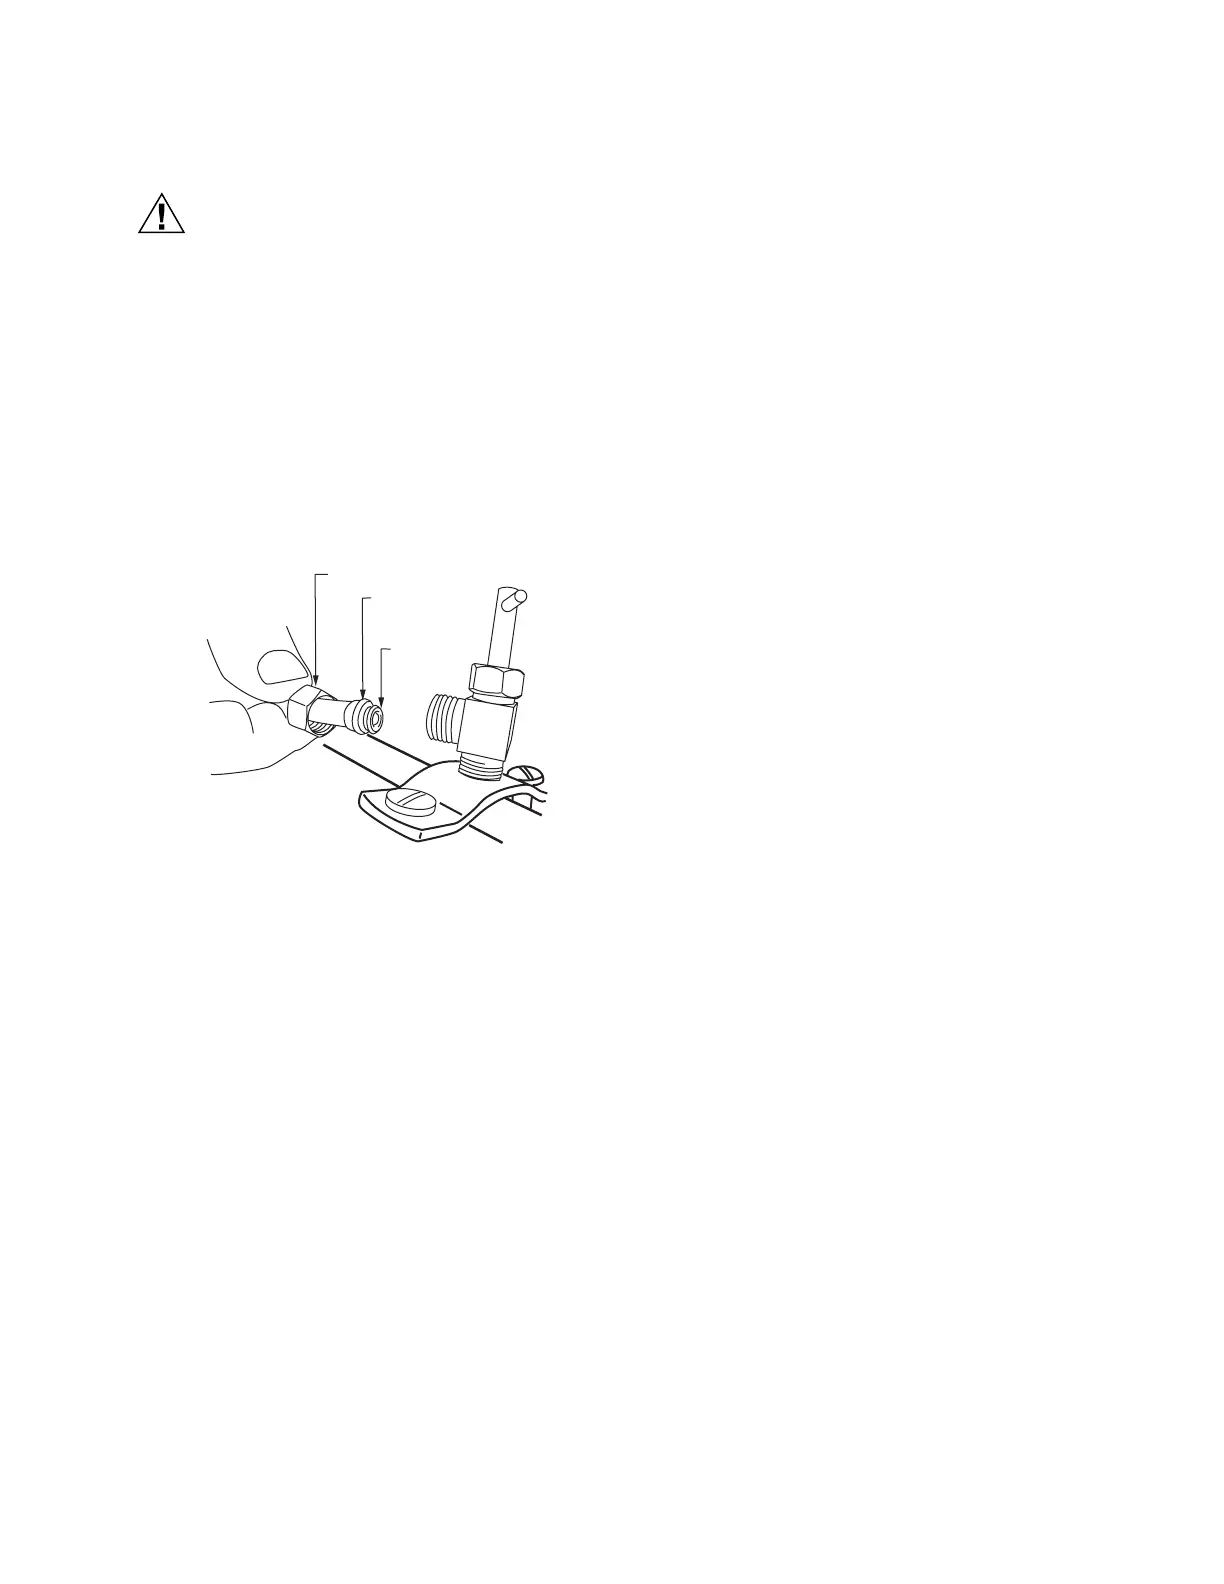
1. Place Brass Compression Nut over Plastic Water Tub-
ing. See Fig. 35.
Fig. 35. Connecting plastic water line.
2. Slide the Plastic Compression Sleeve over the Tubing.
3. Install Brass Insert into end of Plastic Water Tubing.
NOTE: To prevent leaking, use Plastic Compression Sleeve
only with Plastic Tubing and Copper Compression
Sleeve only with copper tubing.
4. Insert the tubing into the saddle valve fitting.
5. Support the valve while tightening the Brass Compres-
sion Nut with an 1/2 in. open-end or adjustable wrench.
6. Route Plastic Water Tubing from saddle valve to Humid-
ifier Float Valve Fitting. Secure Plastic Water Tubing
along the route with Tube Retainers to prevent move-
ment.
7. Cut Plastic Water Tubing to length. (Do not cut tubing
too short.)
8. Repeat steps A through E to attach Tubing to Float
Valve Fitting.
M20176
BRASS COMPRESSION NUT
PLASTIC
COMPRESSION
RING
BRASS INSERT
 Loading...